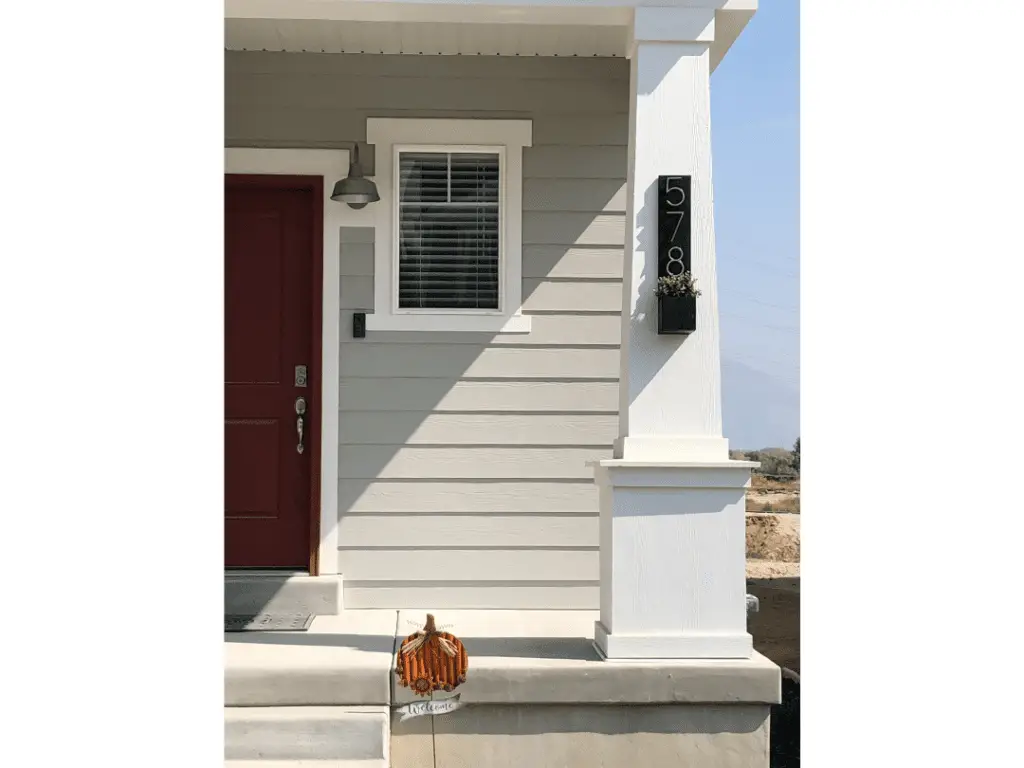
We live in a neighborhood where most of the houses have very similar features, same lights, doors, and address signs. After a few months of living in our house, we decided we wanted to change the curb appeal a little but didn’t want to break the bank to do so. After going back a forth on a few ideas we decided to simply make a black DIY address sign. This black address sign is super easy to make and comes with the option to add a little planter box. The whole thing only takes a few hours (if you don’t count the time for the stain to dry) and costs us only $40. It only takes a few cuts and is very beginner-friendly.
Tools And Supplies For Black DIY Address Sign
- Brad Nailer
- Circular Saw or Miter Saw
- Shop-Vac (optional)
- Sander
- Clamps
- 2-inch brad nails
- Tape Measurer
Supplies
- Address Numbers (These are the ones we used)
- Wood stain
- Polyurethane
- 1″x 6″ x72″ board (I used cedar board)
- Wood glue
- Rag or foam paintbrush
Steps To Build Black DIY Address Sign
Step 1
Cut cedar board into 5 separate pieces. You can use a circular saw or miter saw for this step. I don’t have a miter saw that can do a 6″ cut so I chose to use a circular saw for this project. If you are using a circular saw to make your cuts I do recommend having a speed square handy to get straight cuts.
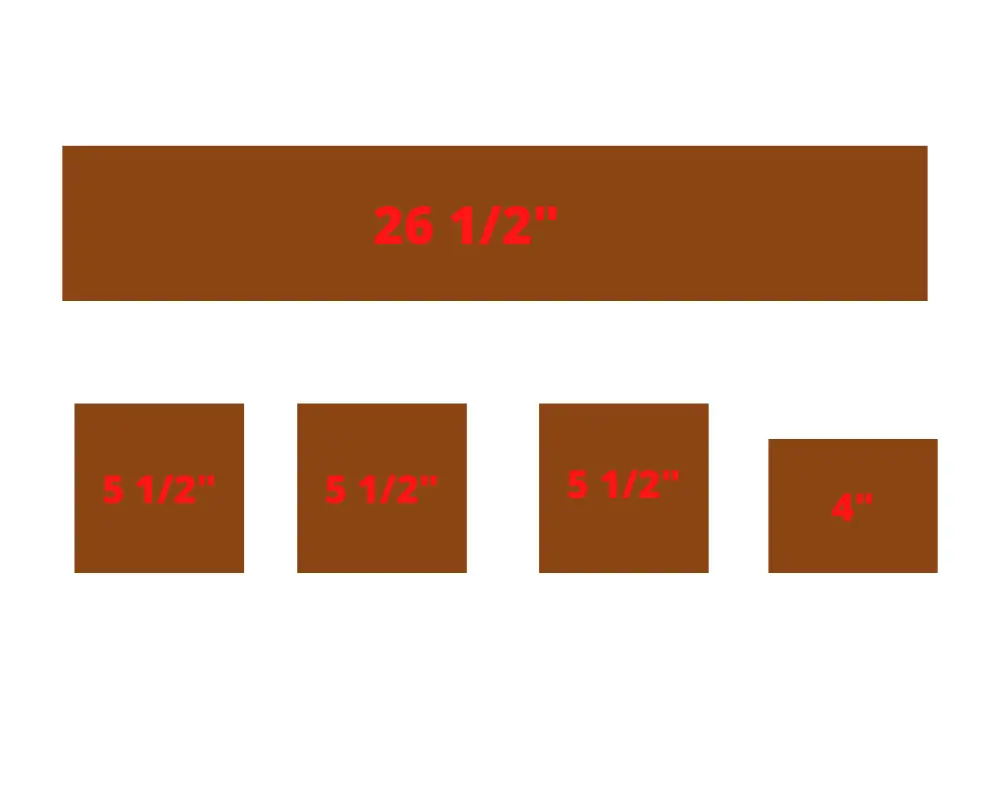
Here is a list of the cuts you will need to make:
- One – 26 1/2″ long
- Three – 5 1/2″ long
- One – 4″ long
Step 2
Sand the wood. If you have an orbital sander that is the quick way to do it, but a 180 grit sand block will also get the job done. I know it can be tempting to skip this step, but resist the urge, it will make the project turn out so much nicer in the end if you sand properly.
Step 3
Now that the wood is smooth and sanded it’s to time stain the wood. The color is totally up to you, we chose to go with a black stain with silver numbers. Grab your rag or foam brush and apply the stain to the wood. Allow at least 24 hours for the stain to dry before continuing to step 3. If you wish you could also add a second coat of stain after letting it dry. Keep in mind you don’t have to stain the parts back part of the sign.
Step 4
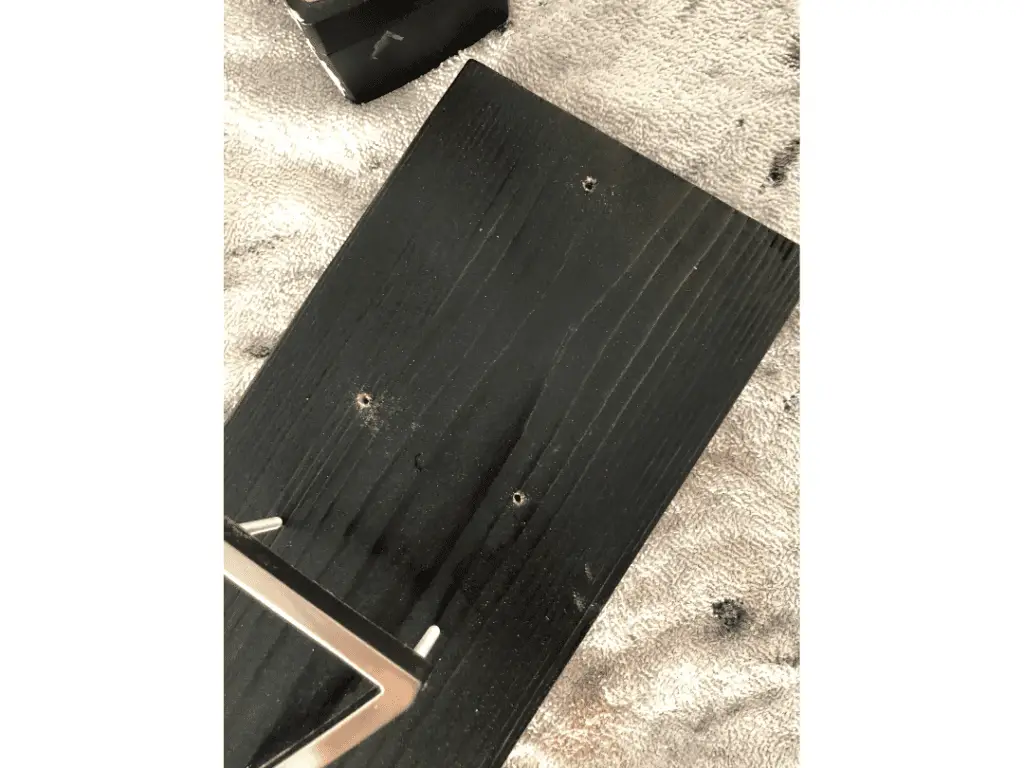
Take two of the 5 1/2″ and the one 4″ wood and arrange them like the picture below. Push the 5 1/2″ flush on the edge of the 4″ and either pre-drill your screw holes and drill screws in or, use a brad nailer to shot the nails in. It also helps if you have clamps or something to keep the wood aligned.
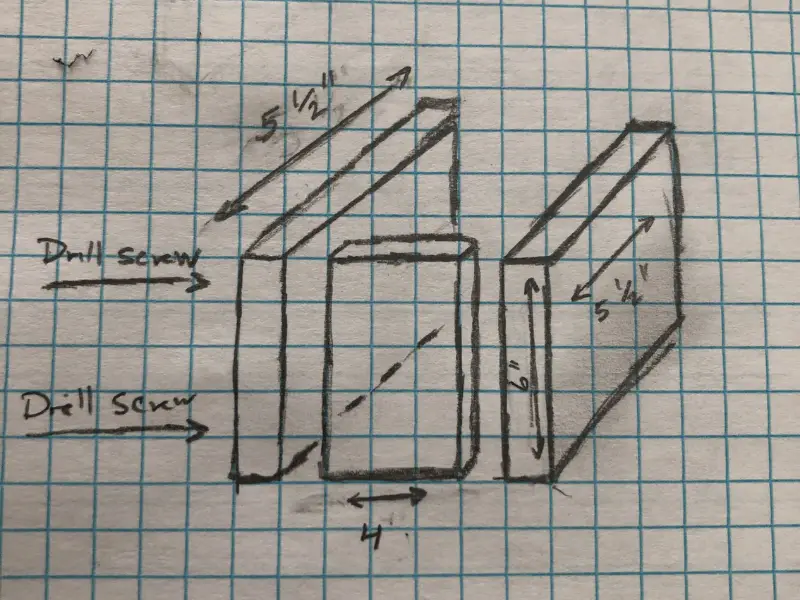
Step 5
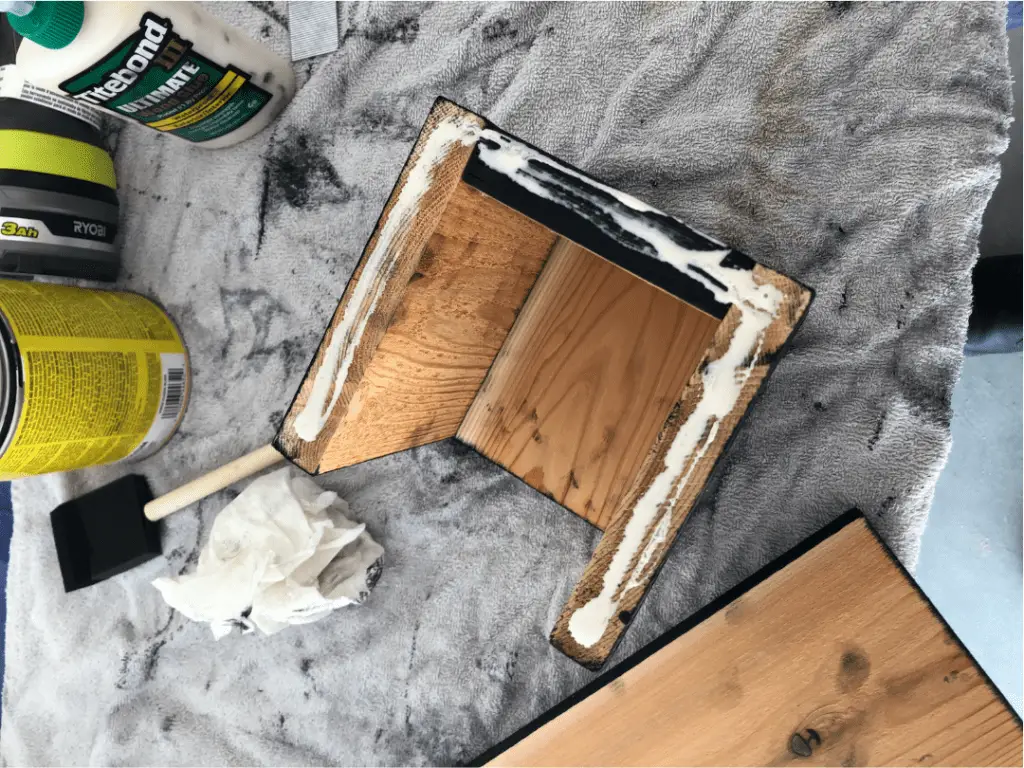
Take the last 5 1/2″ piece and attach it to the “U” shape you just created. I applied wood glue to the joints before nailing/drilling to make the connection even more secure. You should have a box looking thing kind of like the image below.
Step 6
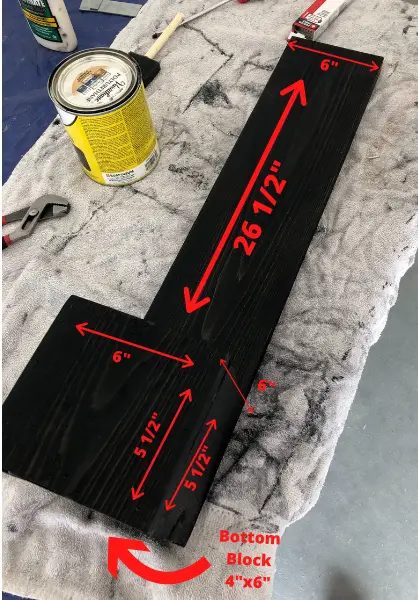
Finally, it is time to attach the 26 1/2 inch board on the backside. I have 3 numbers in my address so the 26 1/2 is a perfect length. If you have 4 or more letters in your address you might want to consider making your a little bit longer.
Step 7.
After you have the box all assembled I added a coat of polyurethane. This is very important because this sign will be outside in the heat, rain and snow. The polyurethane will help protect the wood. I decided to go with a oil based polyurethane because I have read that it is better for wood that will be outside vs a water based polyurethane.
Step 8
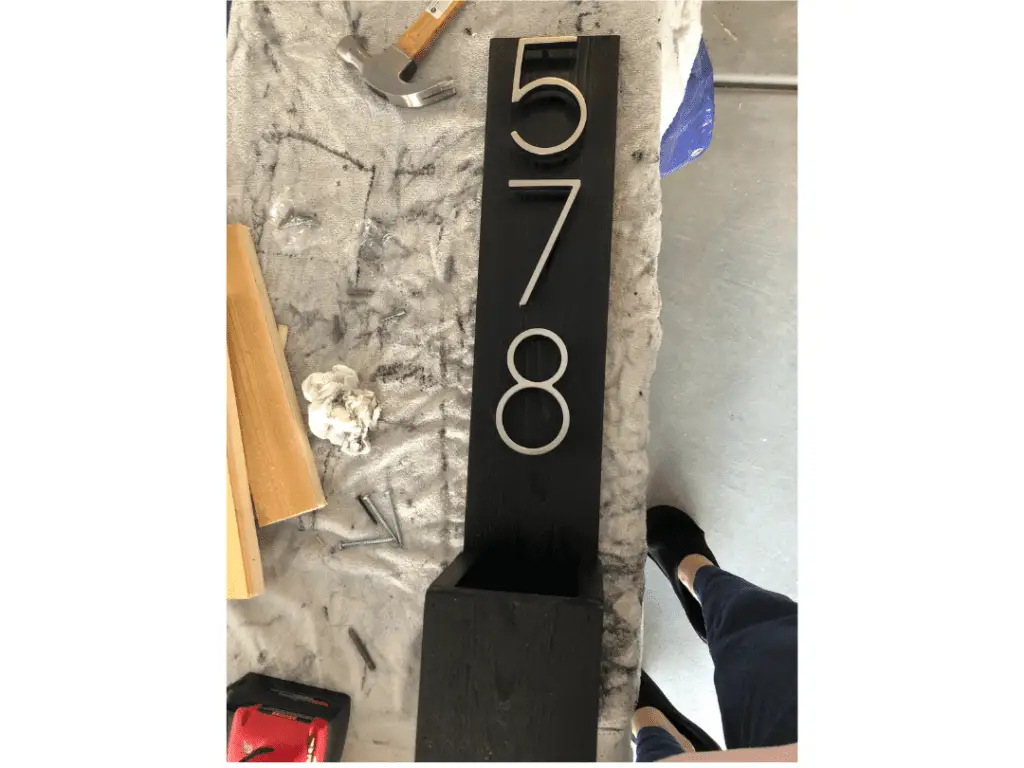
Next, it is time to add those numbers. Make sure to pre-drill your holes and follow the instructions that came with your numbers. I went with these floating numbers from Amazon. The instructions had me place a paper template onto the wood then drill holes where the template had marked. From there I attached the spacers that came with the number and pushed the screws in. It was actually a lot easier than I thought it was going to be to attach the numbers.
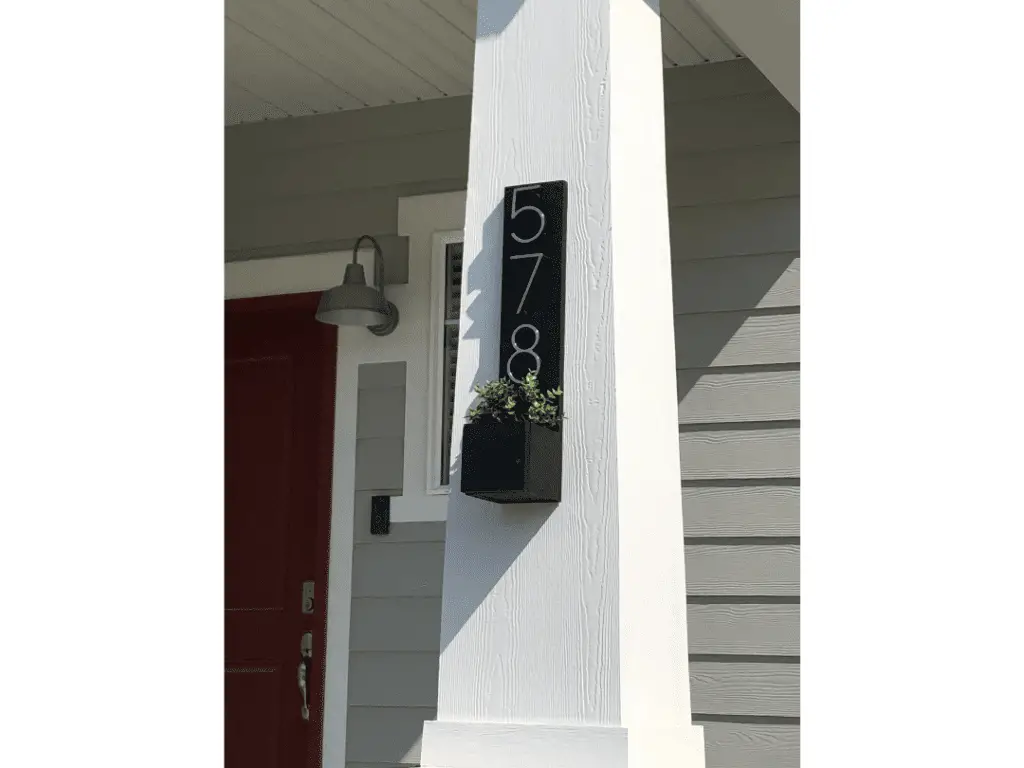
I was mindful of keeping a space between the planter box and my last number to insure my plant would not cover up any part of my address.
Step 9
Pre-drill holes into the top of the 26 1/2 board and at the bottom right before the box. If you do not pre-drill your holes you run the risk of splitting the wood. From there take a screw that is a least 2 inches long and screw your new address sign to your house. Also, don’t forget to drill a hole on the bottom of the planter box for water to drain. I ended up buying a fake plant to put in my planter box, but you will still want to still drill the hole for when it rains.
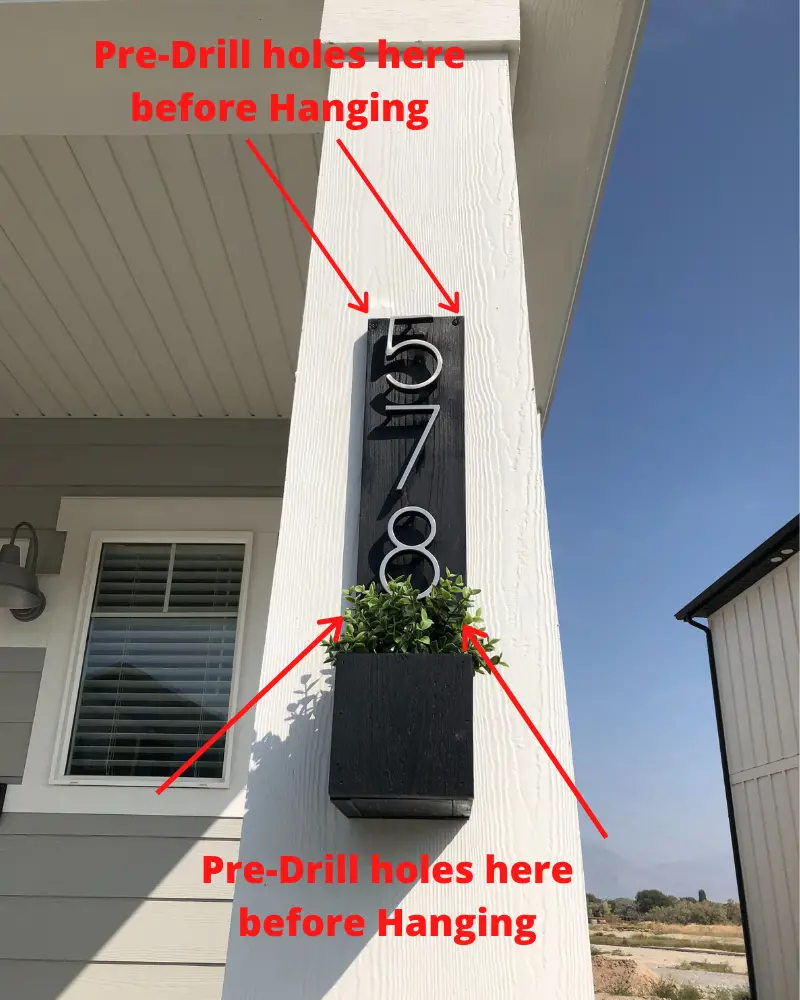
And there you have it a black DIY address sign that only cost $40.