")
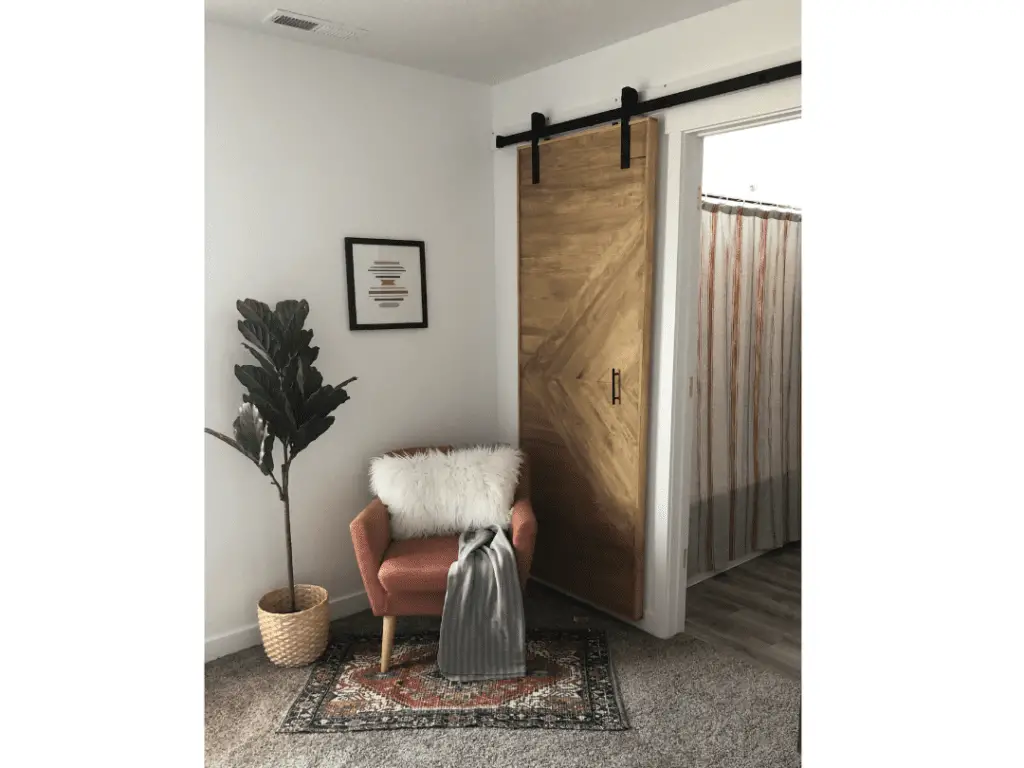
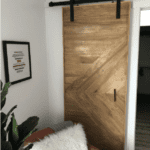
In our master bathroom, we have a door that opens up at a weird angle and hits up against the bathtub. We decided it would be best to turn this door into a sliding barn door. I wanted this door to look good, but I didn’t want to spend a ton of money. One of the ways I cut down on the cost was to use the original door as the core of my new sliding barn door instead of pay for an expensive piece of hardwood. After all the supplies this door cost just under $150 including the hardware for hanging the door.
Tools and Supplies for Sliding Barn Door
Tools
- Brad Nailer
- Miter Saw
- Circular Saw
- Level
- Clamps
- Sand block or Sander
- Tape Measurer
Supplies
- 1×2 x 3.5 x 4″ poplar wood
- Wood filler
- Sand block 80 or Sander
- Clamps
- Hardware Kit to hang door
- 2 inch Brad Nails (length will depend on the size of your door)
Steps to Turning You Door Into A Sliding Barn Door
Step 1.
Remove door by pushing the pins out of the hinges.
Step 2.
Remove all hardware from the door, this includes the doorknob. Don’t worry we will cover those holes later.
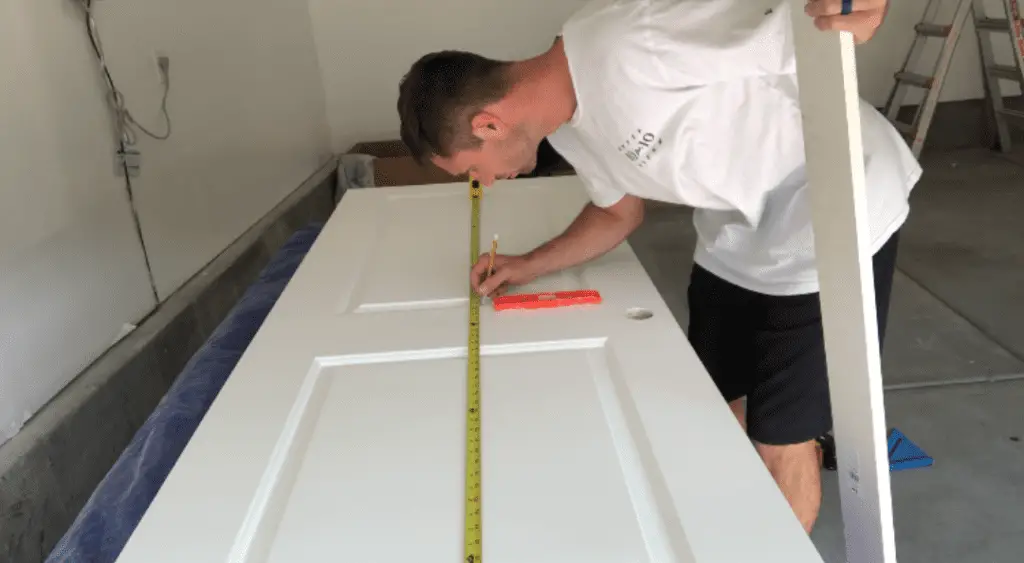
Step 3.
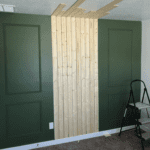
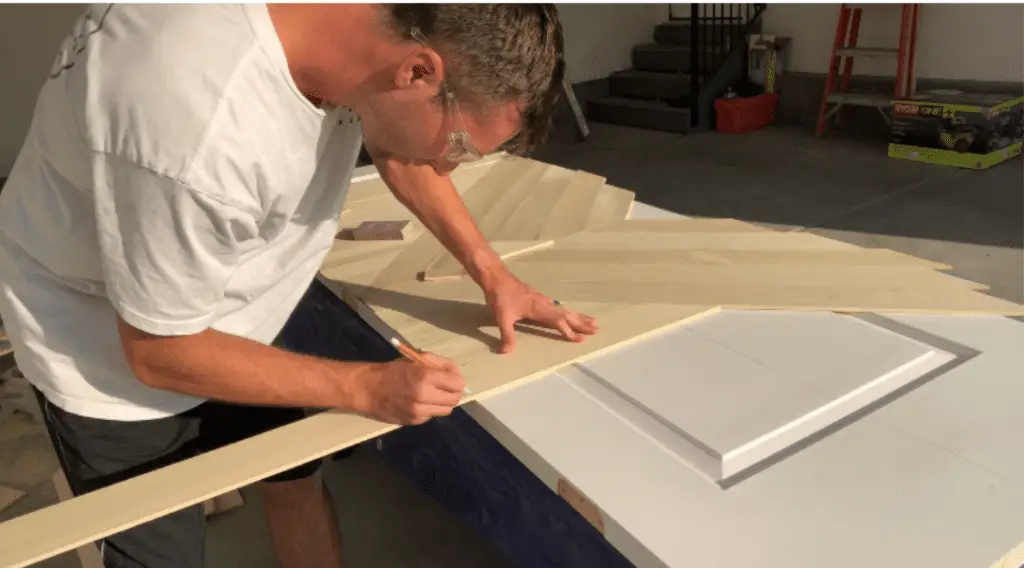
Find the center of the door both ways. This is so you know where to place your first couple of boards. Be sure to double check this measurement before you attach your first board.
Step 4.
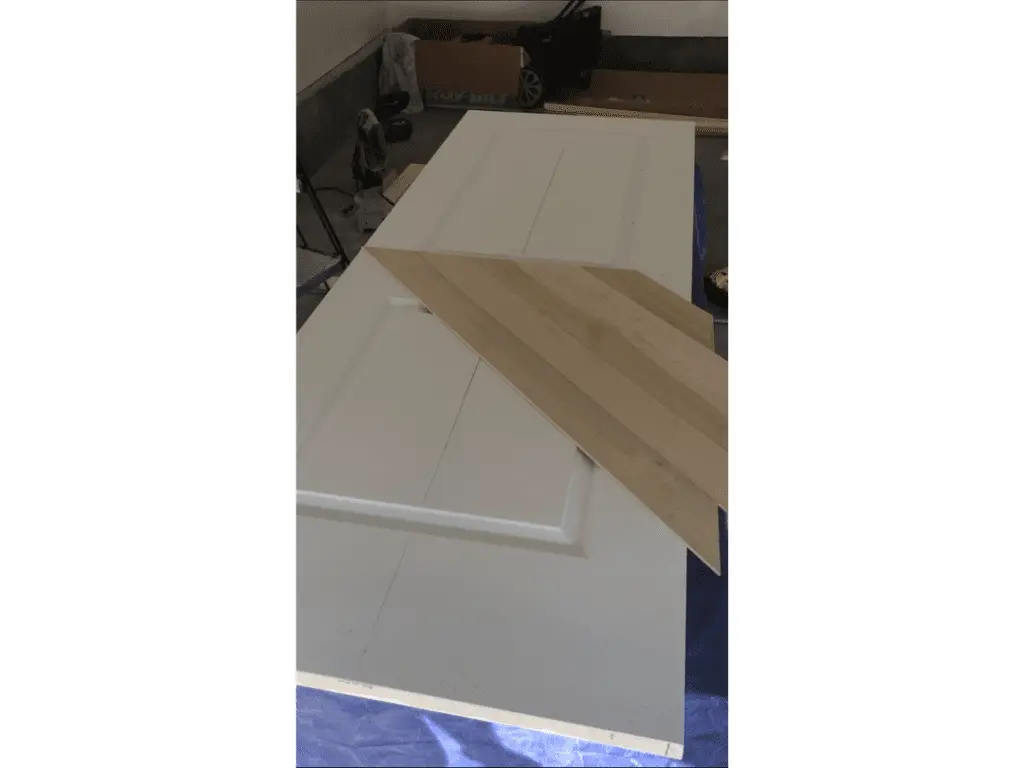
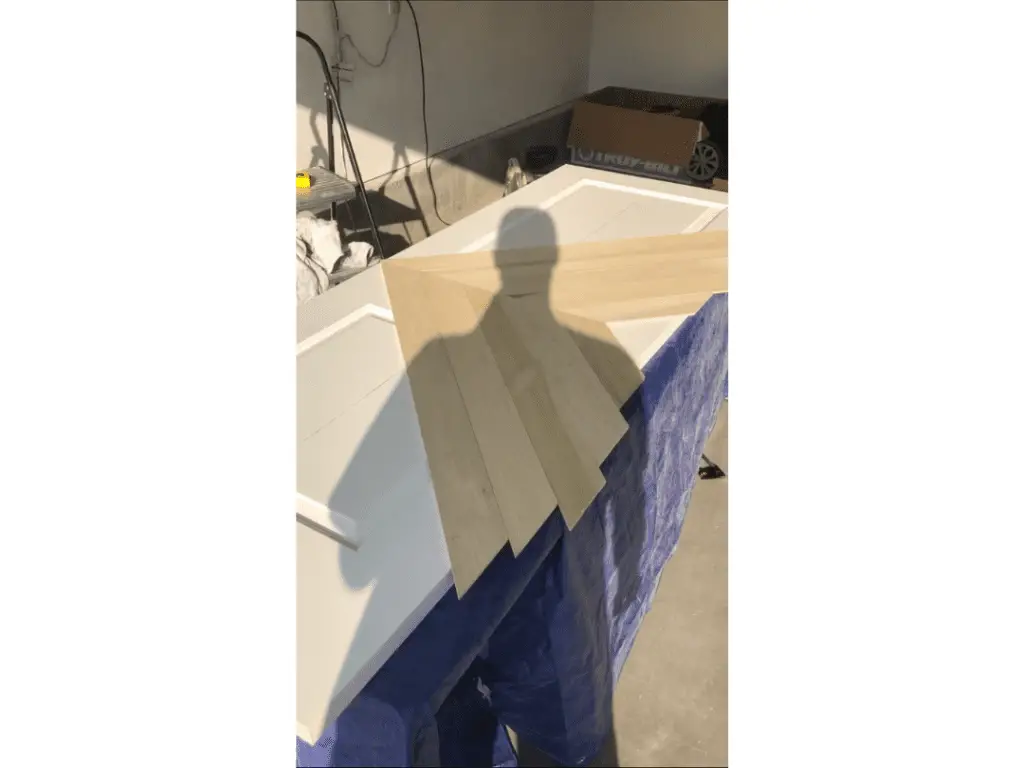
Cut a few of the poplar boards at a 45-degree angle and start lining up your design in the middle of the door. Don’t worry about glue or nails in this step. This is just to plan everything out and get an idea of what it will look like.

Step 5.
Once you have the boards in your center lined up. Make a rough mark off where to cut them. Don’t worry about making the ends of the wood line up perfectly with the edge of the door. We will cut those off later with a circular saw.
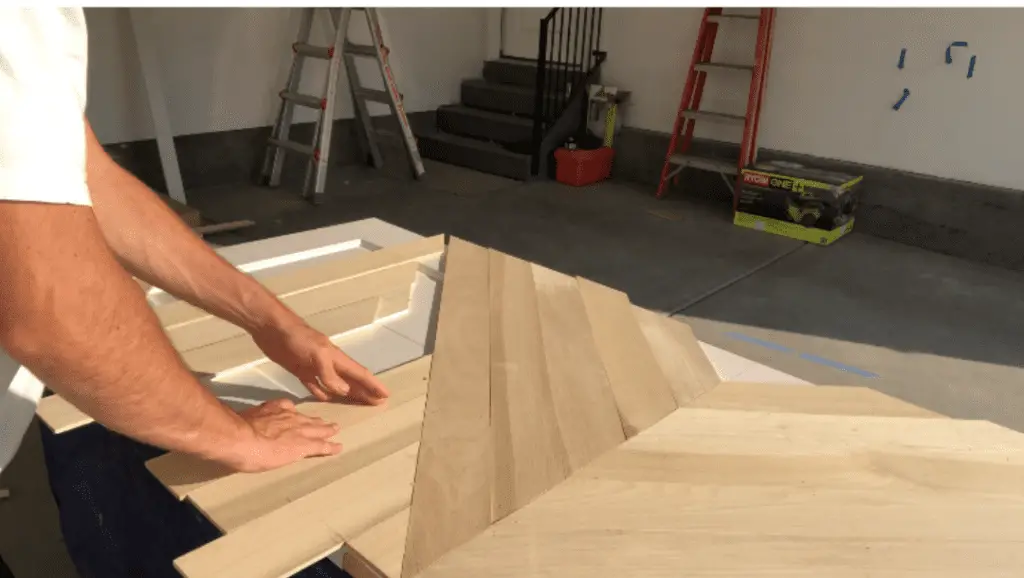
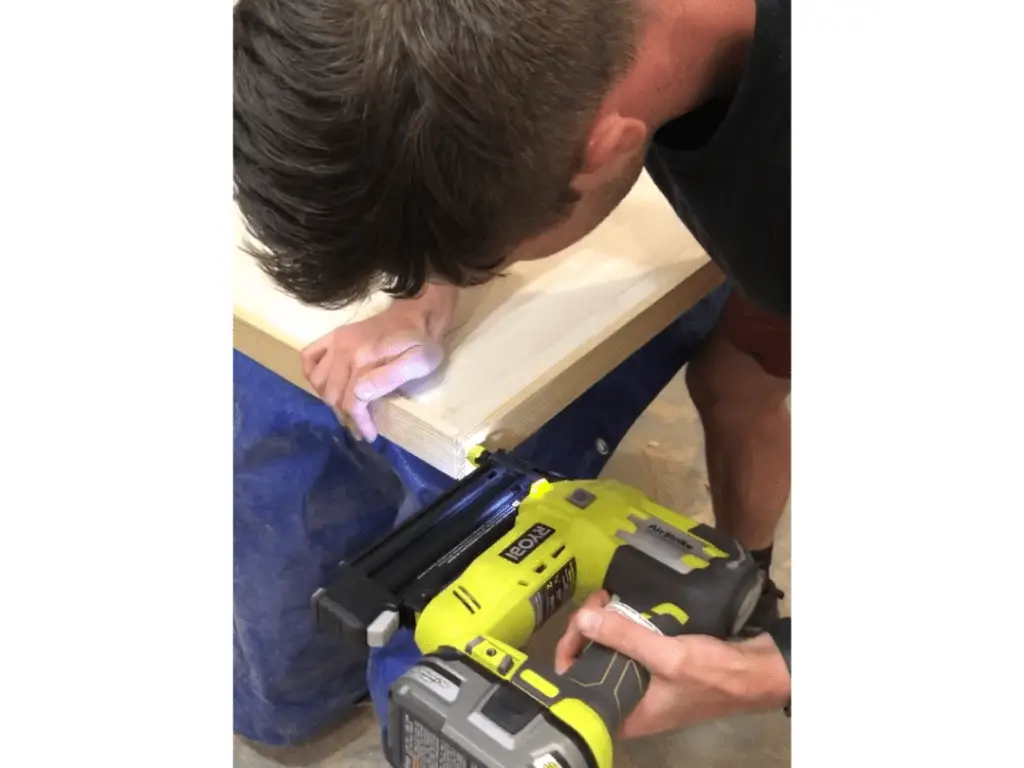
Step 6.
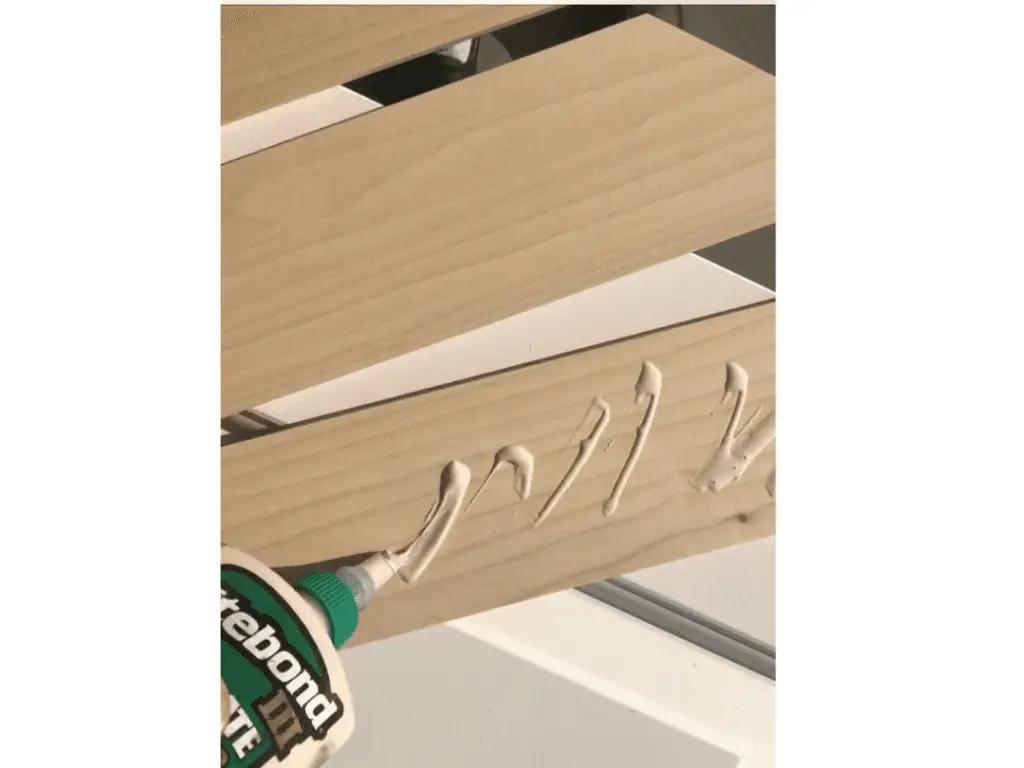
Now it is time to add glue to the back of your first board and line it up with your middle mark. When the board is in place take your brad nailer and shot some nails into that thing. Repeat this process until you have all the pieces in the middle pattern on the door. Make sure your brad nails are the correct length and will not poke through on the other side.
Step 7.
Repeat the same process for the rest of the door depending on the pattern you are wanting to do. Measure, cut, glue, nail.
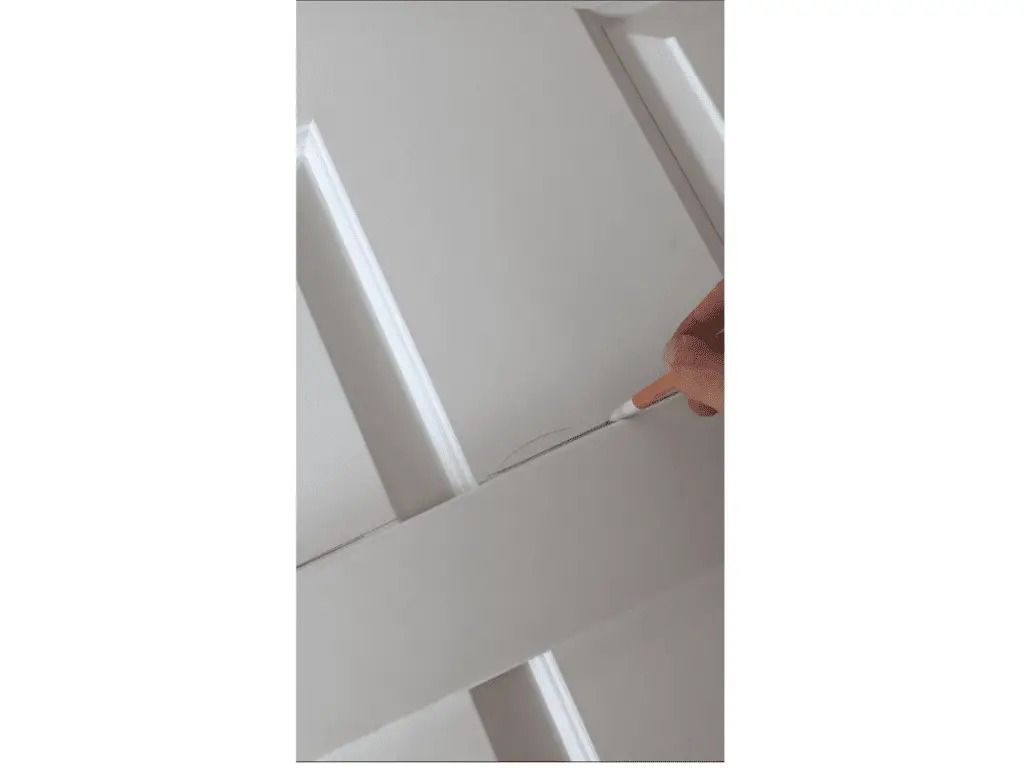
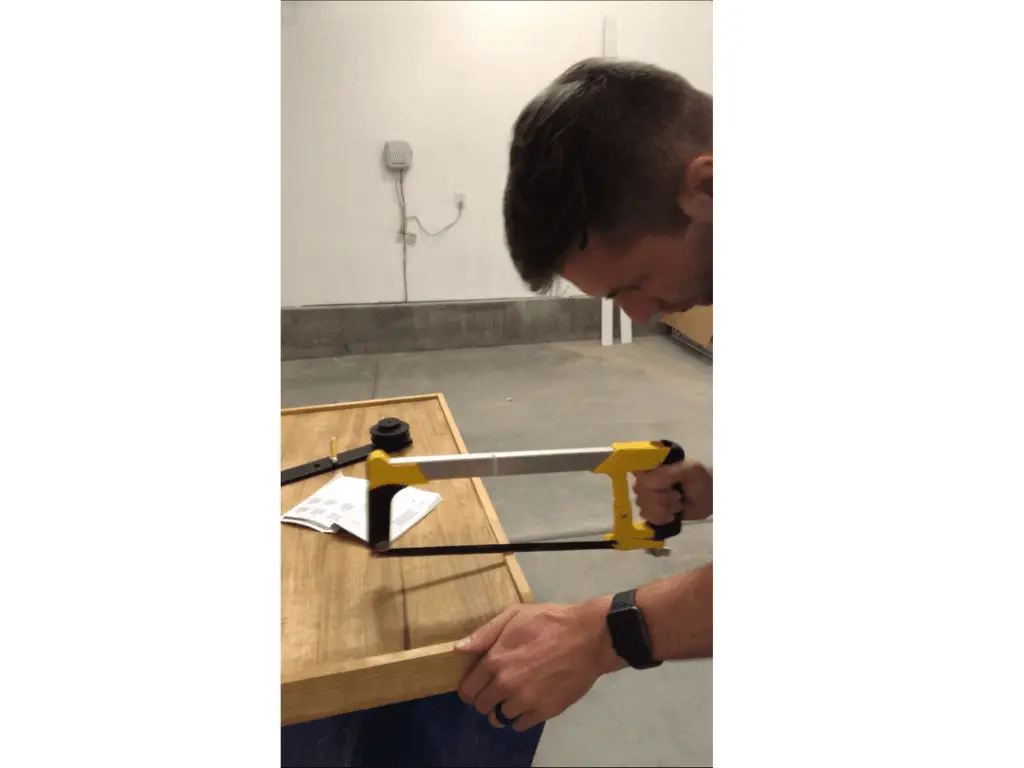
Step 8.
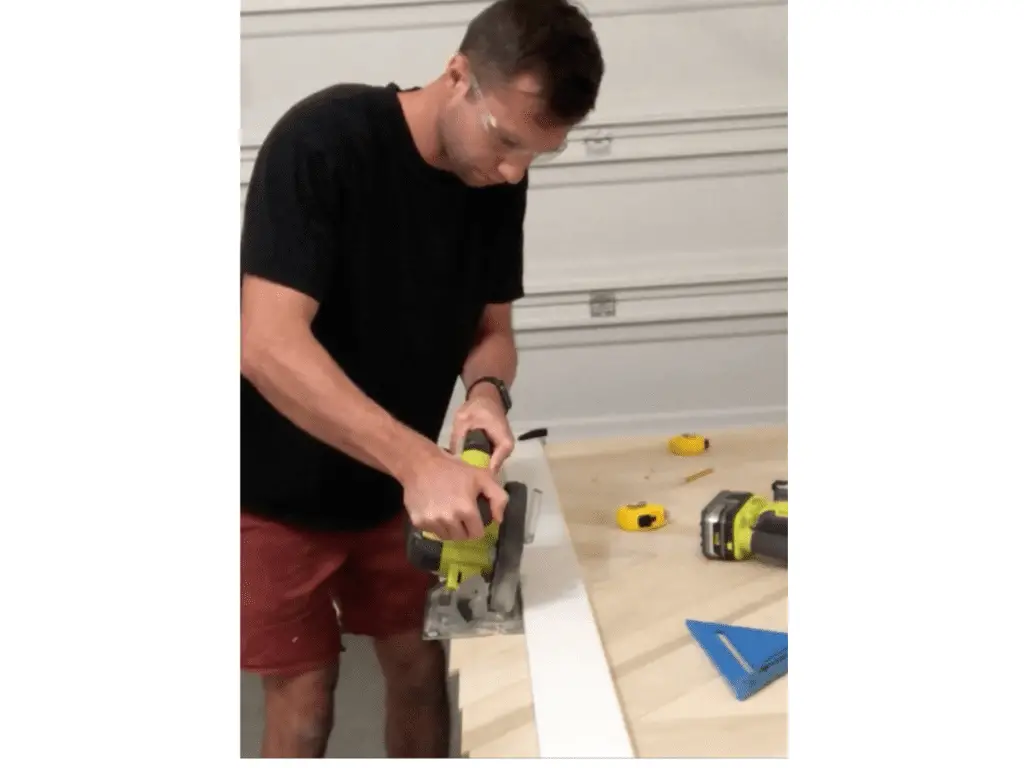
After you have attached all your boards It is time to get rid of all those jagged edges. This part is super satisfying. Take a straight piece of scrap wood and clamp it to the door based on the measurements of the cuts. I chose to cut 1/16 off the edge of the actual door to make sure I had a clean smooth cut. Repeat this process on all sides of the door.
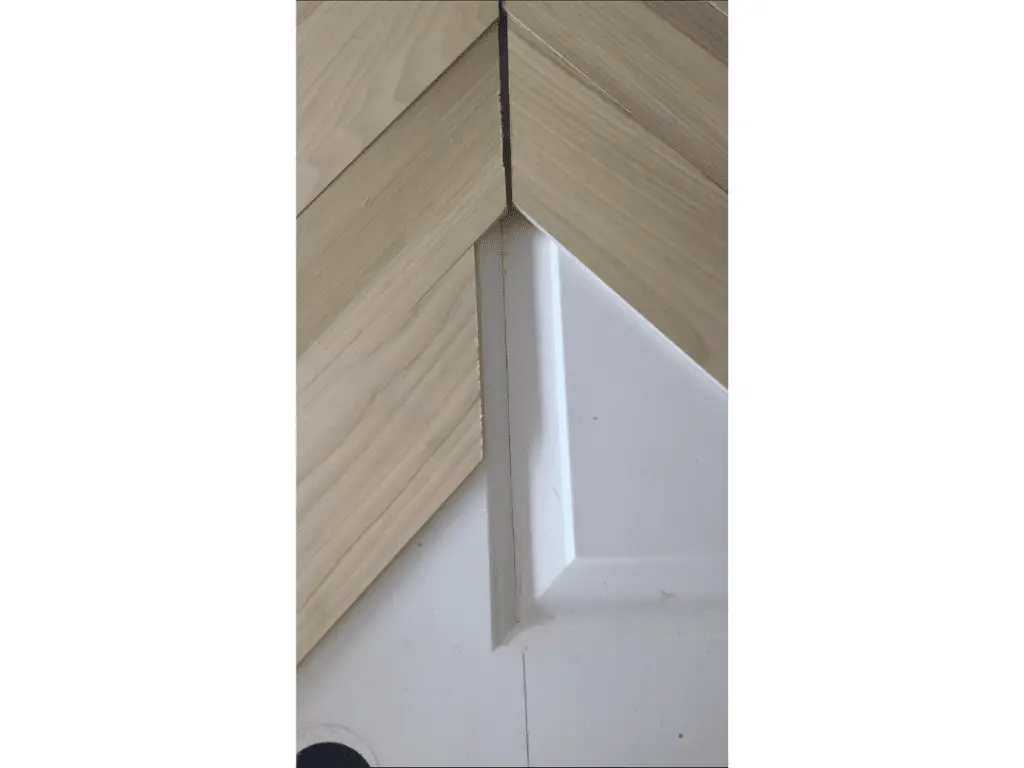
Step 9.
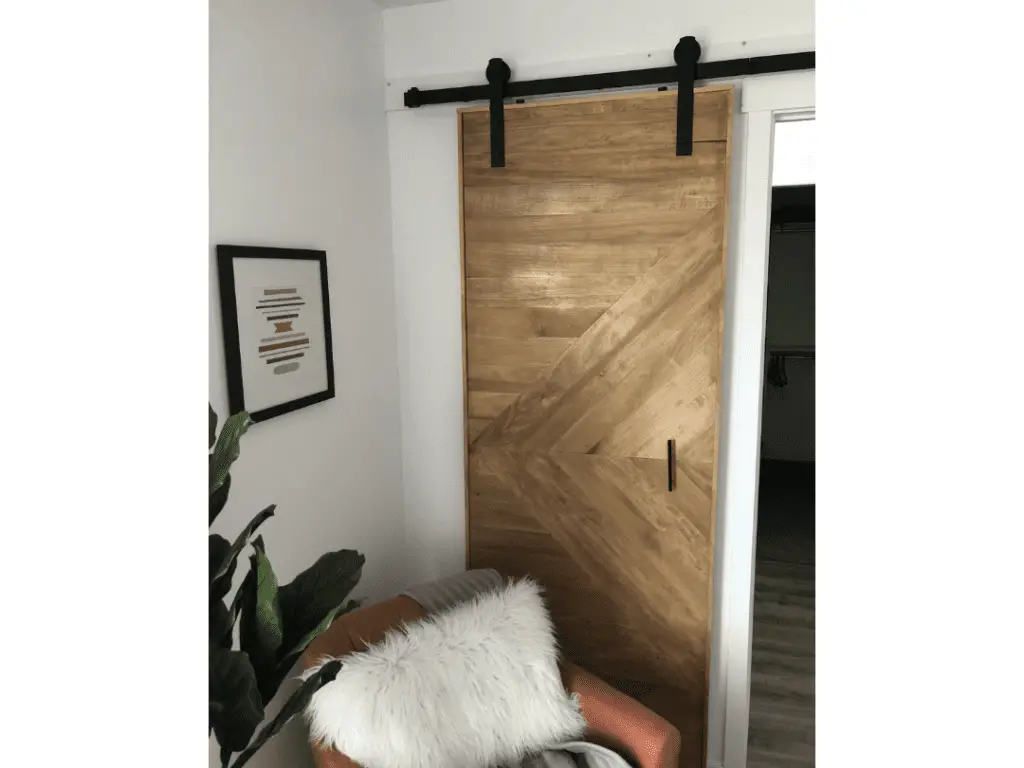
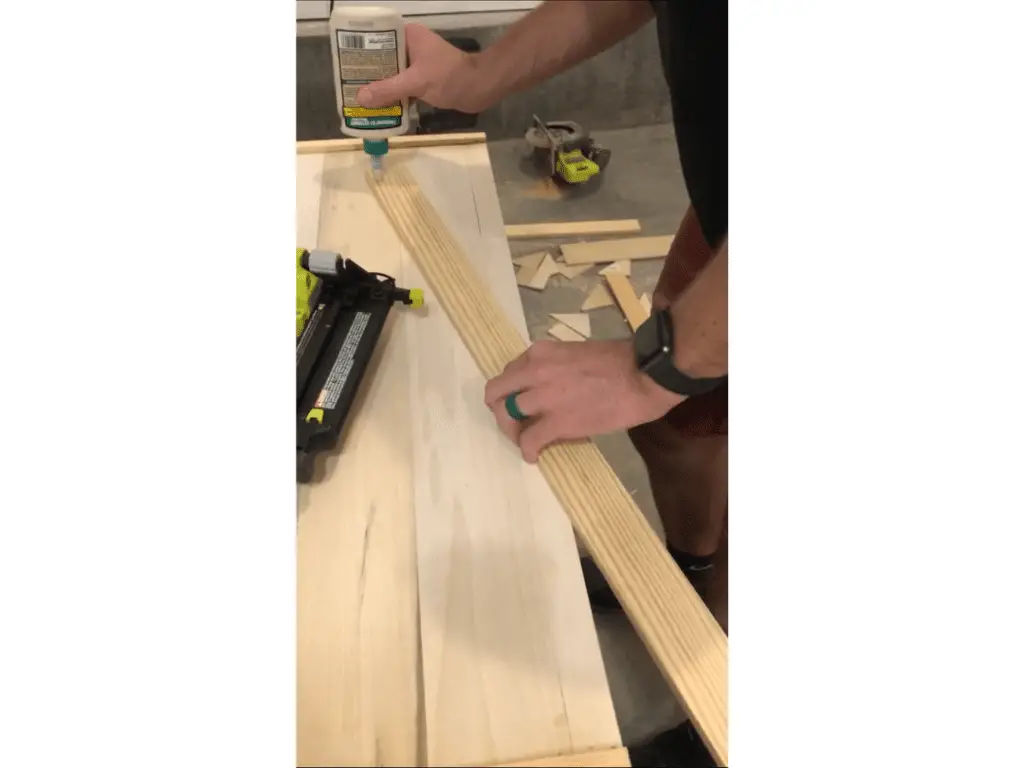
Add borders to the edges of the door to cover holes and add a clean finish. I used a 1×2 for the edges. I wish I would have used a 2×2 to make the door slightly wider though. This is a personal preference. Add the border with glue and brad nailer.

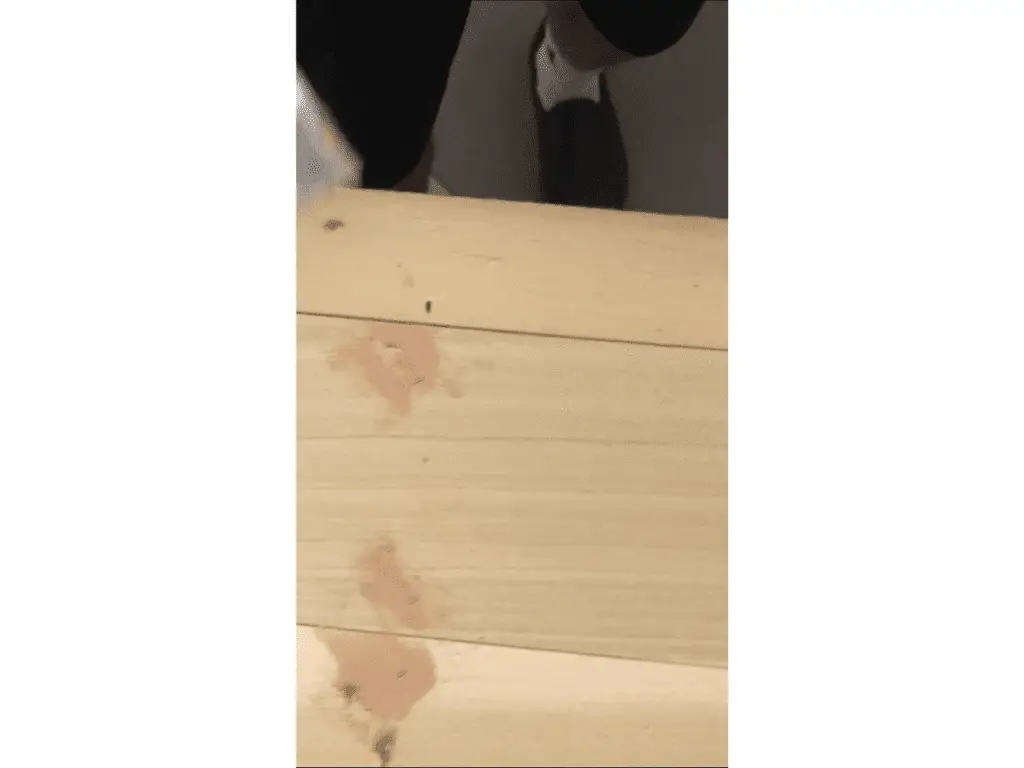
Step 10
The worst part. Fill in the nail holes with wood filler let it dry and sand. Then sand some more. This part really isn’t fun, but it is so necessary. I liked to use DAP wood filler, but you can use whatever kind of wood filler you like.
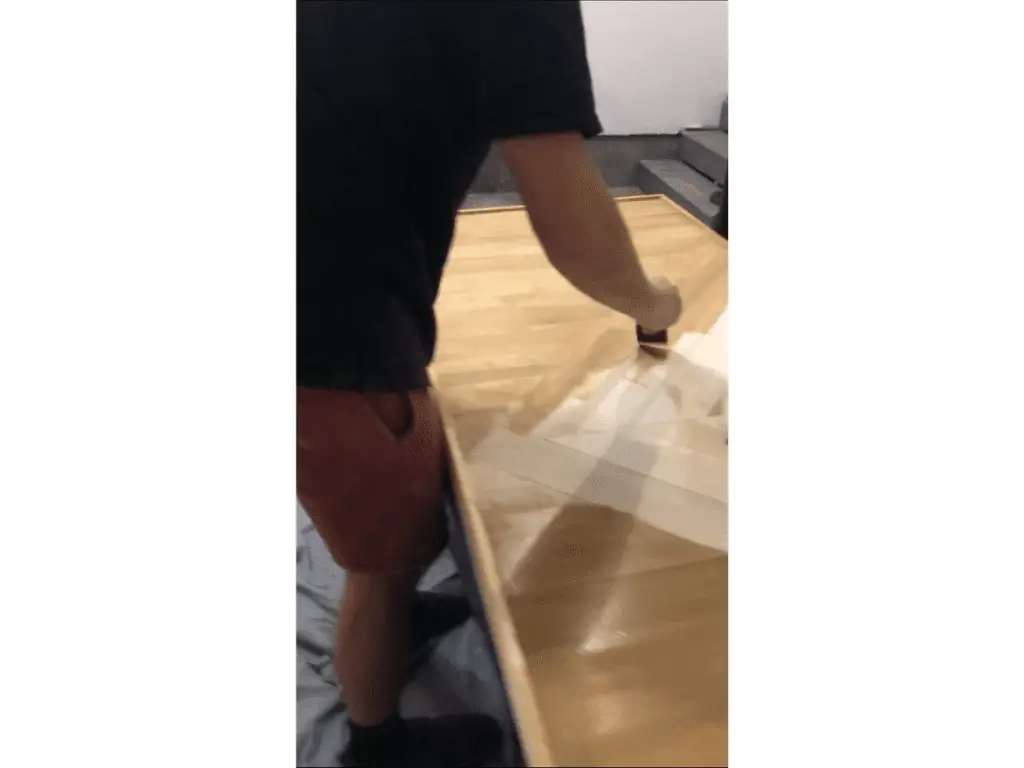
Step 11.
Stain the wood. I used fruitwood from mine wax. Staining is one of my favorite parts it is very satisfying to stain wood and see the color change. After letting the stain dry you can choose to add another layer or you can move on to applying polyurethane. I decided to go with a oil based polyurethane because this door was going to be in my bathroom and exposed to moisture.
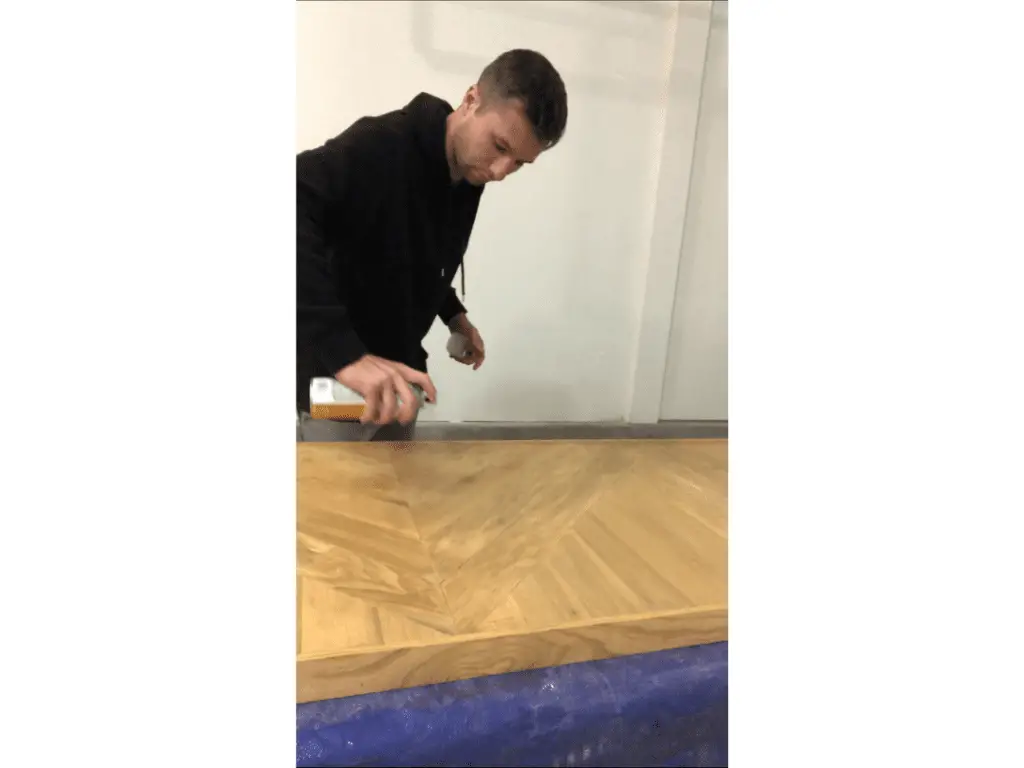
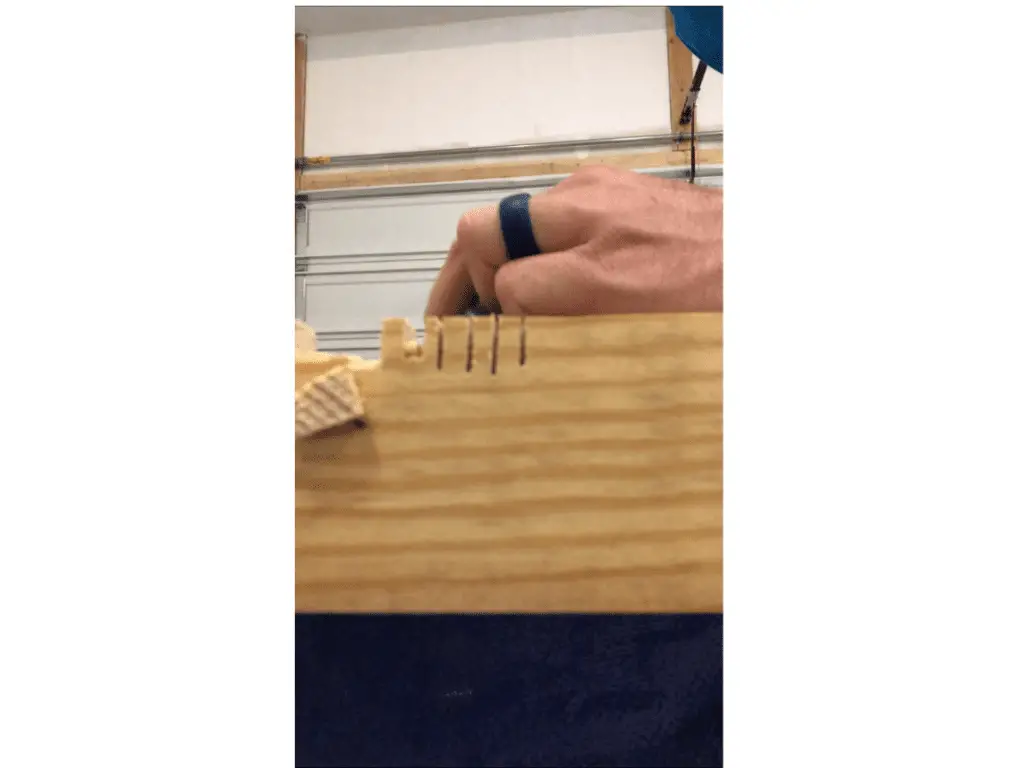
Step 12.
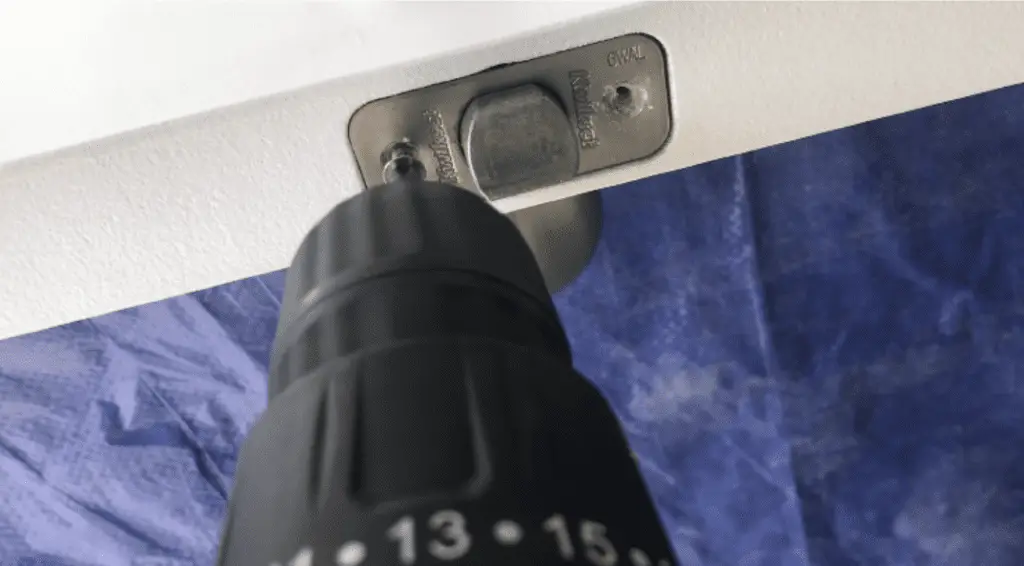
Notch out a section of the top border for your barn door latches. To do this measure out the space you will need to insert the latches. Once you have that marked take either a hand saw or circular saw and make tiny cuts all the way through your markings. (See photo below) Once that is done take a flat noise screwdriver and hammer and chisel the wood out. Now you have room to add your latches for the door.
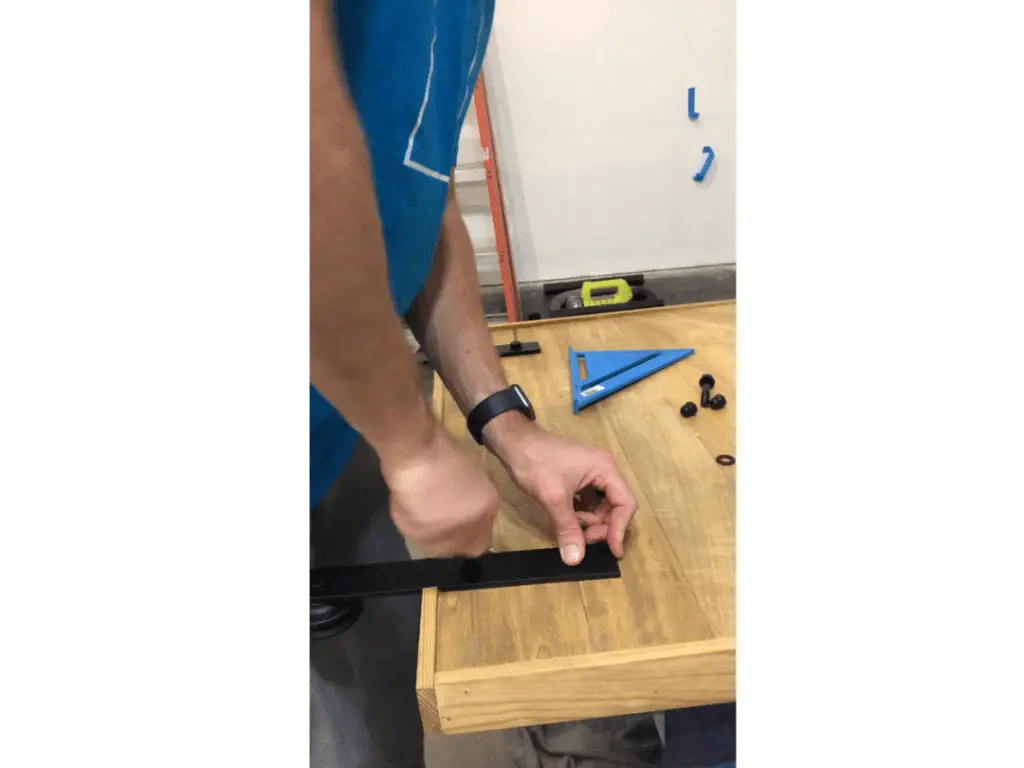
Now you need to hang up your railing. I got this rail off of Amazon and I love it. It comes with everything you need to hang your barn door up. It was super affordable and effortless to install.
There you have it you have now turned that old boring door into a modern sliding barn door. I do recommend adding a thicker board so you door doesn’t have as big of a gap off the floor.