")
Having a baby is a lot of work, but that doesn’t mean getting your nursery ready has to be. In this blog, I will go over how we built this cheap DIY accent wall in our nursery. This is a fun and easy project that will add a good amount of creativity to any room without being overwhelming. My wife and I also liked the fact that it is a gender natural design. That way when we decide to have a second kid we don’t have to change the whole room if it is a boy. In total, we spend just under $100 on this wall and it took us about 5 hours to complete.
Supplies
- 1 in. x 3 in. x 8 ft. Primed MDF Board
- Black acrylic paint pen
- Speed square
- White paint
- Painters tape
- Liquid nails
- Wood filler or spackle
- Paintable Caulk
Tools
- Brad Nailer
- 2-inch brad nails
- Circular Saw or Miter Saw
- Level
- Caulk gun
- Nail set (I had to use them because I sucked at using the nail gun and had to push a few nails into the wood a little deeper)
- 220 Grit Sandblock or Orbital Sander
- Tape measurer
- Paintbrush
- Paint roller
Let’s Get Started on this nursery wall
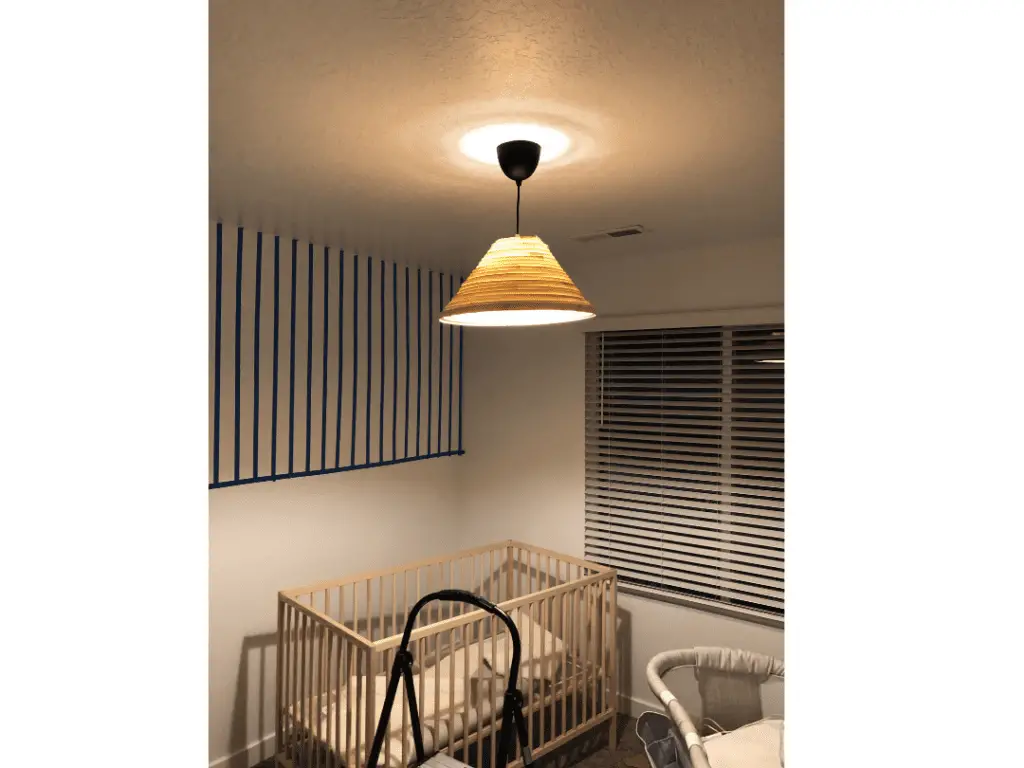
Step 1 – Taping
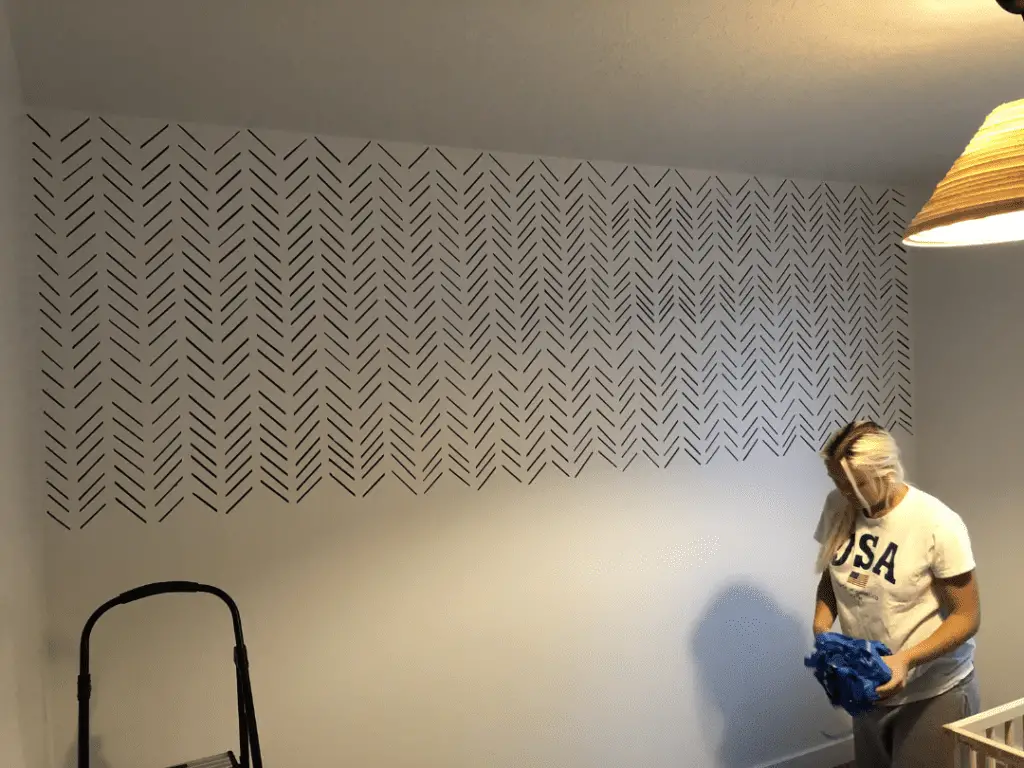
For this project depending on the size of your wall, you will need to do a good amount of taping. The tape will act as a guide as you paint your lines and move from section to section. We marked four feet high on each side of the wall then ran a horizontal line of tape first. From there we ran a vertical line of tape every 3 inches. Any width here will work, after we experimented with a few different widths we decided 3 inches would look best for our wall. We also used a level to make sure the tape was perfectly vertical. You will want to make sure not to mess up on this part because it could through off the entire project. This was probably the part that took us the longest to do. It helps if you have two people to make this process go faster.
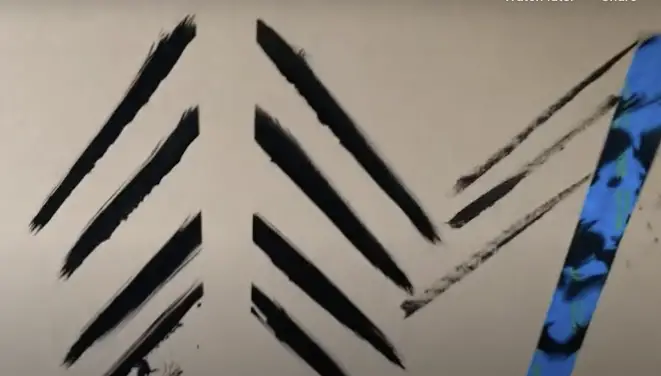
Step 2 – Test
I would suggest practicing drawing your lines before you start. We took a piece of cardboard and tested a few different brushes and spacing between each line. The image below shows what it looked like when we used paint and a paintbrush. It didn’t turn out very good, so we were happy we tested to see what it would look like before we made a huge mistake on our wall. We found that if we used a speed square and an acrylic paint pen we would get the cleanest look. We used this acrylic paint pen with a speed square and it made all the difference. You can use whatever thickness you would like with the pen, but I personally think the wider the better.
Step 3 – Paint
Now it is time to start painting those lines. Take your time on this and be sure to either use a speed square or some other template while painting to keep your lines consistent. Also, be sure to keep your spacing consistent. After doing this project I have seen some people who sell spacer patterns for something like this. It will honestly be a good investment if you have a really big wall.
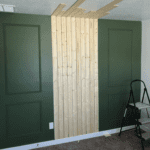
Step 4 -Boards
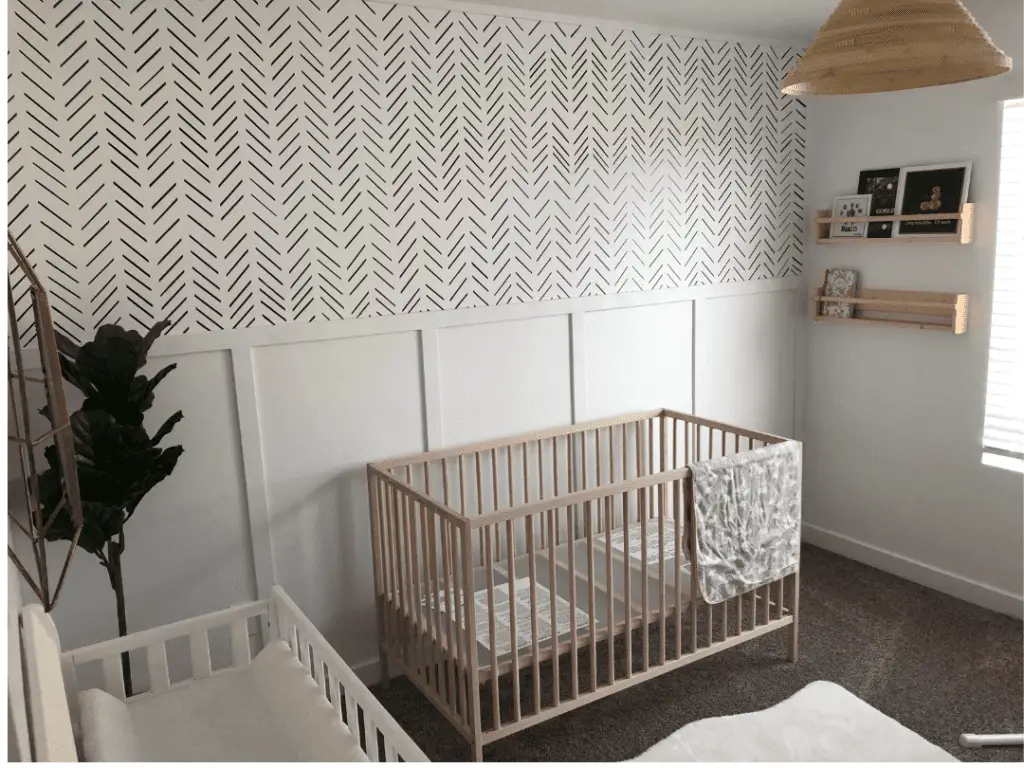
Once you have the pattern you are wanting it is time to add the boards. We hung our horizontal boards a few inches over the herringbone paint. You can do any pattern you fancy with the boards. We kept ours very simple with spacing between each board of 18 inches. The first thing you will need to do is cut the board. A miter saw or circular saw are the best tools for cutting boards like this.
Once the boards are cut you will need to attach them to the wall using liquid nails and a brad nailer. I started with the horizontal piece first. This acted as a good anchor for all of my other pieces. Just make sure it is level. Once the horizontal piece is up, start hanging those vertical pieces. Apply the liquid nails to the back then shoot a couple of brand nails into them. Be sure to measure your space first so you don’t have any awkward gaps on either side.
Step 5 – (Optional) I added a thin 1 1/2 board around the top of my wall to frame the herringbone pattern. I think this helped clean up the wall and made it look a lot better. This is an optional step, but I recommend it. Just follow the same instructions in step 4 to hang the boards around the herringbone pattern.
If you want to learn more about how to hang the boards onto the wall you check out this blog post here to get all the common questions about board and batten walls answered.
Step 6 – Touch ups
Now that the boards are attached to the wall it is time to clean up any holes that are left behind from the brad nailer. You will also want to use spackle to fill in the cracks where two boards touch. Once the spackle dries give it a light sand. You can repeat this process as many times as you would like until it blends perfectly. If you suck at this process like me it might take you 3-4 times before it looks good. 🙂
Step 7 – Paint
I know the boards are already white, but trust me, adding a single coat of paint really makes a big difference. If you wanted to be bolder you could even look at painting it something other than white. Be sure to wipe down the boards with a damp cloth to get rid of all the dust from sanding before you paint. When we painted we only painted the boards, we didn’t feel the need to add another layer of paint to the wall.
And there you have it a cheap DIY nursery accent wall. 🙂