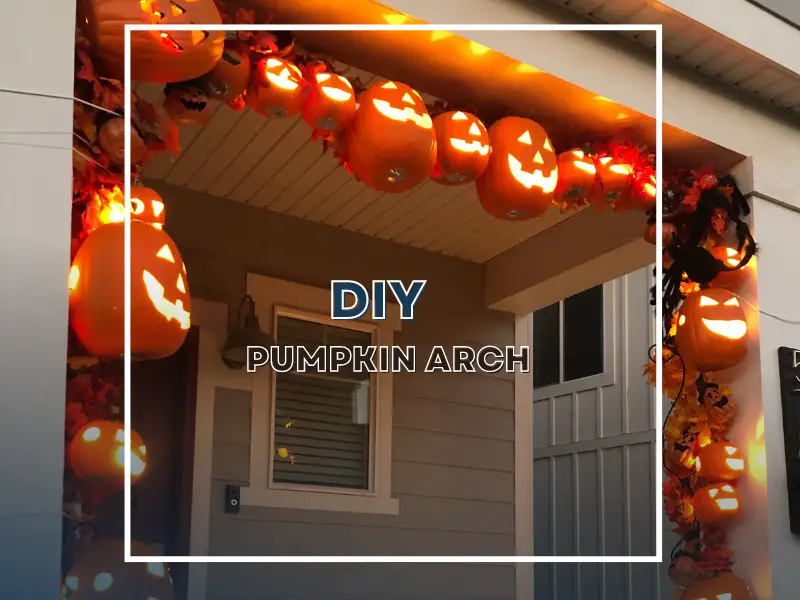
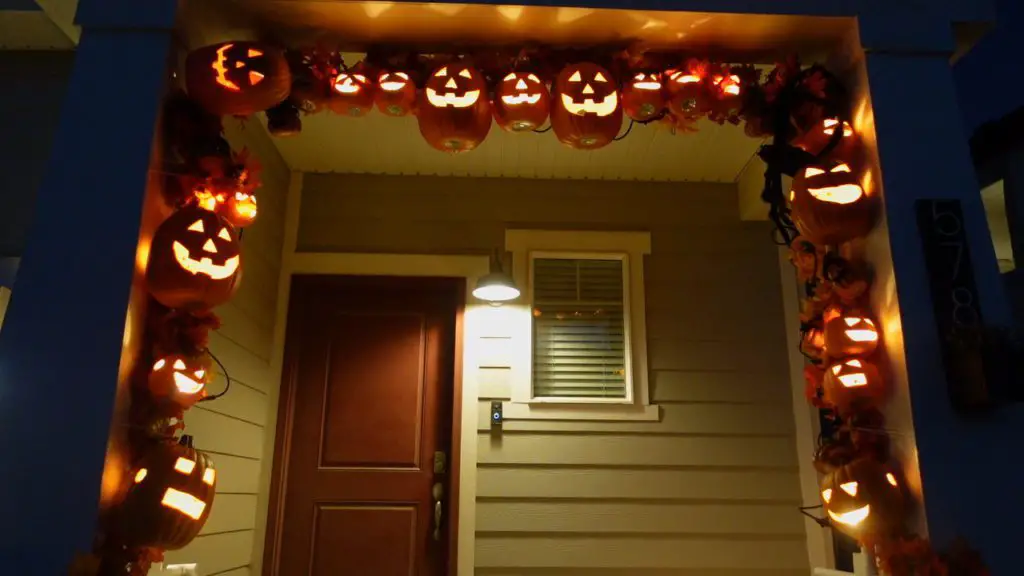
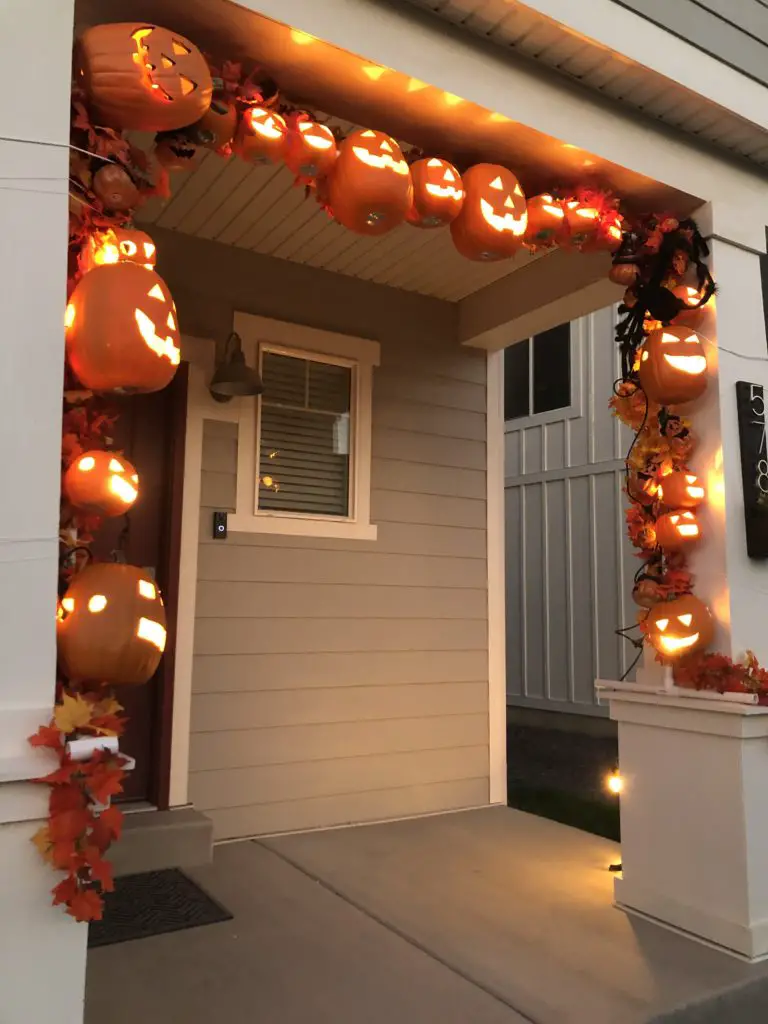
It’s that time of year again – Halloween! And what better way to celebrate the holiday than by building your very own pumpkin arch? This is a fun and easy project that can be completed in just a few hours. We will show you how to put it all together step-by-step. So get ready to have some fun this Halloween!
Supplies Needed
- Plastic pumpkins I used 12 inch and 16 inch tall for this project
- 1″ PVC pipe and PVC elbows
- Pipe cutters or saw
- Fake leaves
Measure and cut PVC pipe
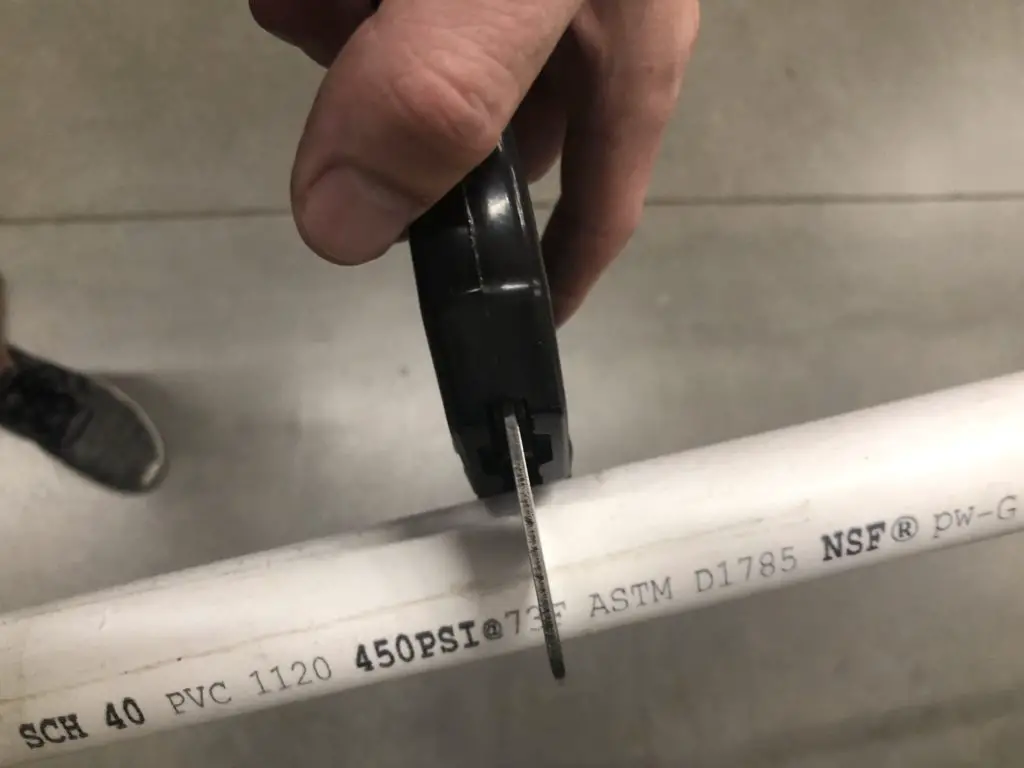
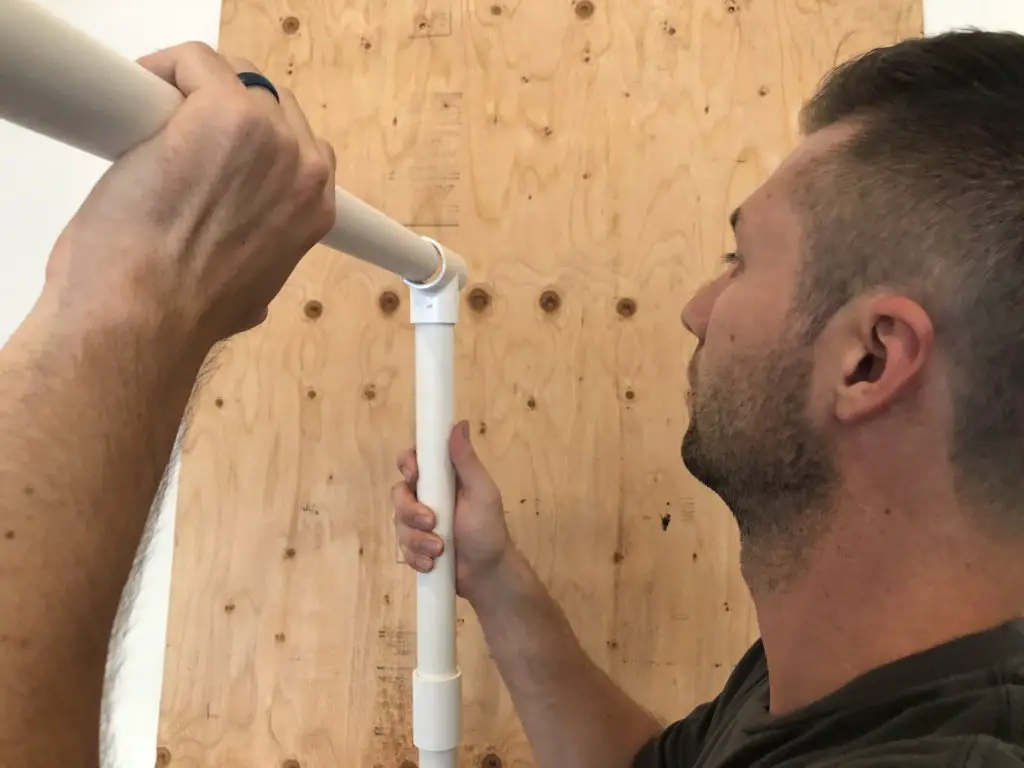
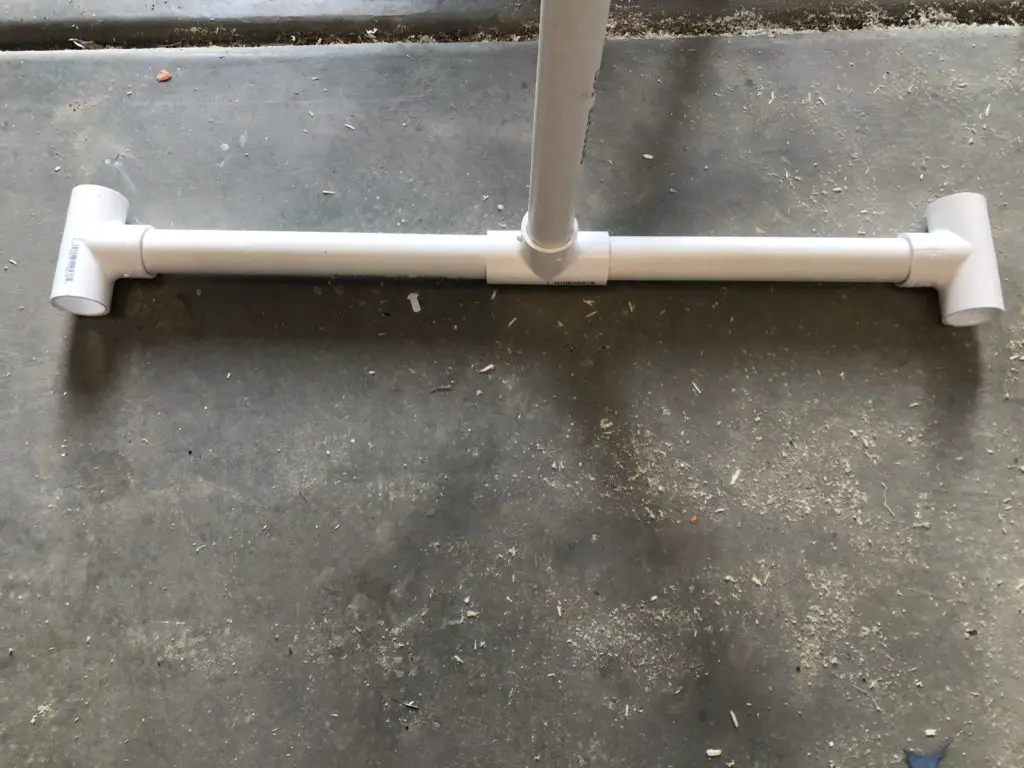
Measure out your porch or where you are wanting to place the arch. I used 1″ PVC pipe and elbow fittings to create my arch. You can use a saw to cut the PVC pipe or a set of pipe cutter if you want to make quick work of the cutting
Drill holes in the back of the pumpkins
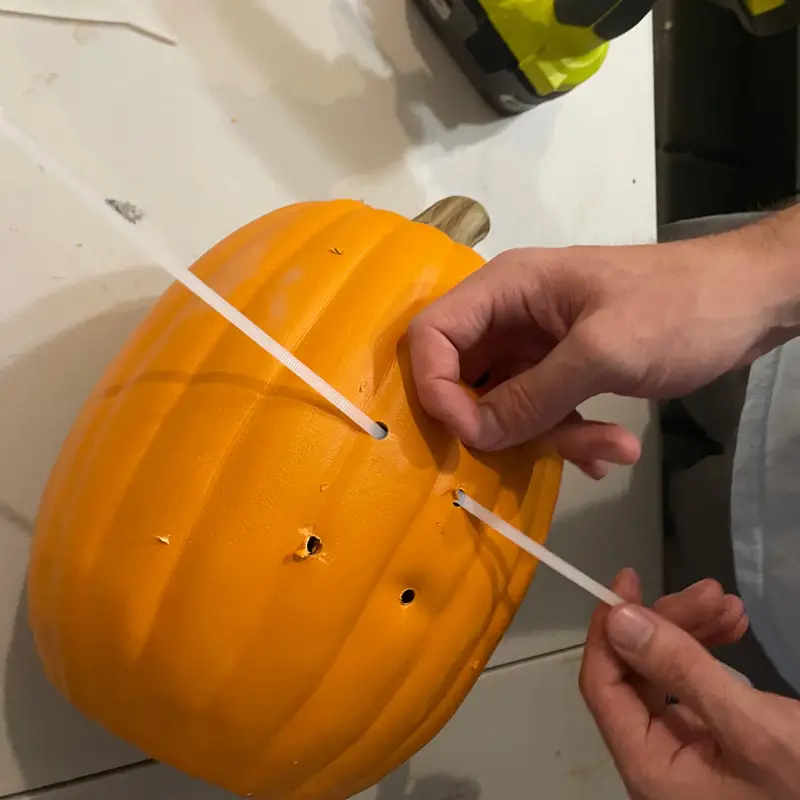
For the bigger pumpkins, I drilled 4 hours that were big enough for me to fit 2 zips through them. I also drilled a 1″ inch hold using a spade bit in the back/side so I could easily slip my lights in them later. Repeat this process for all the pumpkins that you are wanting to hang on the sides on the arch.
For the pumpkins on the top I found it was easier to drill 1″ holes on each side and slide the PVC pipe through them to hand them on the arch, instead of using the zip ties.
Hang pumpkins with zip ties
Before hanging your pumpkins I encourage you to have an idea of the pattern you want your pumpkins to go in. I didn’t really do this at first and I paid for it. I ended up taking down all my pumpkins and starting over because the pumpkins just didn’t look right in the order that I had them in.
You may also find that the pumpkins don’t always stay in place. I found that after I zip-tied the pumpkins to the PVC, I would add one zip-tie right below the pumpkin. This would act as a little shelf for the pumpkins so they wouldn’t slide down.


Place lights in Pumpkins
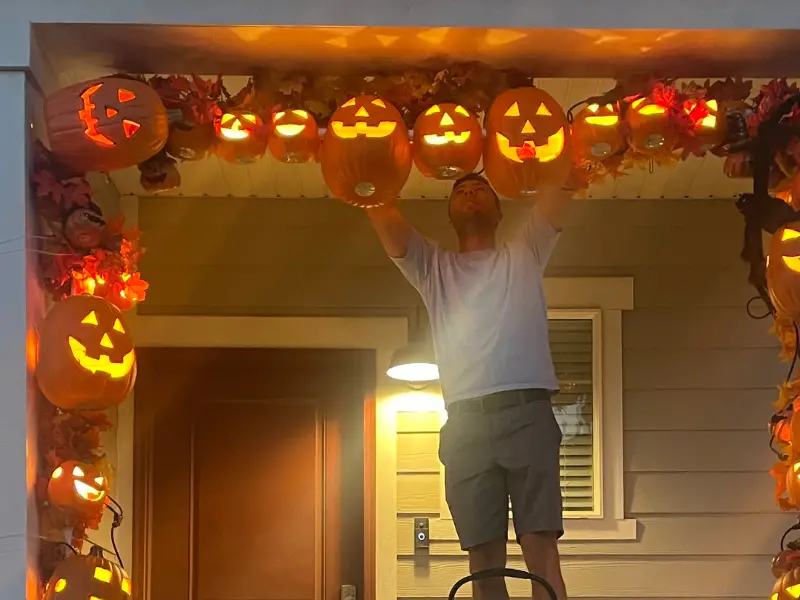
After you have all your pumpkins attached to your PVC pipe you can now place lights in all of them. You can use a battery light for each pumpkin if you wanted to, but it would be a hassle to go manually turn each pumpkin on and off every day. So I decided to use wired eddison lights.


Use leaves to cover wires
One of the downsides of using the wires is they are very visible. But have no fear they are easy to cover with small fall leaves. The leaves also help make the arch look full in some of the gaps.
This is a fun and easy project that can be completed in just a few hours. It’s a great way to add some holiday decorations to your home, and it’s sure to impress your friends and family. So get creative and have fun with it! We hope you enjoyed our tutorial on how to build a Halloween pumpkin arch.



@housetohomediy Fall is in the air! #thdxdiyworkshops #homedepotpartner #halloweendecor #halloweendecorations #diyhalloweendecor #halloween

