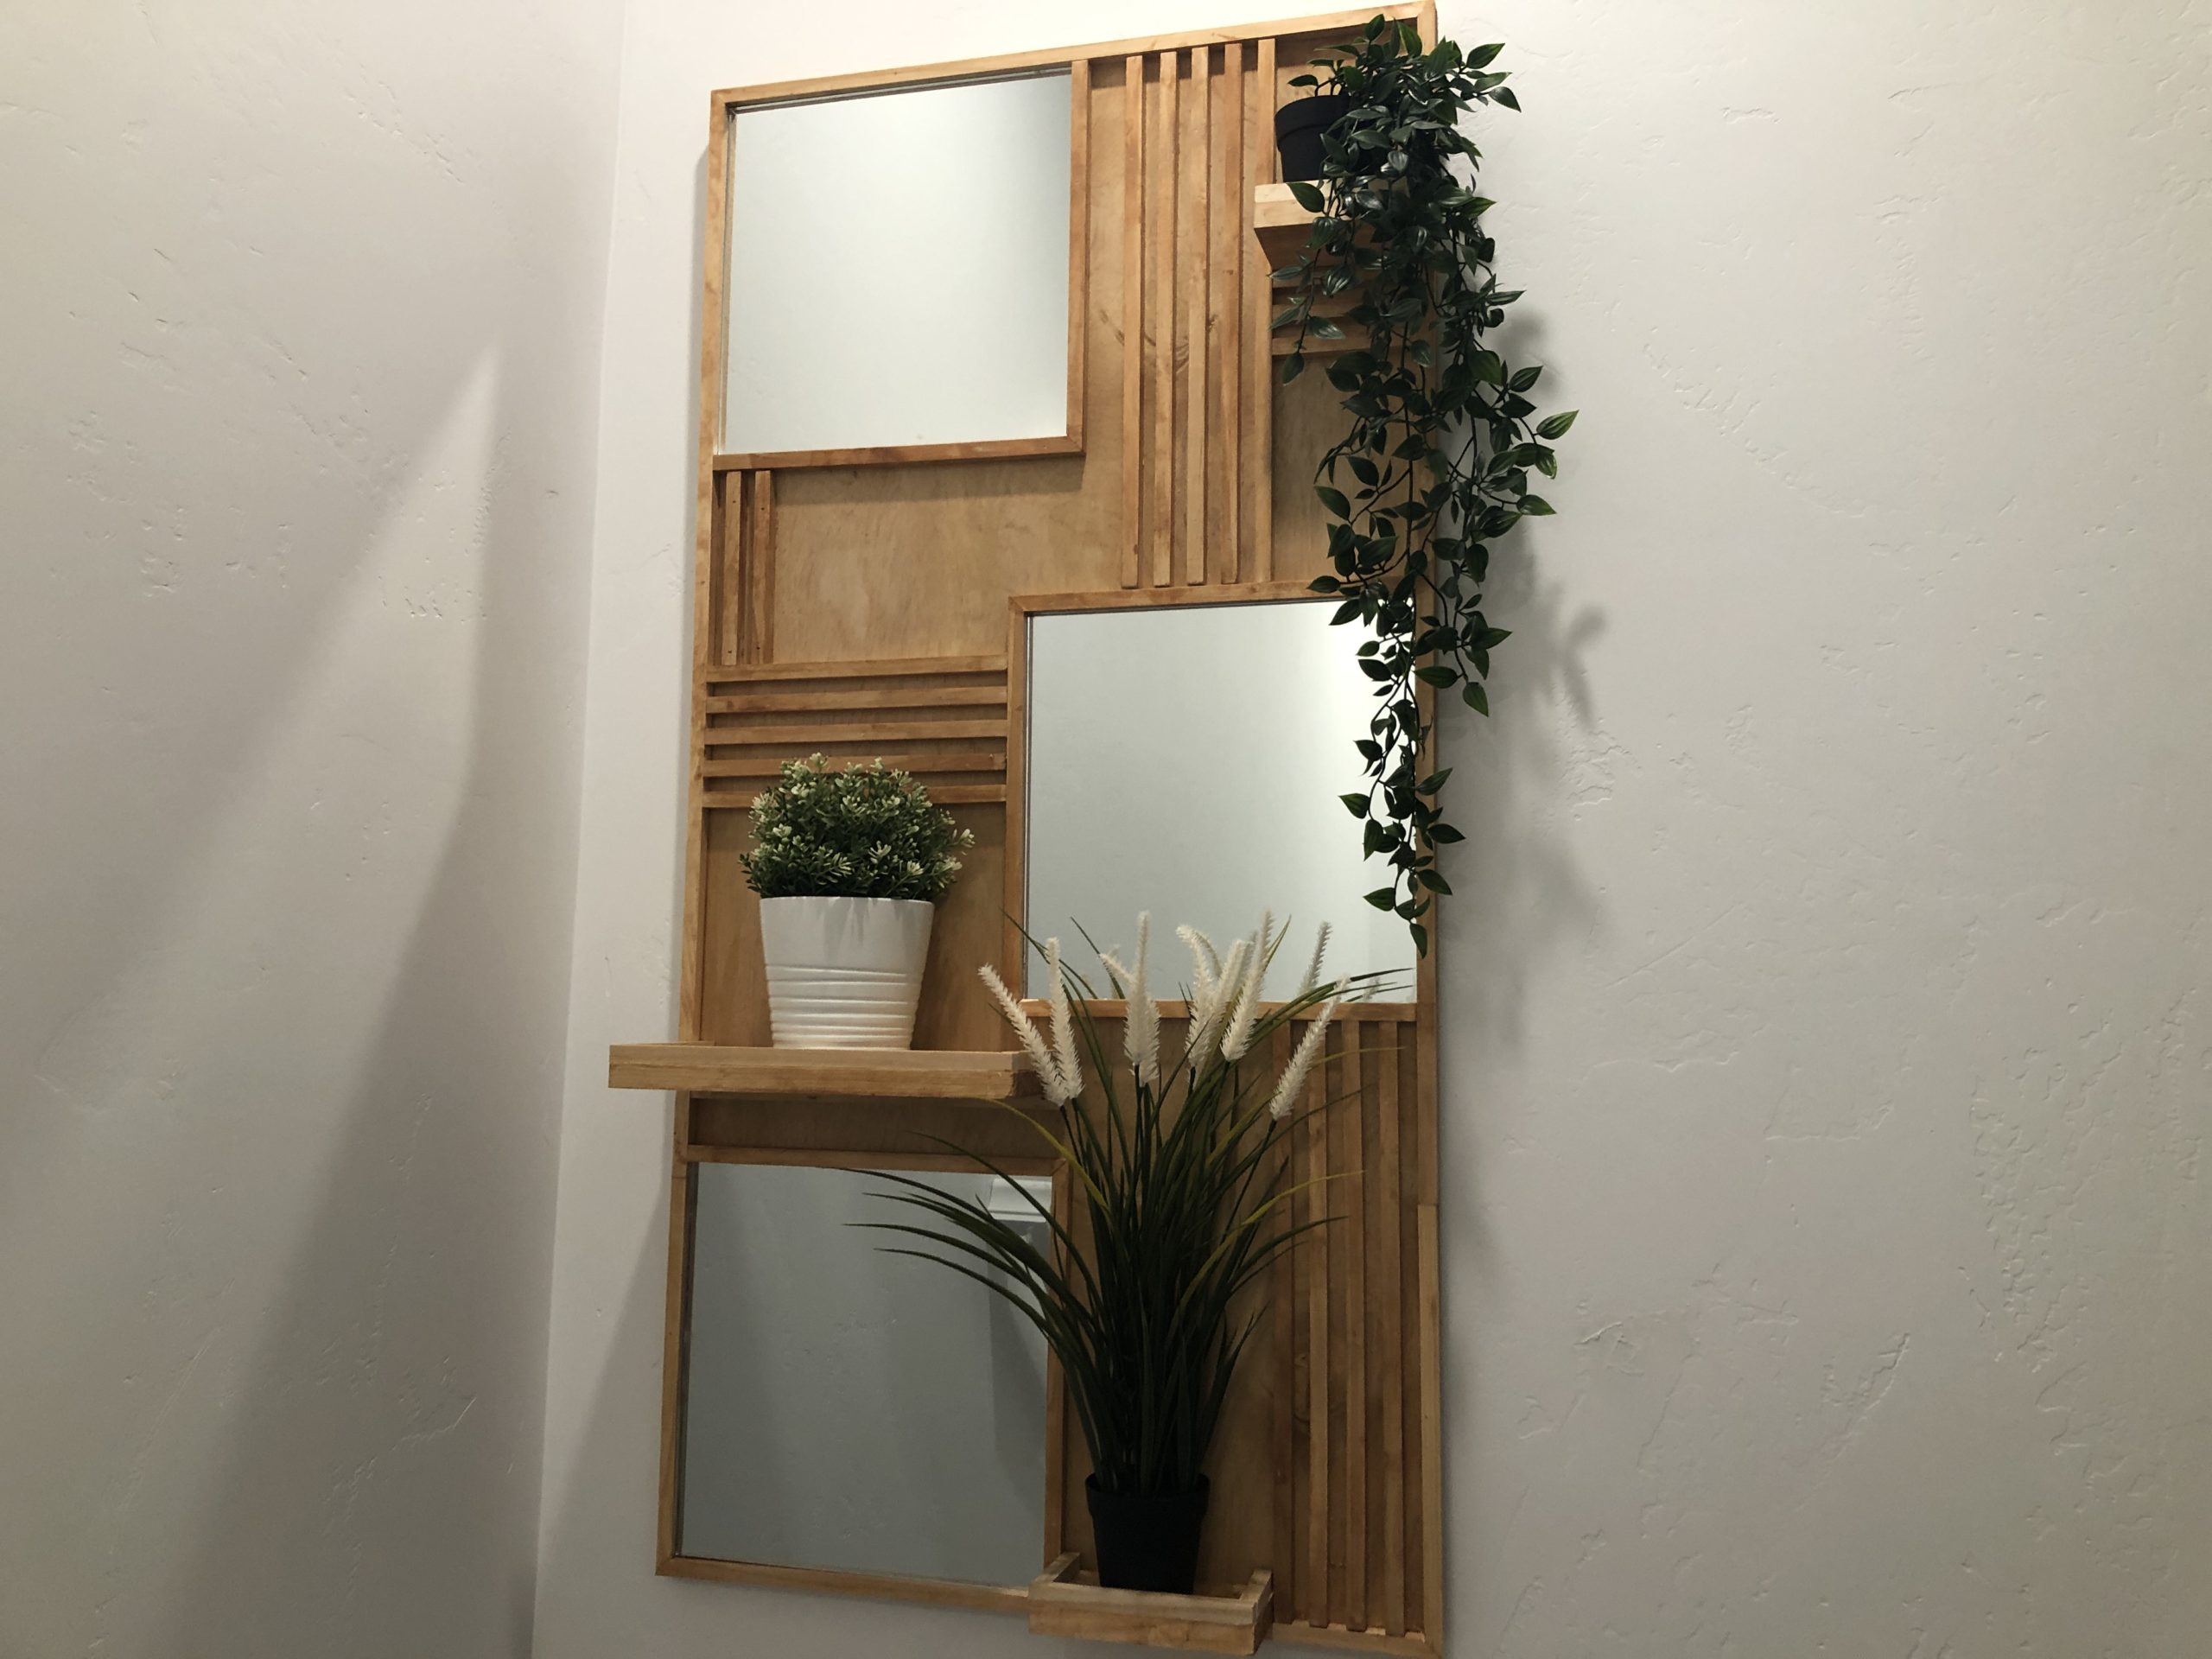
Looking for a chic and modern mirror that you can build yourself? Look no further! In this blog post, we will show you how to make your own mirror using simple materials and tools. This is a great project for anyone who wants to add a touch of glamour to their home. Let’s get started!
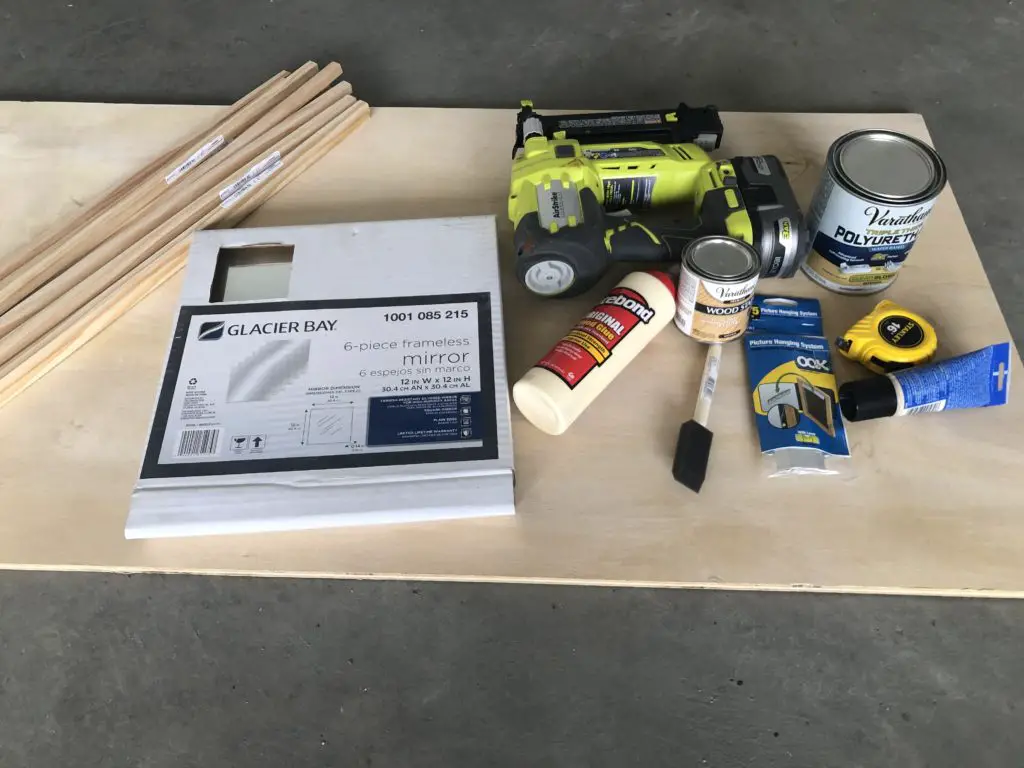
Tools And Supplies For DIY mirror
- 2’x4′ sheet of plywood wood
- Square dowels
- 12″x12″ Mirrors
- Wood glue
- Brad nailer
- liquid nails
- stain/paint
- French cleat hanger
- wood filler
- hand saw or miter saw (recommended)
Steps To Building your DIY Mirror
Build your mirror frame
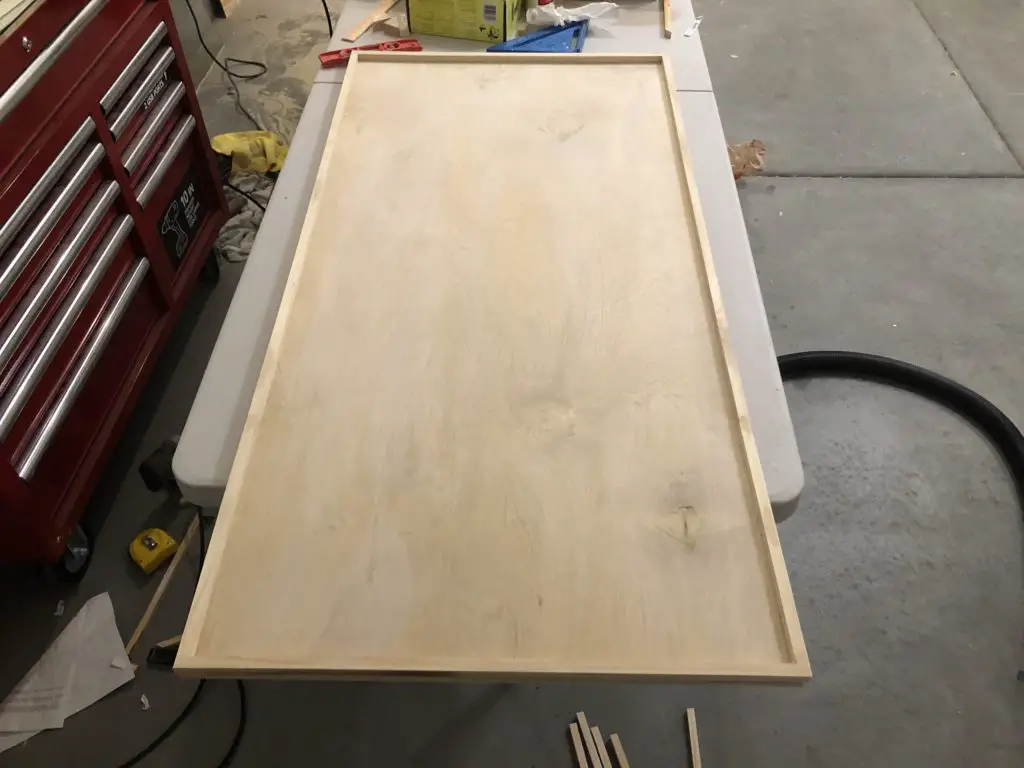
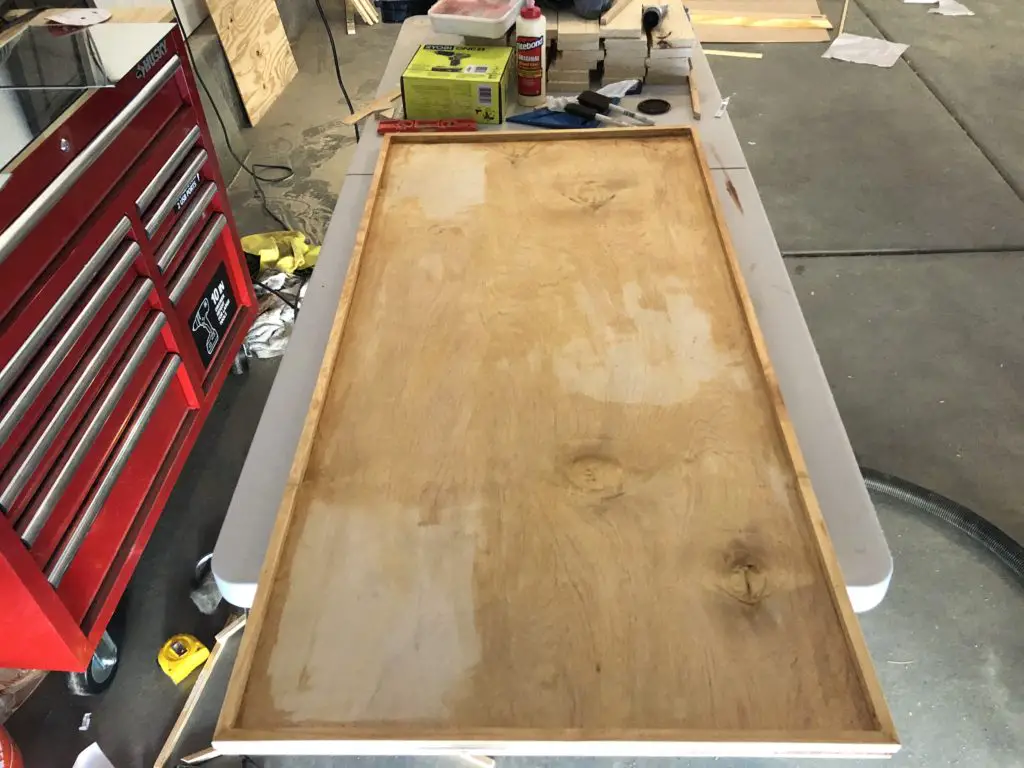
Start by cutting dowels to fit the length of your 2’x4′ plywood. If you want a cleaner finish I recommend cutting the ends at a 45-degree cut on all the corners where your dowels meet with a miter saw. Be sure to measure twice before making those cuts. Now it’s time to assemble your frame! Apply wood glue to the bottom of each dowel and attach them to the plywood. Once all of the dowels are in place, use a brad nailer to secure them. Before you start using brad nails be sure you have the proper length so your nails don’t poke through the back.
Decided your pattern
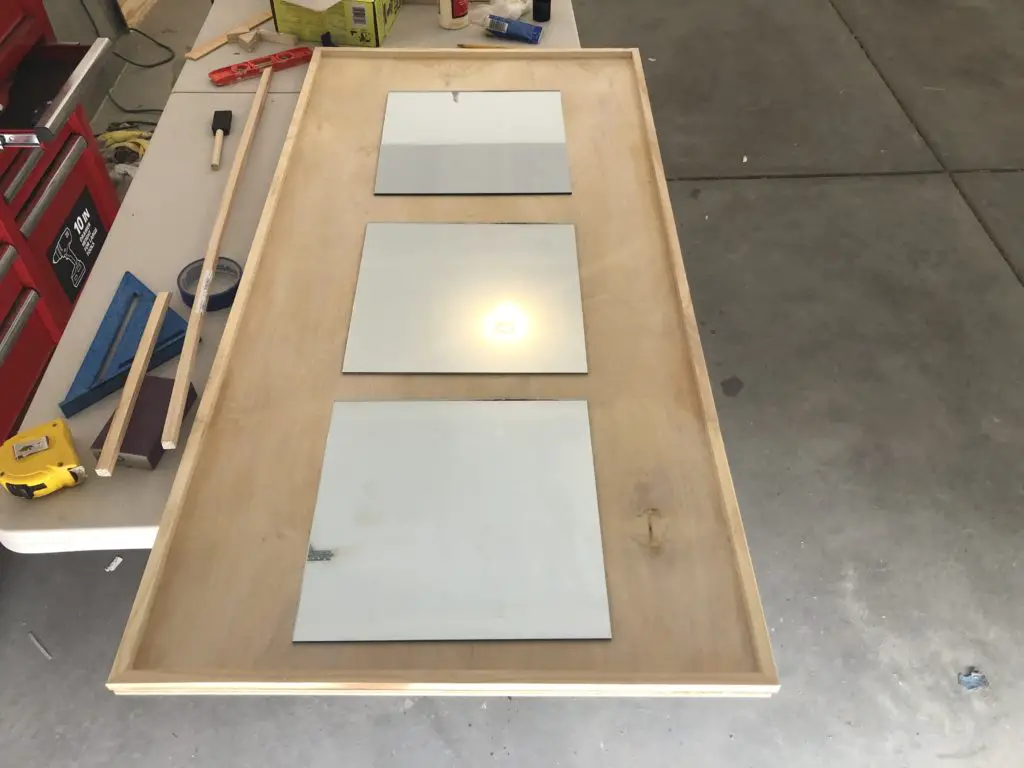
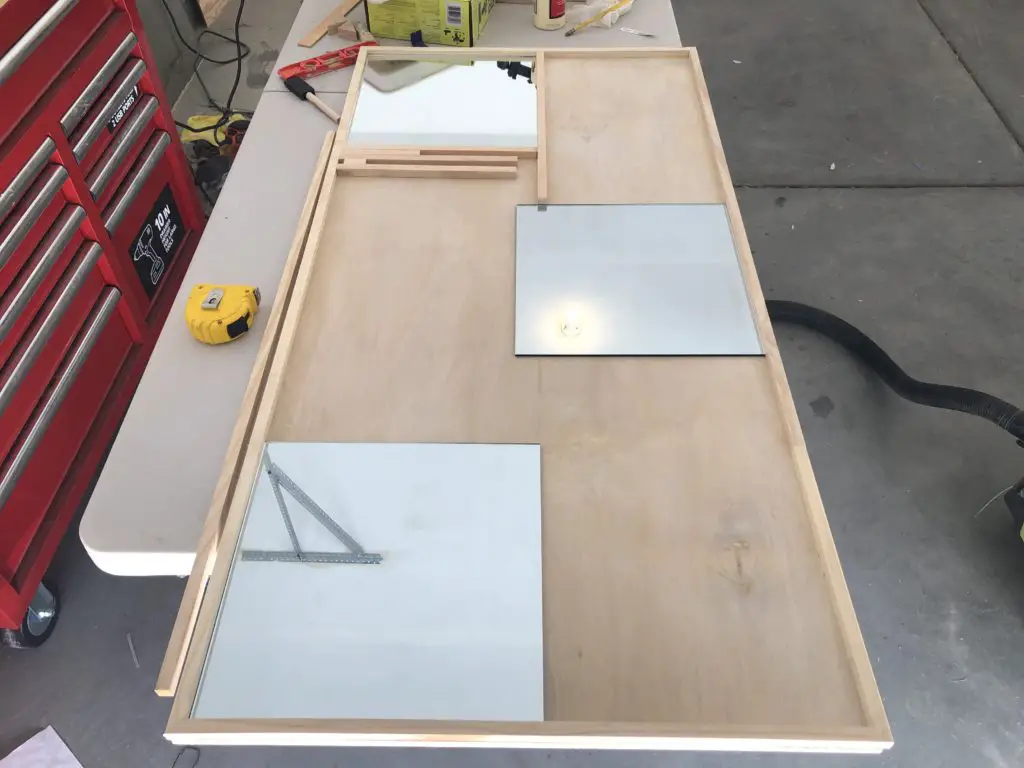
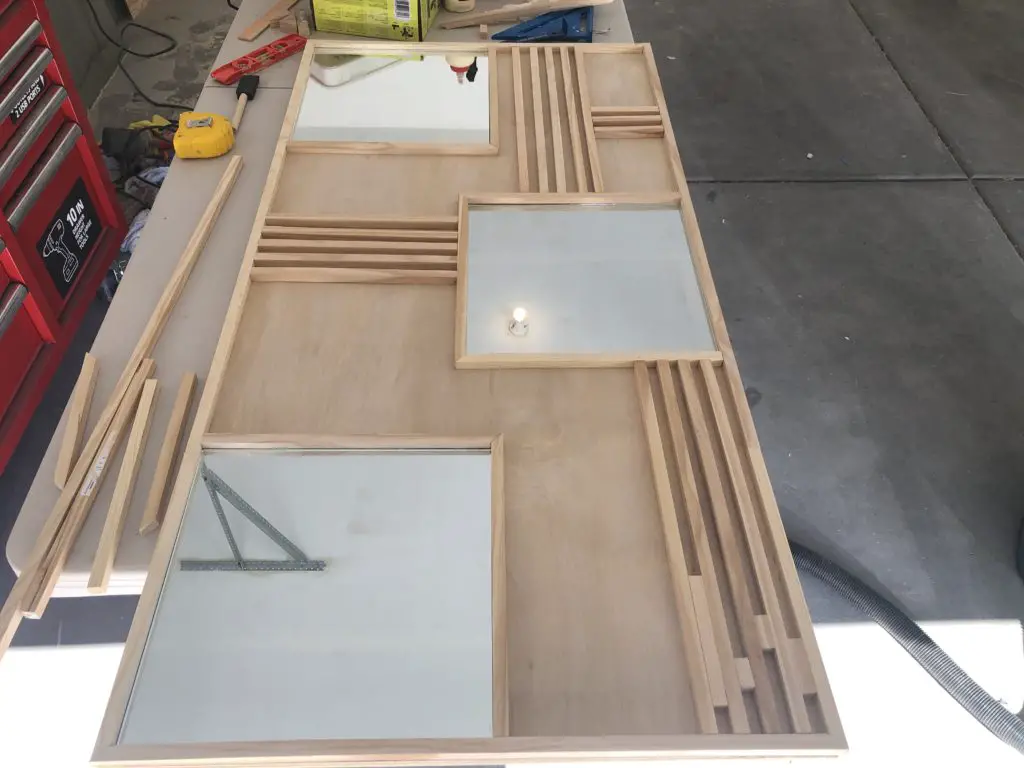
I am not going to lie, this was probably the hardest part of this project. There are so many different ways you could style your mirror. I recommend picking the placement of your mirrors first then start laying the pattern for your dowels. Once I had an idea of the pattern I wanted I ended up cutting a few dowels up and laying them out (without glue or anything) so could get an idea of what it would look like.
Stain your plywood, frame & dowels
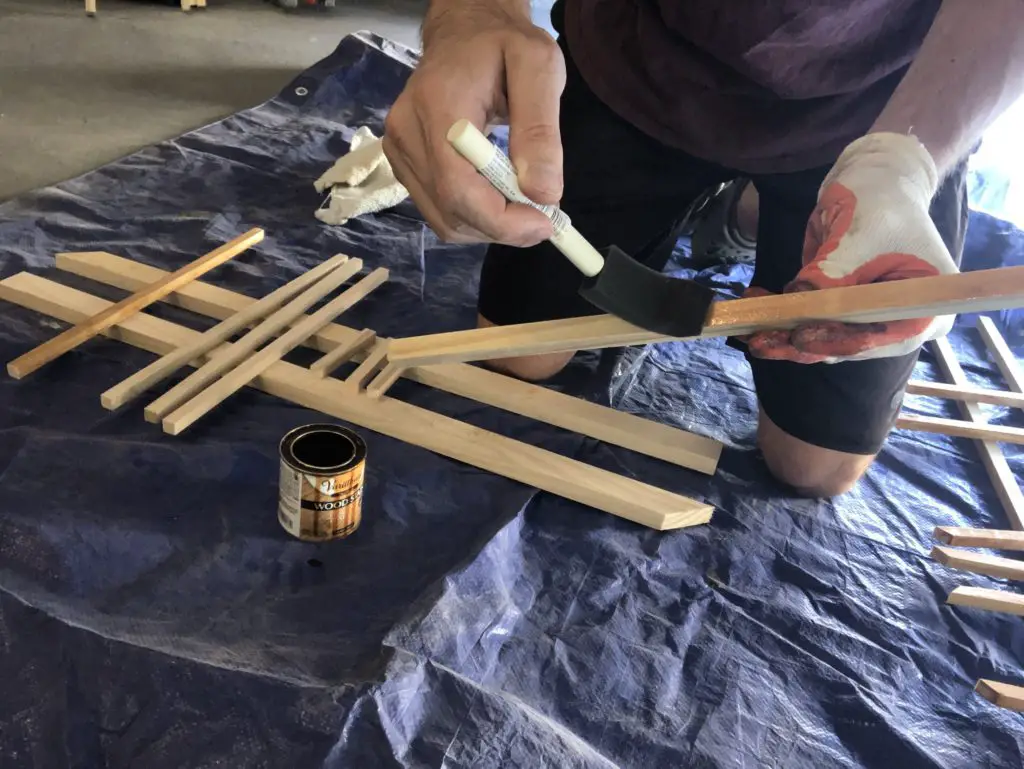
Before you start attaching anything else to your plywood I found it way easier to stain everything before I attach the dowels or mirrors. If you choose to stain everything once it is already attached to the plywood it will be difficult to get into all the small little cracks.
Glue Mirrors
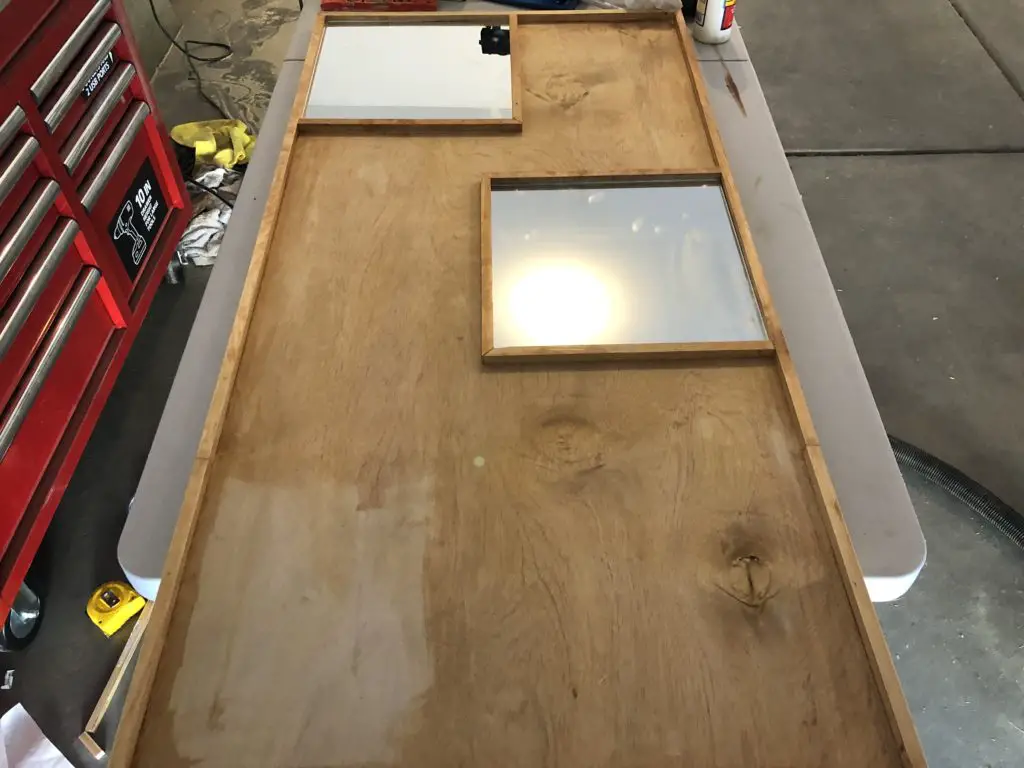
Once the stain dries glue your mirror to the board using liquid nails. I also decide to frame my mirrors with dowels. This is optional, but I think it looks nice. I found it very useful to attach the mirrors first because they acted as a base for me to work around with my dowel pattern.
Attach Dowels and fill Nail holes
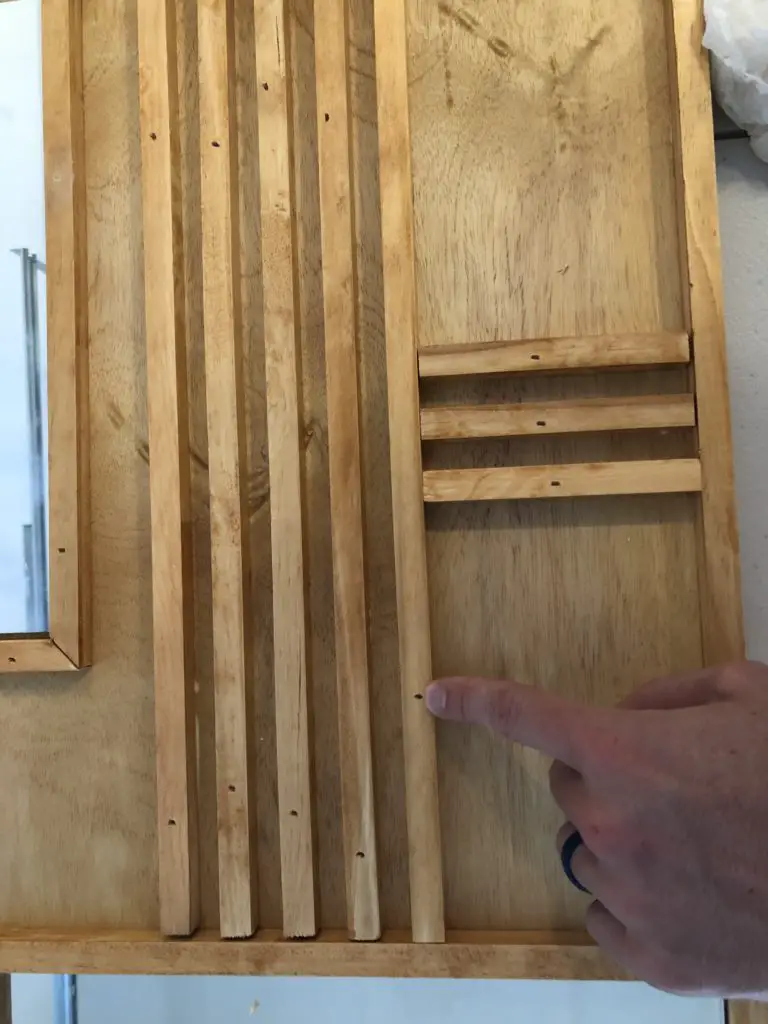
Apply wood glue to the bottom of your dowels and place them in your desired pattern. I used a spare dowel as a spacer for this style to keep consistent space. Once the dowels are in your desired location hit them with a few brad nails to hold them in place. The brad nailer will leave small holes in the dowel that you can easily fill with a little wood filler. Once the wood filler dries you will need to give it a lite sand and might need to touch up those areas with a little stain.
Add Shelves (Optional)
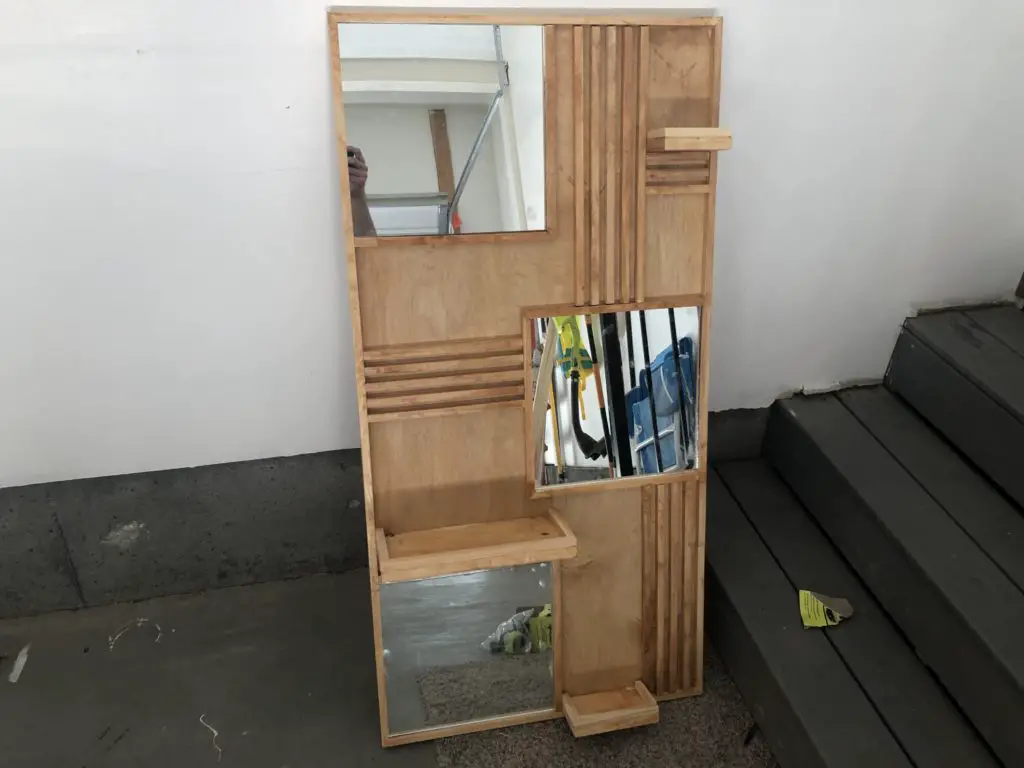
To add more of a decorative element to this DIY project I decided it would be fun to add a few shelves so I could put plants and other decor on the mirror. I was worried I was going to ruin the whole mirror by doing this, but I am so glad I ended up trying it because I think it really brings the mirror to life.
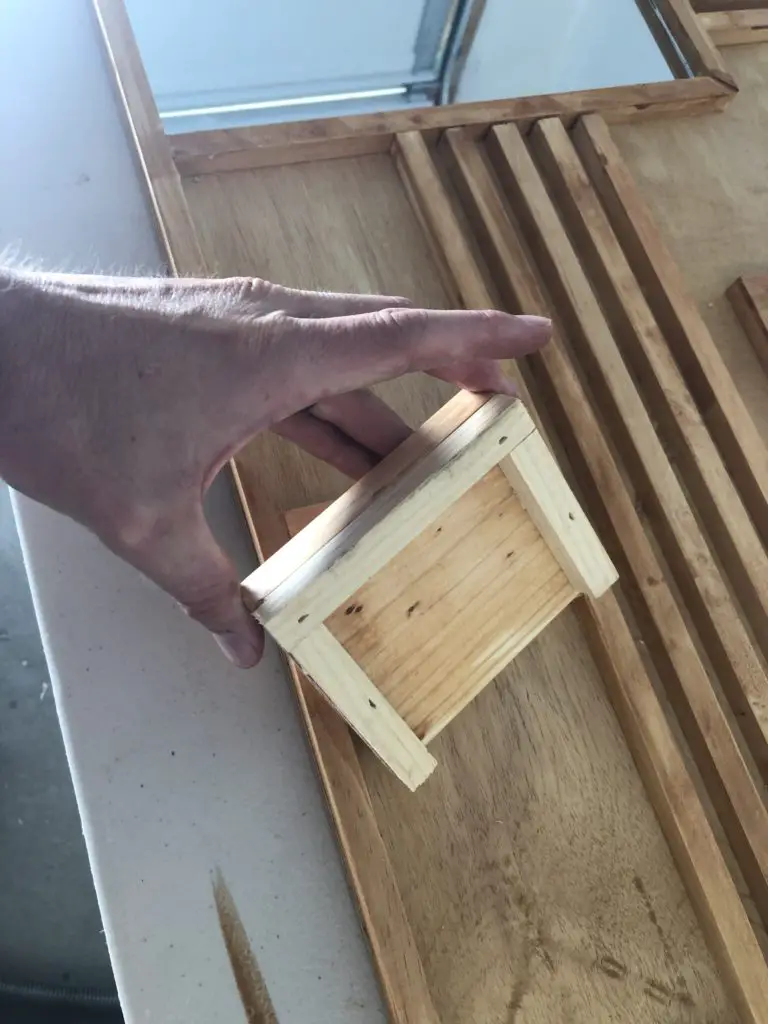
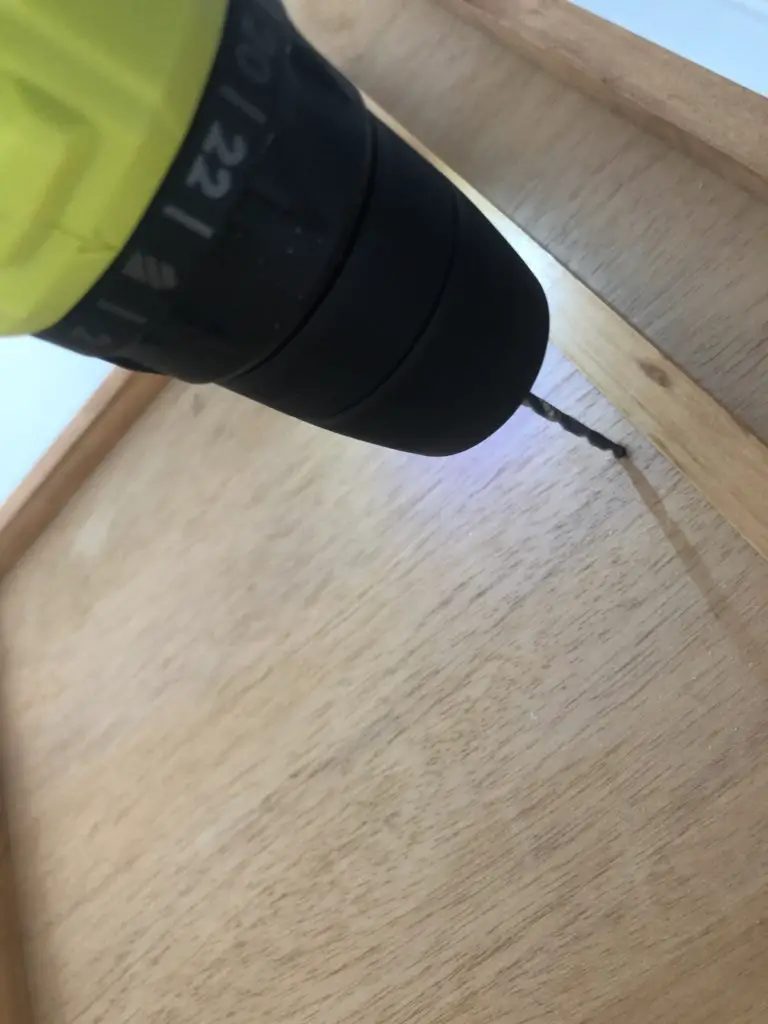
I grabbed a leftover piece of 1″x4″ and cut it to my desired length. I then attached a few dowels around the edge to build a little ledge so it could hold a plant. From there I stained it and let it dry. Once it was dry I attached the shelves screwing 3 1/2″ screws from the back of the board into the shelf. I also applied a little wood glue for a little more support. I will say this was a little trial and error. The first time I tried this the screw didn’t go super straight and poke through the top. So after that happened I pre-drilled holes to help keep the screws straight.
Hang the mirror
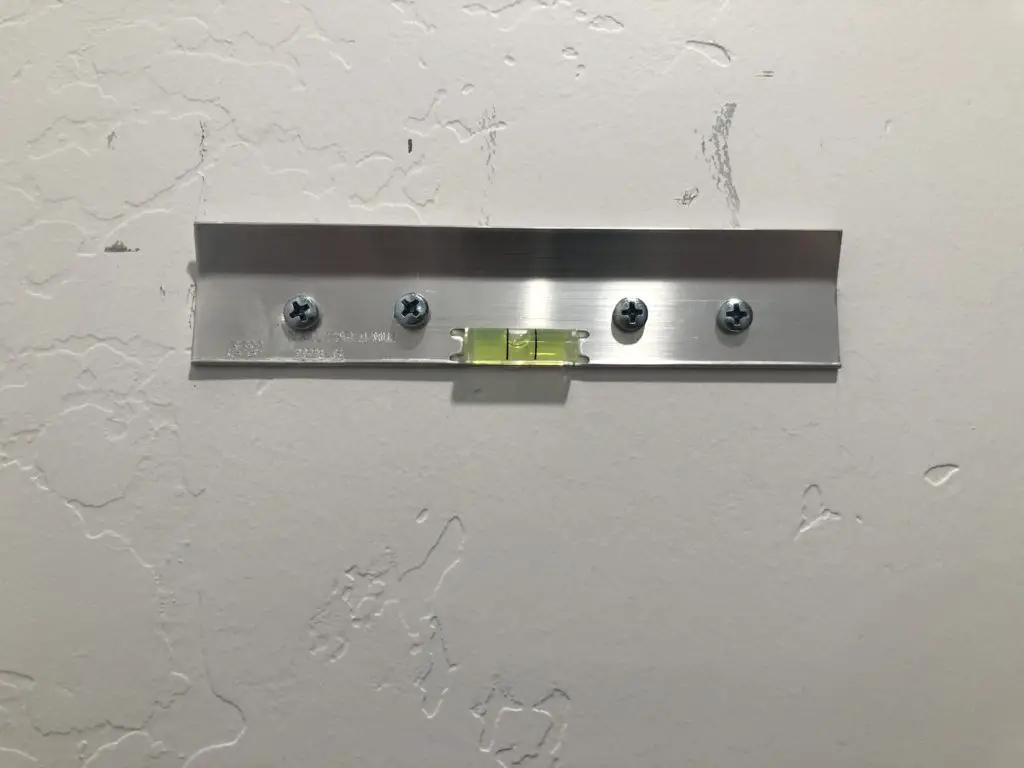
You will find after you build this mirror it can get a little heavy. You can choose to just lean it against a wall, but I wanted to hang mine on the wall. I used this french cleat mirror hanger and it made the job super easy. I just made sure the cleat went into a stud.
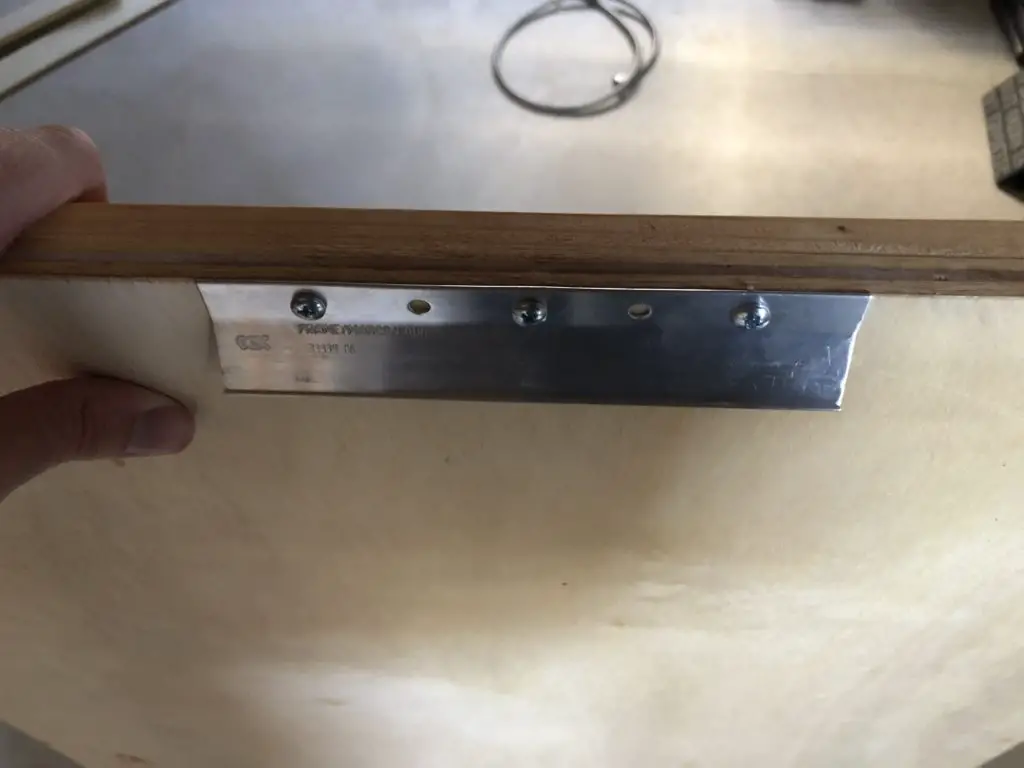
![]()
Decorate Your Masterpiece
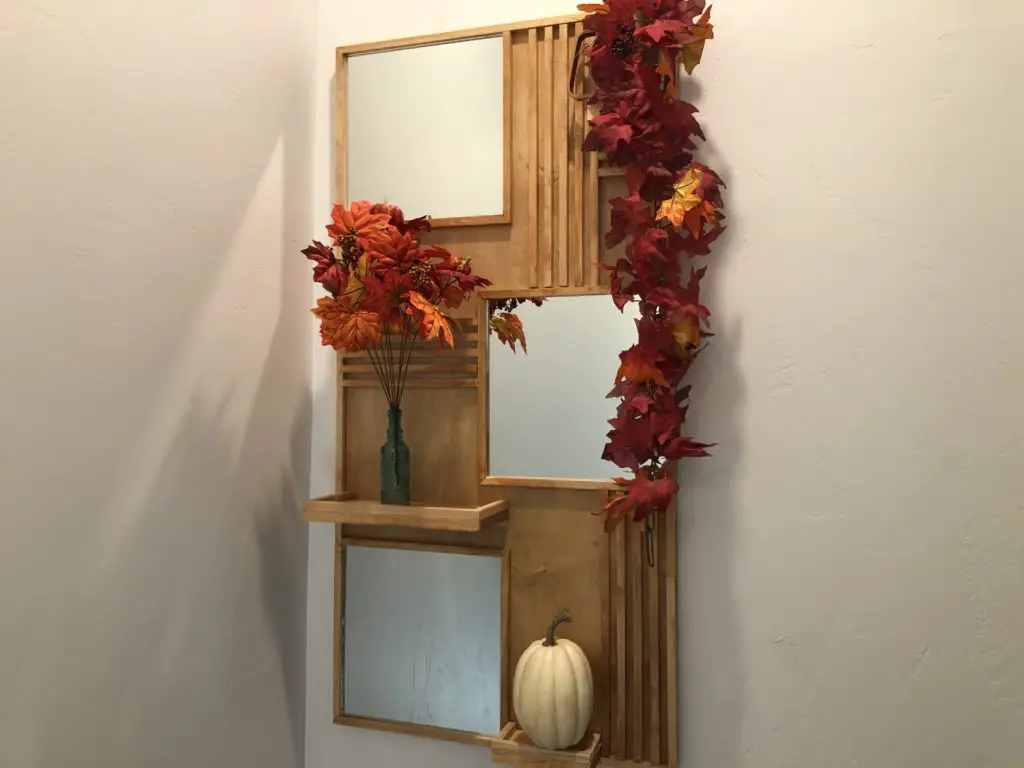
Now until the final step! It is time to decorate your new mirror masterpiece. The great thing about this project is you can easily mix things up with the seasons.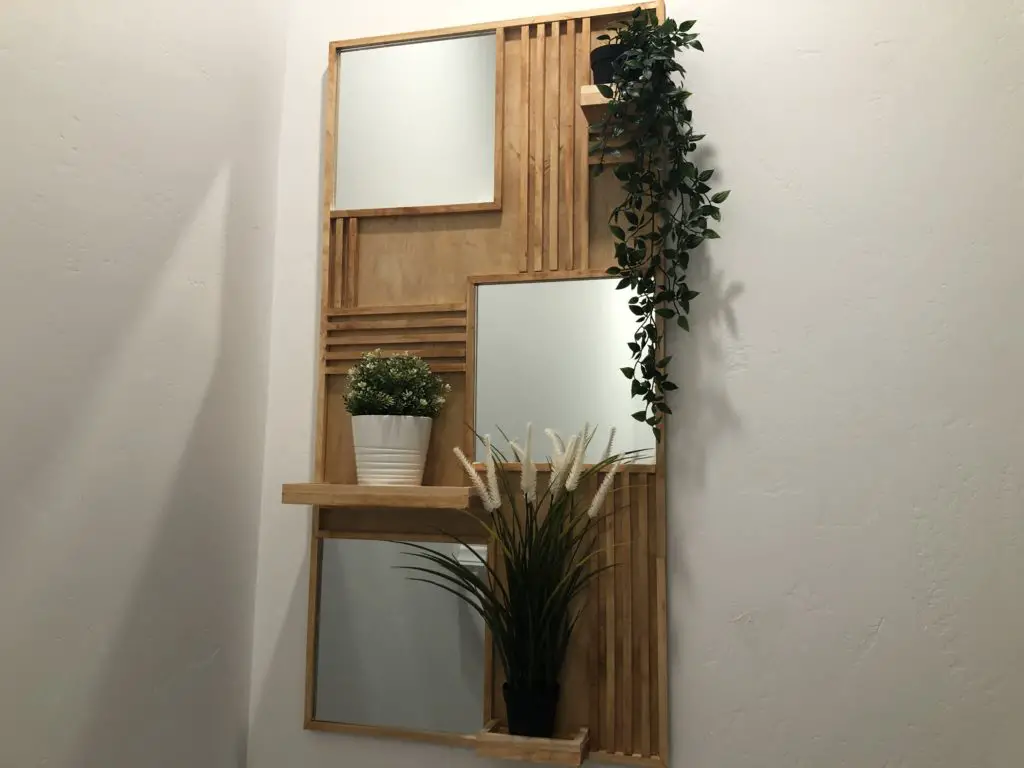
@housetohomediy Fun weekend project 🛠 (sponsored by @The Home Depot) #thdxdiyworkshops #homedepotpartner #diymirror #weekenddiy #easydiy #beforeandafter
I absolutely love how my modern mirror turned out and it was so easy to make! I am already planning on making a few more for other rooms in my house. If you are looking for a fun and easy project that will make a big impact on your home, I highly recommend giving this one a try! Let me know how yours turns out in the comments below. And if you are looking for more inspiration for DIY mirrors check out this post.

