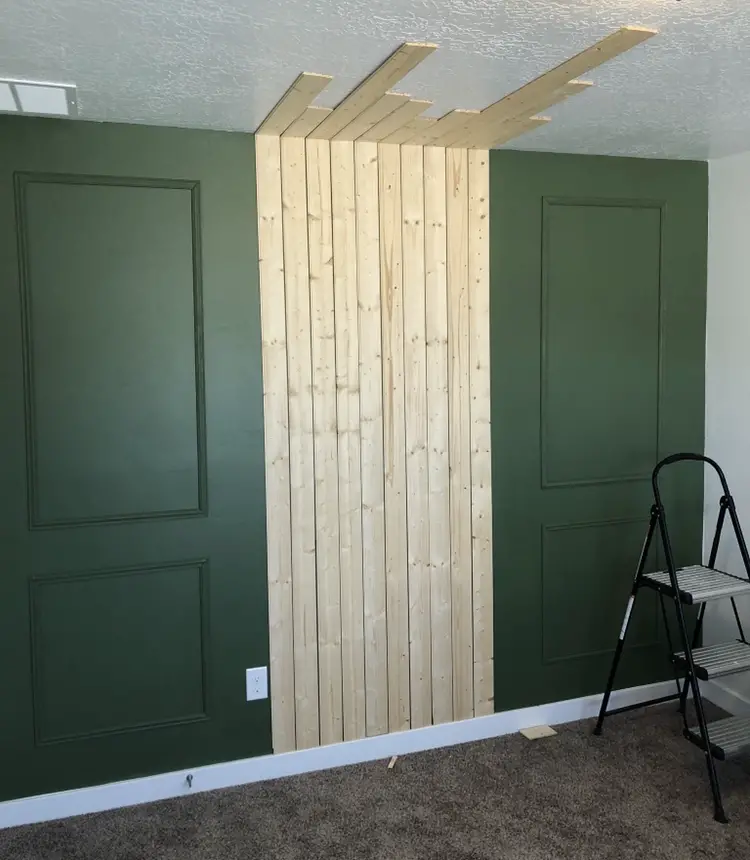
Because of COVID like many of you, I have been working from home for the past few months. After a few months of having a boring background for all of my zoom calls, I finally got sick of it. I decided I wanted to make something that was a little different and unique. I landed on making a design that had wainscoting and wood planks. I didn’t plan on putting boards on the ceiling when I started but ended up putting them up there. Here are the steps that I took to build this wall.
Tools And Supplies for Wainscoting Accent Wall
Tools
- Brad Nailer
- 2-inch brad nails
- Circular Saw or Miter Saw
- Liquid nails
- Wood filler or spackle
- Paintable Caulk
Supplies
I got all the supplies from Home Depot and to be honest you really don’t need a whole lot of stuff for this wall.
I used this hardwood panel for the wainscoting. There are lots of different options for wainscoting, so feel free to go with whatever you style is.
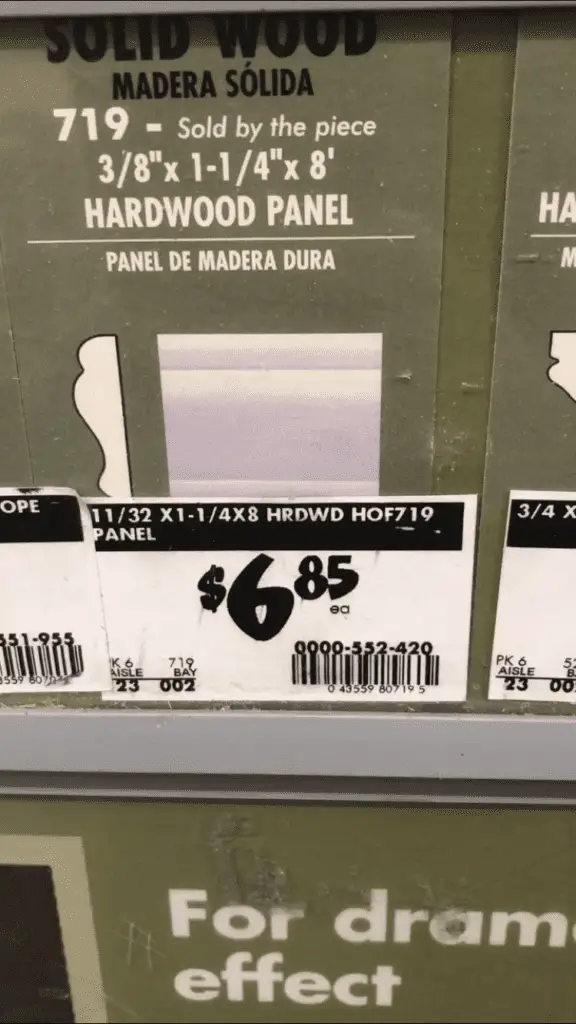
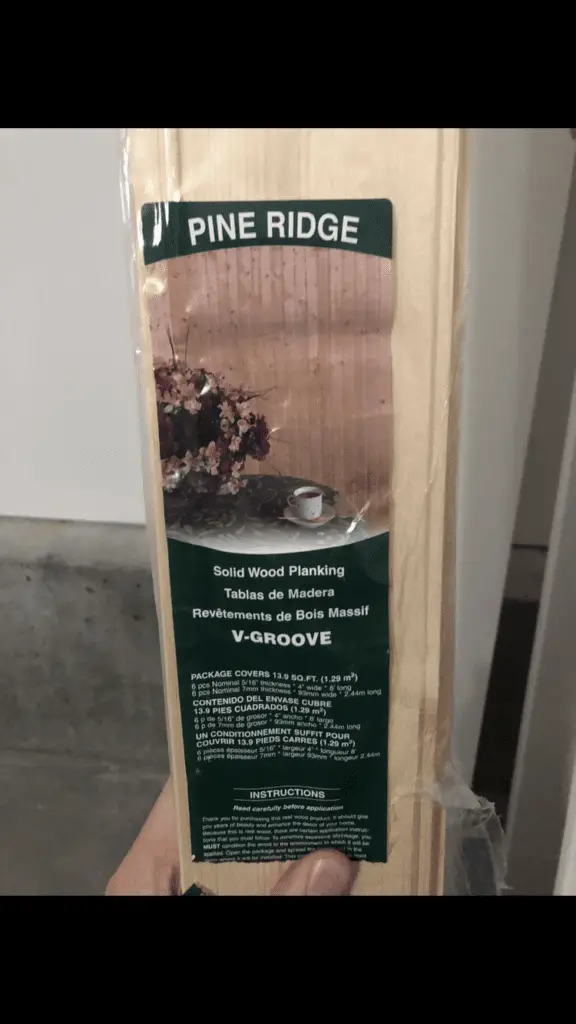
These are the planks I used for the middle of the wall. You could also you pretty much any type of wood for this. I decided to go with these because I wanted to something lite weight and a little bit wider.
If you want the same color paint that I used it is Dark Sage Satin from PPG.
Steps To build Wainscoting Accent Wall
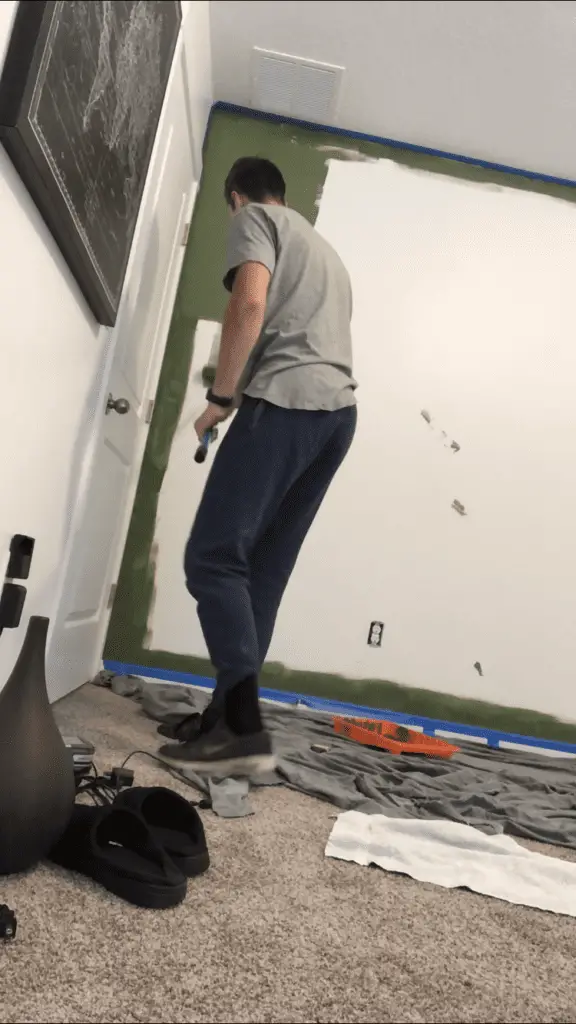
Step 1. Tape and paint the wall. If you suck at painting like I do you will want to tape your wall before you being taping. Paint the entire wall (even where the wood planks will be hung). If you don’t paint where the planks will go you will end up with a weird-looking white space. Also don’t forget to remove electrical outlet covers and stuff like that.
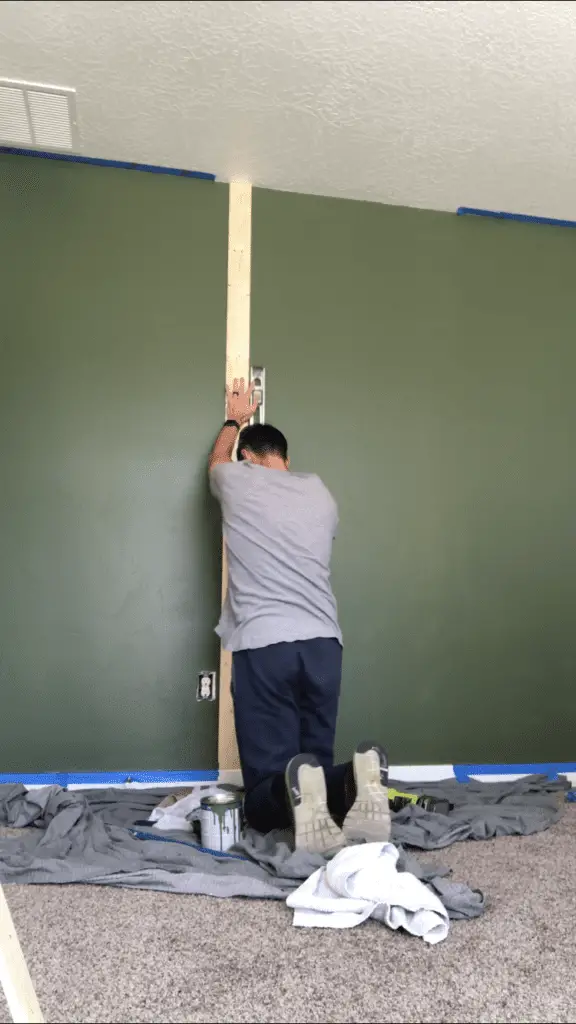
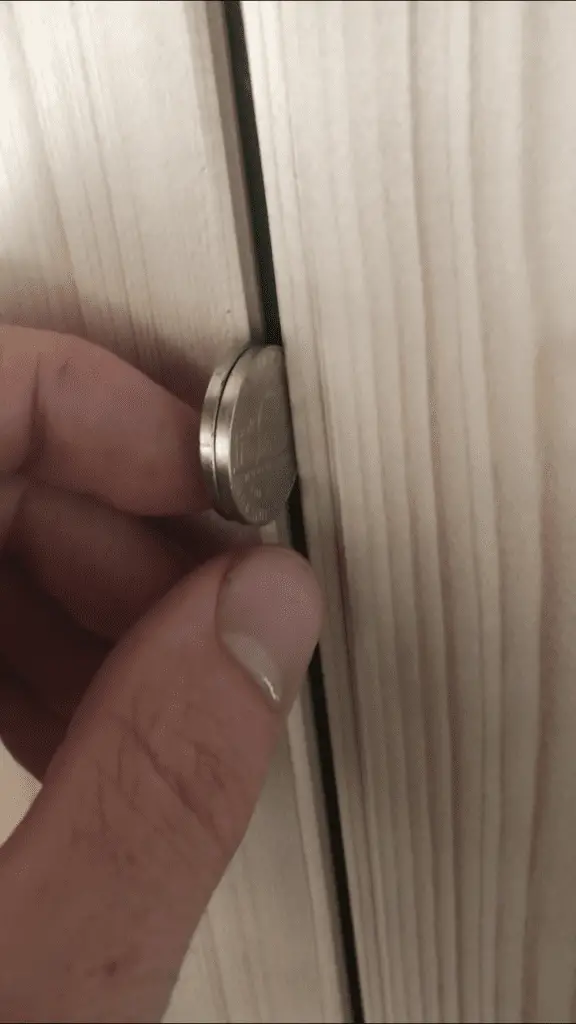
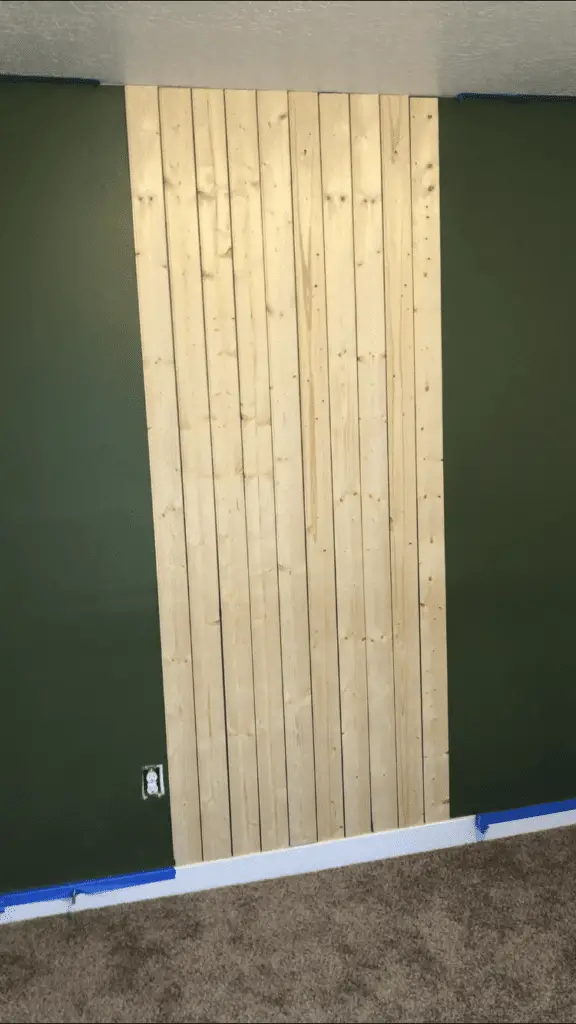
Step 2. After the paint has dried, hang up the wood planks. Make sure you have a level handy, it would also be helpful to have an extra pair of hands as well to help hold the planks while you nail them in. I did this by myself and it definitely took longer by myself. It is best to use a brad nailer to attach the planks to the wall. Here is the one that I use and I love it. I choose to have a space of two nickels between each plank. This is a personal preference, but I like the space between each plank. Hang your pieces on the wall first, then move onto the ceiling.
Step 3. Time to cut the pieces for the wainscotting. For my wall, I decided to go with a small square that is 2’x2′. You will need to cut the trim at a 45-degree angle to make the box frame. For the larger top square, I went with 2’x4′. Once they were cut I painted them before putting them on the wall. If I do this again I think I would attach the wainscotting first and then paint it afterward. More on why I would do it that way instead later.
Step 4. Attach trim using a brad nailer. I started with the bottom of the square 6 inches above the baseboard. Make sure you have a level to check alignment. I then used a brad nailer to attach the trim to the wall.
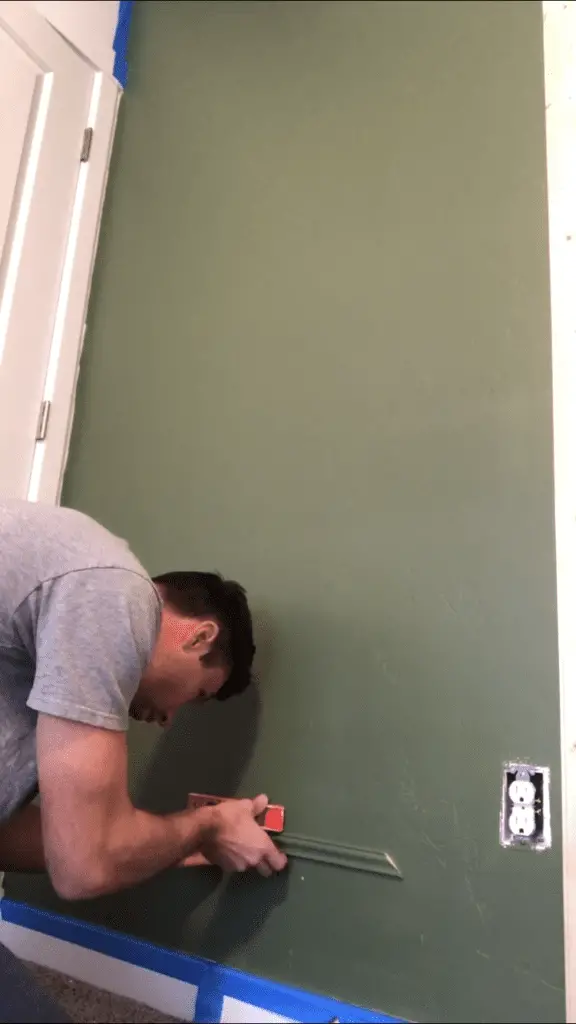
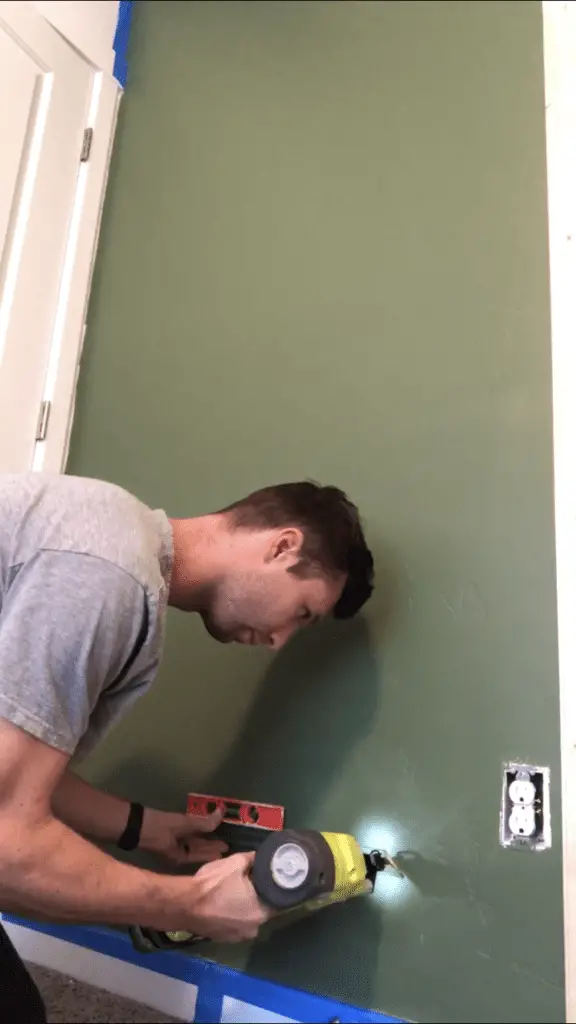
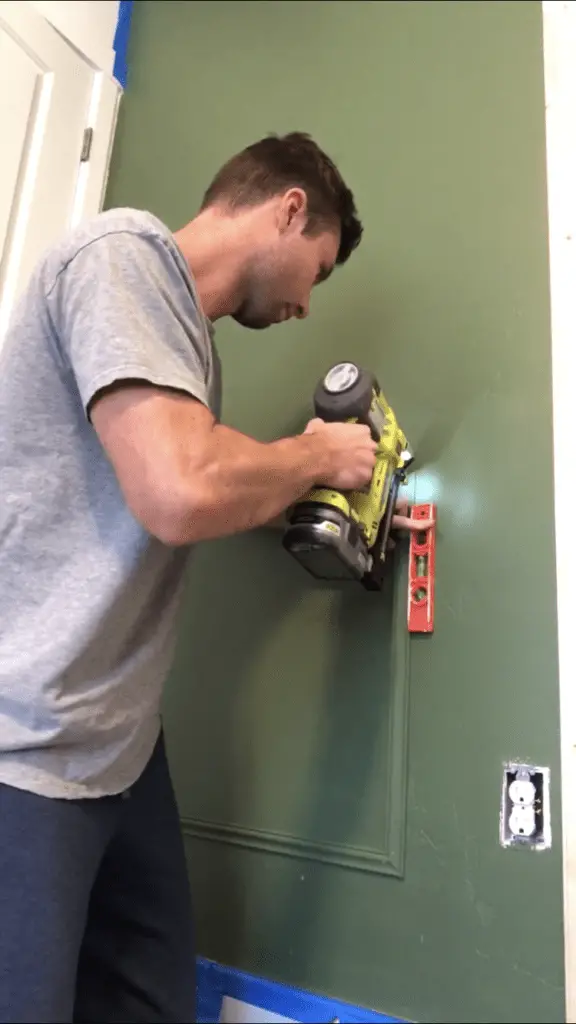
Repeat this process until have you have both sides done. Until you have a full box. Make sure to keep the level handy to make sure everything ends up looking straight. Repeat this process for the other side.
Step 5 – Next step is to fill in the brad nail holes with wood filler. After the wood filler dries give it a lite sand. Remember who I mentioned if I did this again I would paint the boards after? That is because of this step. I ended up sanding and having to paint the wainscoting again anyways. So I would recommend painting them after you have filled in and sanded the holes.
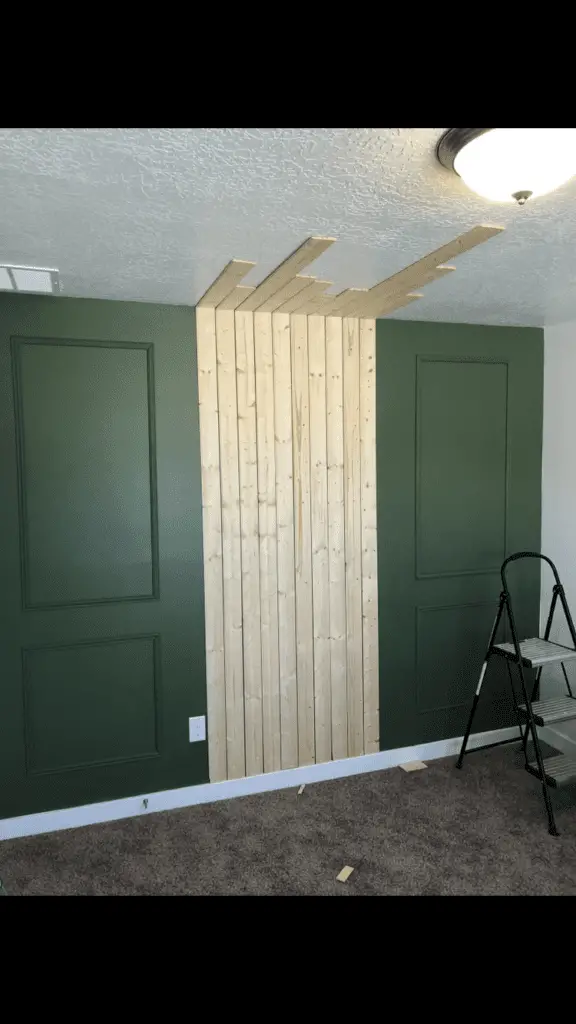
Step 6 – (Optional) As I mentioned I didn’t really plan on hanging out board on the ceiling, but I kind of just added them last minute. I attached them the same why I did the other boards, with the brad nailer.

