If you are planning on hanging up something heavy on your wall, you’ll need to find a stud. Whether it’s a mirror, a shelf, or large pieces of artwork – you’ll need to make sure that it’s anchored securely.
A stud is a vertical frame that is located within the walls. They provide a solid foundation for anyone looking to hang up and heavy objects. This post will go over a few of the common methods (including its own set of steps) to help you find studs in walls.
Use this guide and you’ll make the process a lot easier in finding studs in the walls. Let’s get started.
Method 1: Using a Stud Finder

This is one of the easiest methods to find a stud in the walls. A stud finder uses sensors that will detect the location of studs and they are often reliable. Here’s what you need to do:
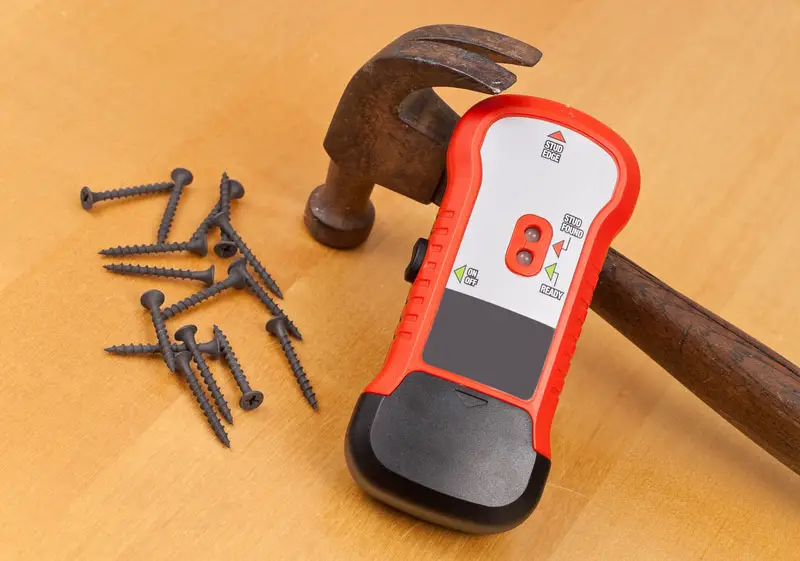
#1 – Choose the Right Stud Finder
There are two types of stud finders to choose from: electronic and magnetic. A magnetic stud finder functions by detecting the metal fasteners like nails and screws that are used to attach the drywall to the studs. Meanwhile, an electronic stud finder will use sensors to detect changes in the density of the wall’s material – thus indicating the presence of a stud.
If you are serious about finding a stud finder with a high level of accuracy, the electronic stud finders will be the better option compared to their magnetic counterparts. The major issue with this is that they can be expensive.
If you have a bit of money to throw around, you certainly won’t mind finding an electronic stud finder.
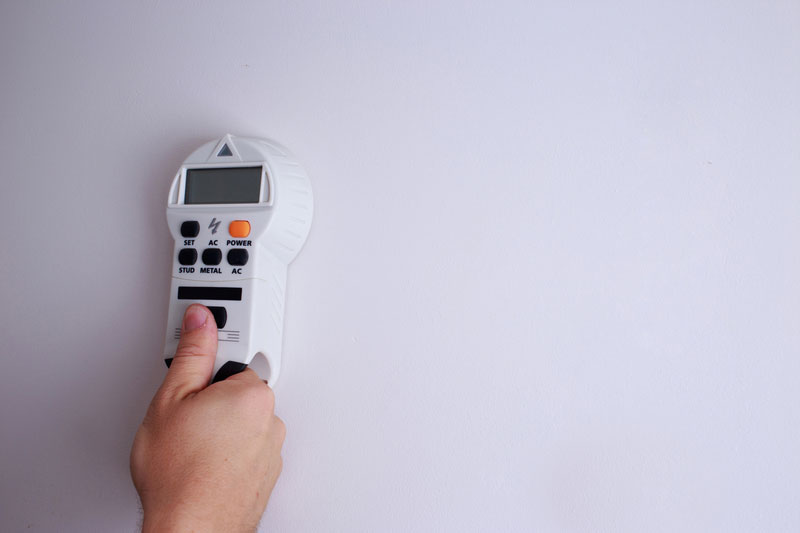
#2 – Turn on the Stud Finder
After acquiring the stud finder of your choice, you can then use it to find the studs in the walls of your choice. This step of course will be self-explanatory, so move on to the next one.
#3 – Calibrate the Stud Finder
You may need to calibrate the stud finder before you go any further. This will include holding the device against the wall in an area where there are no studs present. From there, you can press a button to set the baseline.
This may be a normal thing to do with electronic stud finders. Once you properly calibrate it, you can continue on to the next step.
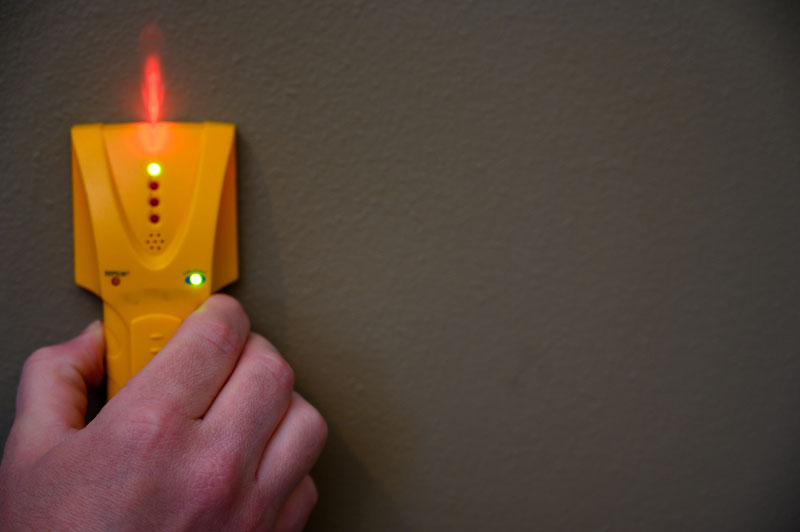
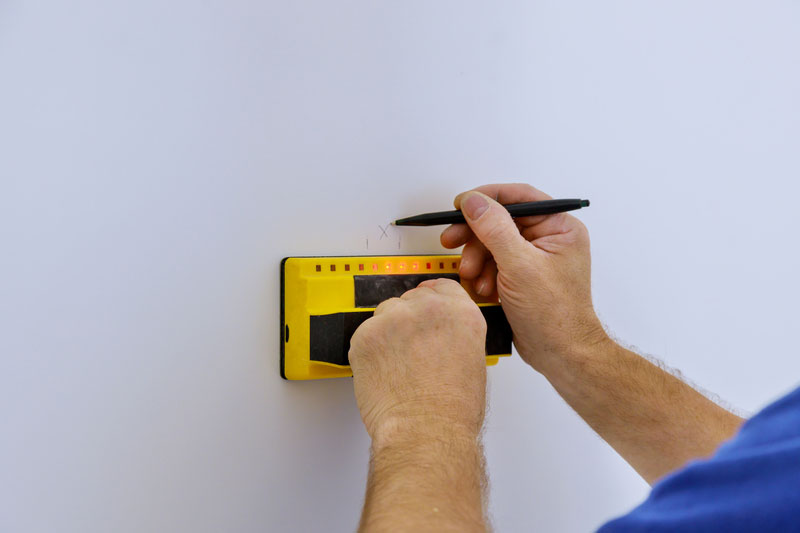
#4 – Move the Stud Finder Across the Wall
Slowly move the stud finder across the wall in a horizontal direction. When this is done, you’ll hear a sound coming from the device itself. Most of these stud finders will have light indicators.
Once it picks up the edge of a stud, you can mark the point on the wall using a pencil or a piece of masking tape. You can repeat the process as necessary as possible. Once you have located all the studs, you are pretty much done.
All you have to do now is hang up any items that you want to put up on the wall. And voila, that will be it.
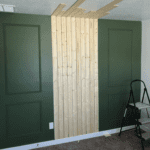
📚 Related: How to Build a Stunning DIY Wood Slat Wall
Method 2: Using a Magnet
You can still find studs in the wall using a magnet. This may be an excellent alternative if you have no stud finder on hand. You’ll want to locate the metal fasteners that are attached to the drywall.
Here’s how you can use a magnet to find studs in your walls:
#1 – Find a Strong Magnet
A strong magnet like a neodymium magnet may be one of the best options to use for finding studs. These can be found in most home improvement and hardware stores such as Lowe’s, Home Depot, and other outlets.
#2 – Move the Magnet Across the Wall
Hold the magnet against the wall and move it in a horizontal direction. The magnet will be attracted to the metal fasteners that are located within the drywall and studs.
#3 – Mark the Location of the Fastener
Once you notice the magnet sticking to a fastener, you will then need to mark the location. Like the first method, you can mark it with a pencil or masking tape. You can repeat the process until you have found all the studs on the wall of your choice.
📚 Related: Boxwood Plant Wall
Method 3: Tapping the Wall
If you have neither a stud finder nor a magnet, don’t lose hope. There’s one more method that you can try. This is the ‘tapping’ method.
This method in particular can require a bit of practice. This is also one of the most challenging methods because it’s not as accurate as the stud finder or a magnet. The good news – it can still be effective.
Now, let’s take a look at how you can find studs in the wall using the tapping methods:
#1 – Identify the Baseboard or Crown Molding
The baseboard or the crown molding will be your best starting points since both are nailed into the studs of the wall. This will give you a good idea of where the studs are located.
#2 – Tap the Wall
Using a small hammer or your knuckles, you’ll want to lightly tap the wall. The goal here is to listen for a hollow sound. That sound is an indicator that you’ve found a space between the studs.
If you hear a solid sound, that’s when you know that you’ve found a stud. Be sure to do this across the wall.
#3 – Mark the Location and Repeat the Process
Once you find a stud, you can mark the location using a pencil or duct tape. From there, repeat the process until you have located all the studs. At that point, you’re done.
Tips and Tricks for Finding Studs in Walls
Now that you’ve learned about three common methods to finding studs in walls, let’s take a look at the following tips and tricks down below:
Try Different Methods
If you are starting out with one method, you may have difficulty looking for a stud. If that is the case, you can try a different method. One thing to be aware of is that different types of walls may require different methods such as tapping or using a magnet.
This can be due to the fact that some wall materials may be sturdier than others. Thus, it can be a bit difficult to track down a wall stud to help you put in nails and hang up whatever you need.
Always Check for Electrical Outlets or Switches
This is a step that you absolutely should not skip. You’ll want to see if there are any electrical outlets or switches attached to studs. It will serve as a starting point for locating any other studs in the wall.
While we’re staying the obvious, it’s never a good idea to drive nails and such into a stud that has wiring or switches. Safety first is the name of the game.
Look for Patterns in the Location of the Studs
Studs are often placed 16 to 24 inches apart. This will help you predict the location of other studs in the wall. This will be ideal if you are using certain methods such as the magnet and tapping methods.
You may even notice that some studs may be farther apart than others. Be very careful when inspecting the walls for any studs that may not be as far apart from each other as you assume.
Use More Than One Stud if Needed
If you are hanging heavy objects, it may be ideal to use more than one stud. Especially if the object itself is large in size. One stud may not be able to handle a certain weight and size of whatever you plan on hanging up.
Be sure to mark the ideal studs that you’re going to use. From there, you can embed nails and screws that will help support the object in question.
Use a Level to Make Sure Everything is Straight
One of the biggest issues of hanging something up is wondering if it’s straight enough. That’s where a level comes into play. You want to make sure that you have one so you can make sure that the item you’re putting on the wall is hanging straight enough.
Your eyes may tell one story when you are far away from the object and the wall. Yet, you may look closely and notice that the item may be slightly crooked. Use a level to your advantage and you’ll never have to worry again.
📚 Related: How to Make Geometric Wood Wall Art
Final Thoughts
Finding studs in walls can be a challenge. The good news is that you are now armed with the tools and techniques to make it easier. You can find a stud finder that is reliable and accurate.
Whatever method you use, it’s important to put it to good use. Whichever one is effective for you, go for it. But remember, you may need to switch it up depending on the type of walls (and the materials that you’re working with).
We hope that this guide has been a big help in whatever you plan on hanging up on your wall.