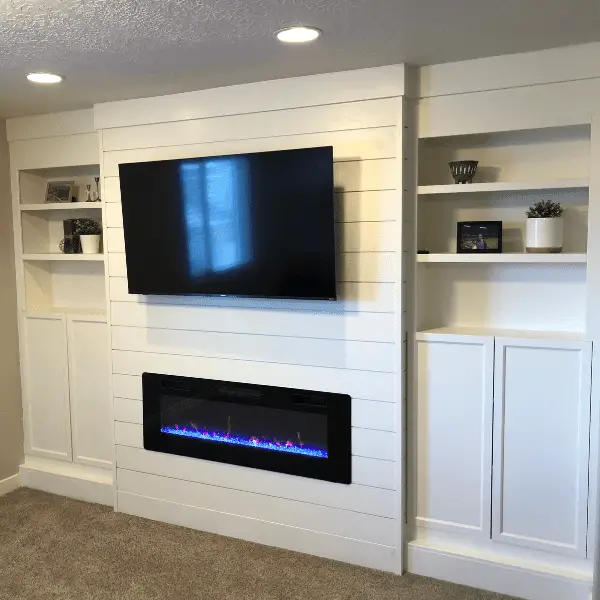
Built In shelves are an easy way to increase the storage, style and value of your home, but they can be expensive and difficult to install. My brother-in-law had a wall that was perfect from some built in shelves. We wanted to get this project done as cheap and quick as possible. I had heard of people buying IKEA billy bookcases and using them as built-in shelves. So we thought we would give it a try. We choose to put a fireplace in between the two shelves, but that is optional. In this blog I will go over step by step on how we built this. If you prefer to watch instead of reading you can check out the video below.
Supplies And Tools for IKEA Billy Bookcase Built Ins
Supplies
- IKEA Billy Bookcase
- 3/4 inch birch plywood
- MDF boards (sizes will depend on the width you want)
- 2″x4”x8′
- 1″x6″x6′ common board
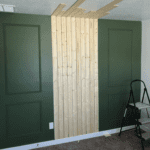
- .375’x6’x8″ shiplap
- 1-1/8 in. x 1-1/8 in. x 8 ft. White Outside Corner Molding
- Wood Screws. I got 2 boxes of 3 1/2 inch screws
- Paintable Caulk.
- Spackle
- 2-inch brad nails
- Electric Fireplace. Here is a link to the one I got off Amazon. I did a full review of this fireplace on YouTube if you want to learn more about the fireplace features you can check out the video here.
Recommended Tools
Steps for IKEA Billy Bookcase Built-Ins
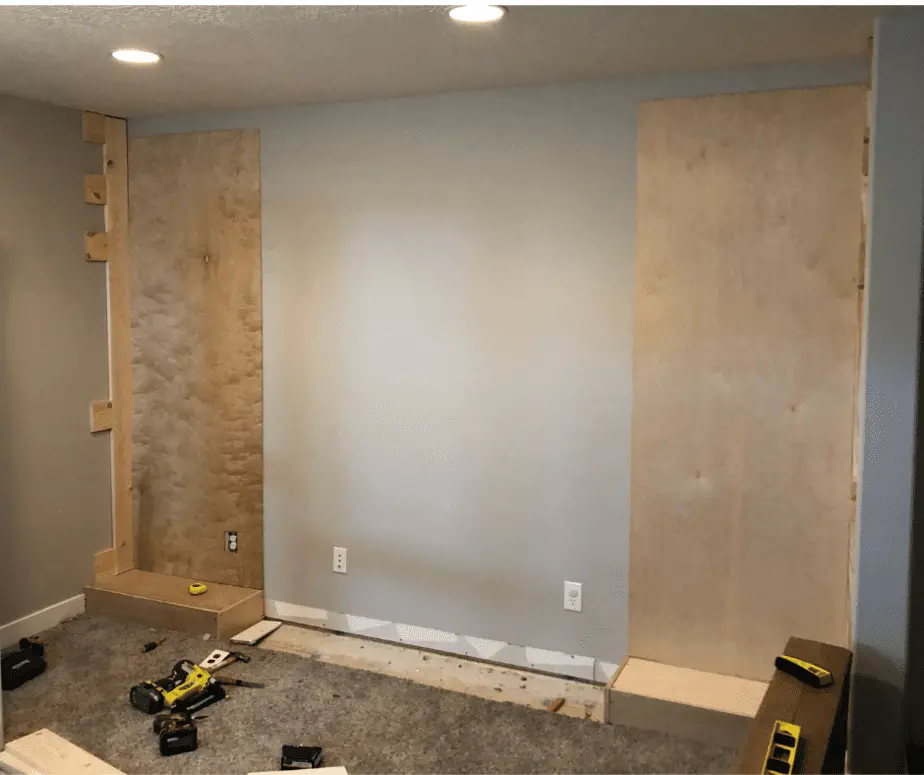
Step 1. The first step is to remove the baseboards and carpet. You will not want to build something like this on top of the carpet. To remove the carpet I just used a utility knife, but I know there are also special tools that you can use to make the job easier. For the baseboards, I recommend having an oscillating tool if you need to cut the baseboards.
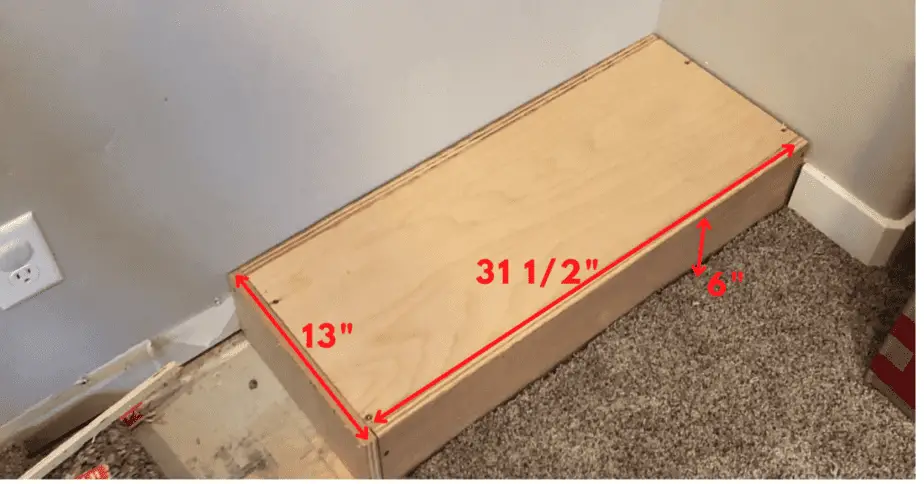
Step 2. After the carpet and baseboards were out of the way we started building the base that we would place the billy bookcases on. We have an 8-foot wall and the billy bookcase is only 6 1/2 feet tall so we decide to put them on top of a 6-inch platform to get them a little closer to the ceiling. There are lots of ways to build a platform, but we choose to use 3/4 inch birch plywood to build the platforms.
Step 3. Assemble the billy bookcases. We decided to shave off the back of the bookcases and use some smooth 1/4 inch plywood for the backing. This is completely optional, and honestly, if I were to do this again, I wouldn’t shave off the back. It just created more work for what it was worth.
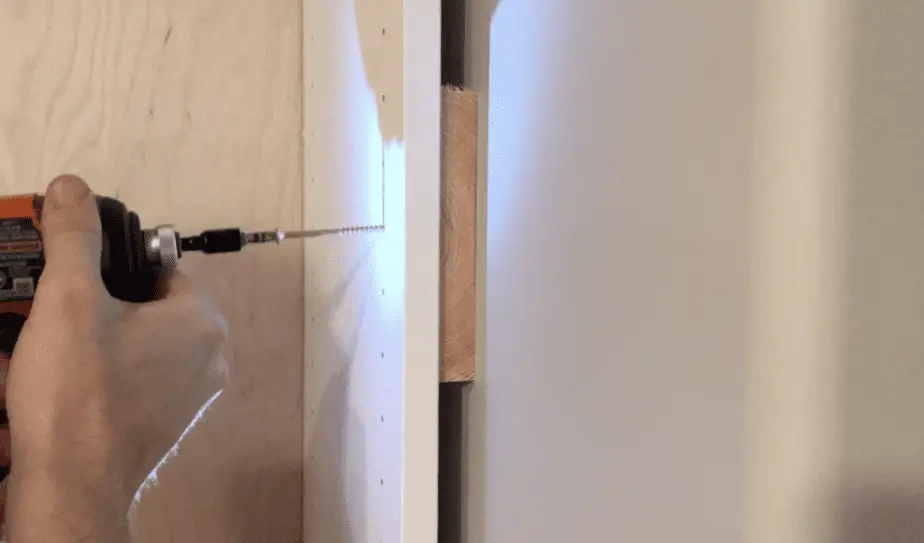
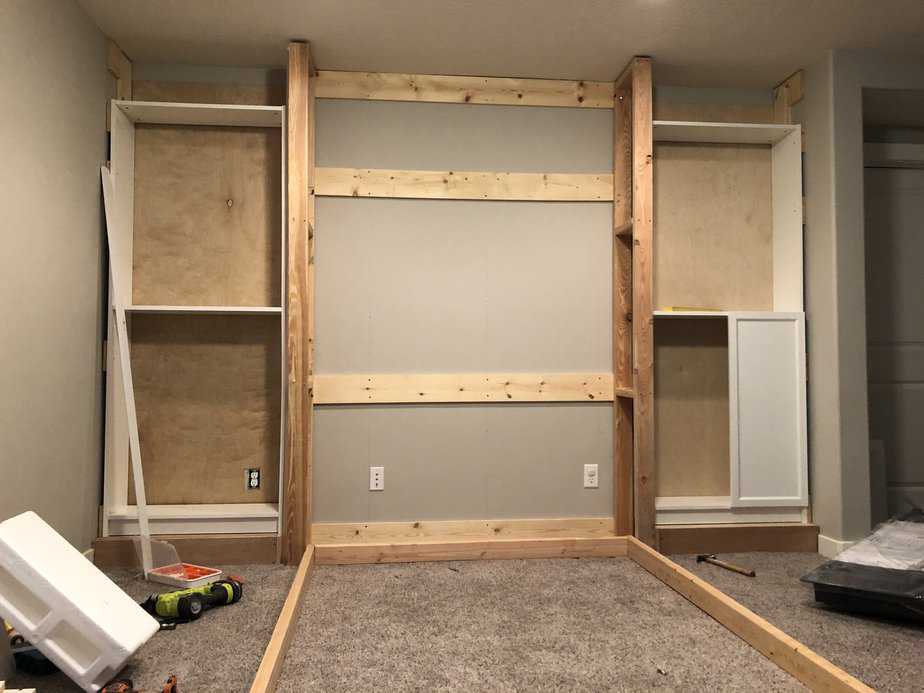
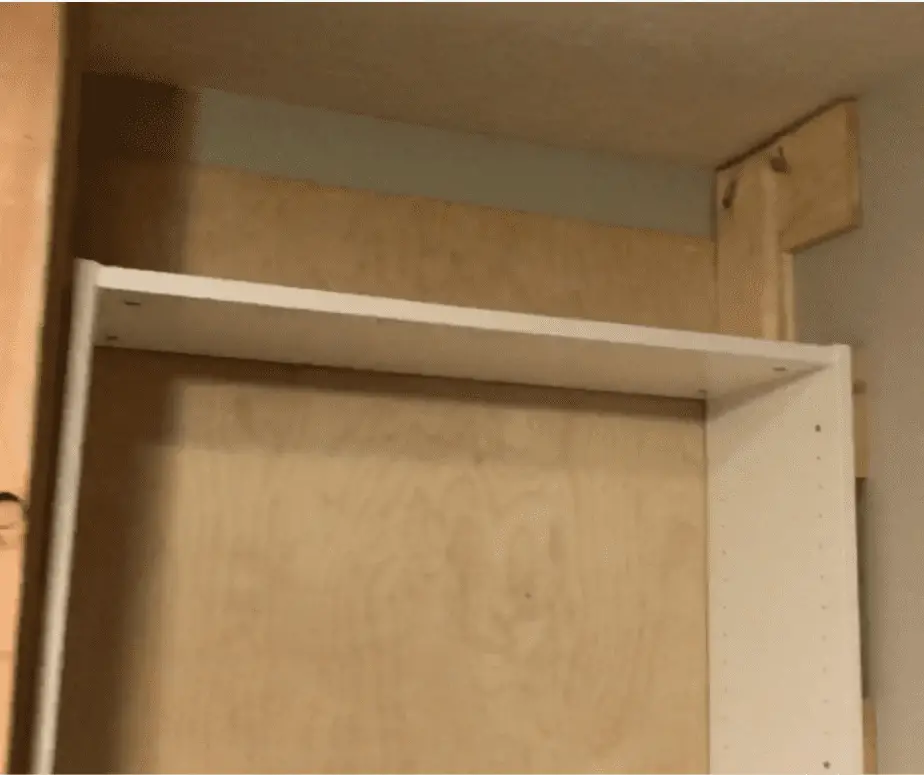
Step 4. Next, we need to build the support to attach the bookcase to the wall. This is what gives them that “built-in” look. We took a common 1x6x8 and attached it to the side of the wall. Then we used 4 pieces of scape wood to bring the support 11 inches wide. You want this to be 11 inches wide to match the depth of the bookcases (see image below). Once those supports are up attach the 1/4 inch plywood to the wall (only do this if you shaved off the back of the billy bookcase).
Step 5. Screw in your bookcase to the sides of the supports that you just built.
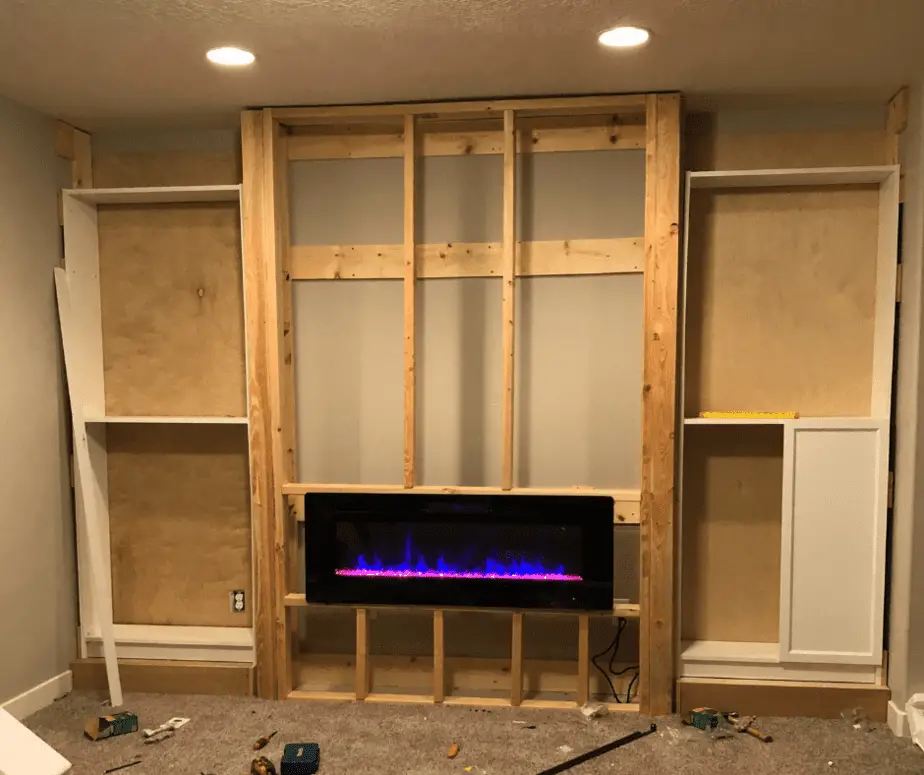
Step 6. (Optional) I have full step-by-step instructions on how I built the fireplace at my house the exact same way as I did in this project. If you want more details on how to build the fireplace you can check that out here.
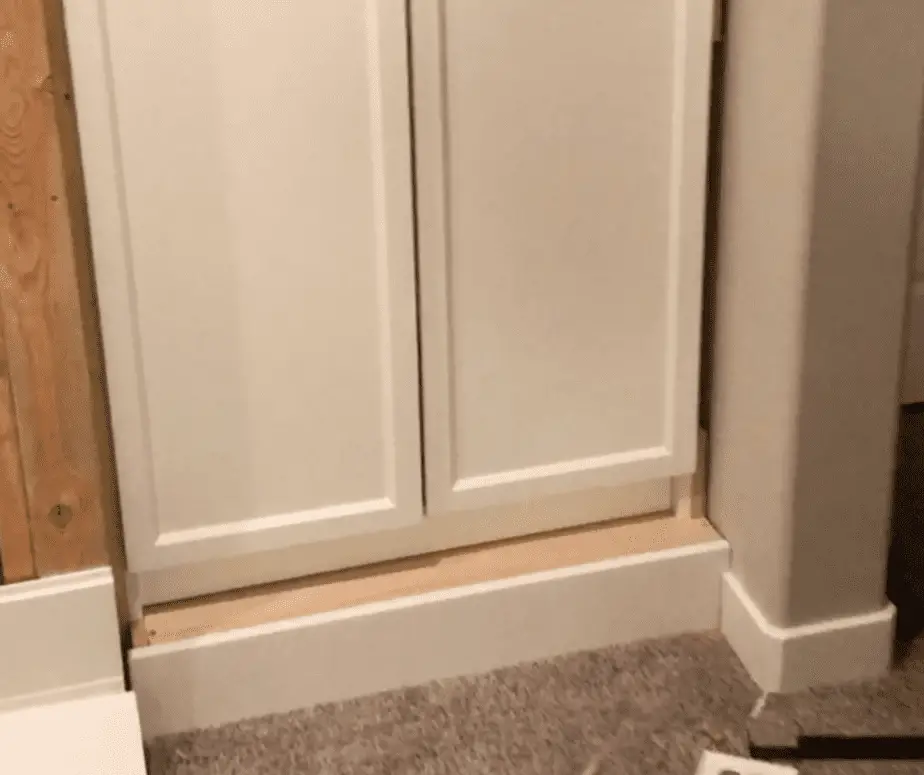
Step 7. It is time to start making those bookcases look built-in and beautiful. Start first by adding MDF board to the baseboard. The base is 6 inches high so we just got a 6inch wide MDF board and slapped it on there with a brad nailer. Because we wanted our base to stick out a few inches we covered the top 2 inches with MDF board as well. After the baseboards were finished start working your way up. Make sure to add the MDF trim to the area where the wall and the shelves meet and where the bookcase and fireplace meet.
Step 8. Add MDF trim to the shelves for a thicker more custom shelf look. You can use whatever size MDF you choose, but we went with 1 1/2 inch.
Step 9. To fill in the gap between the ceiling and the bookcase we used the 3/4 inch birch plywood. We attached these pieces to the same board for the bookcase.
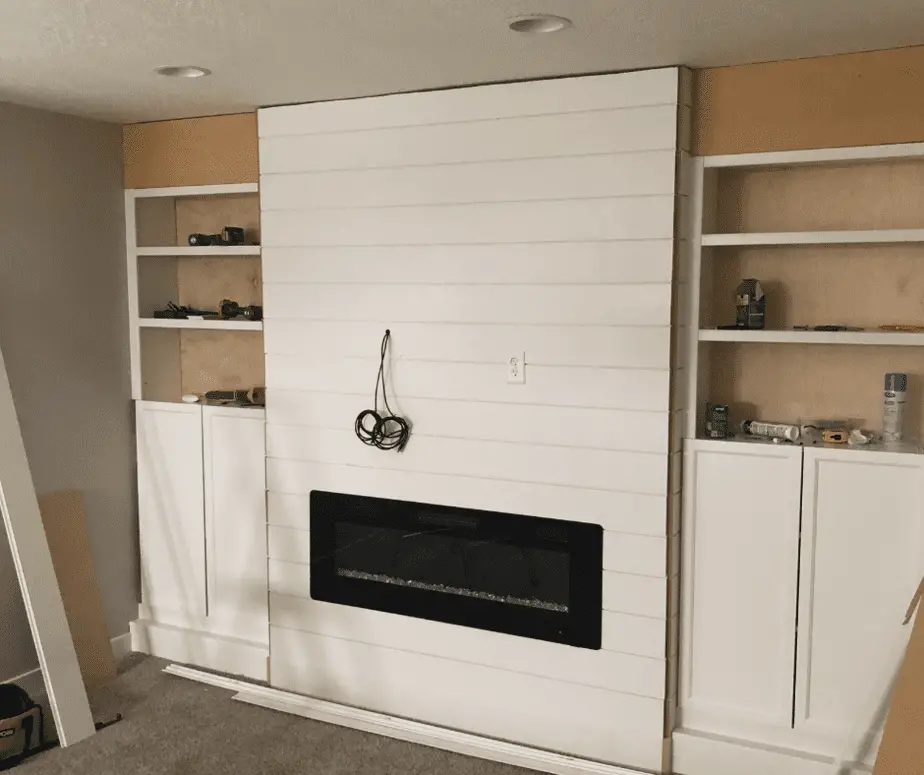
Step 10. We took a little bit of a lazy route for the crown molding. We kept it simple with a single piece of MDF across the top. Like I said this is kind of a lazy/easy way to do the molding. We might go back and a more to it later, but for now it gets the job done. Don’t forget to cut your end at a 45-degree angle for clean joints.
Step 11. Now it is time to fill in nail holes with some spackle. I like to use this spackle because it goes on pink but dries white so it makes it easy to know when it is ready to sand. If you have any nails that are sticking up a bit a recommend using a nail set to the nail flush with the wood. After all your holes are dry go through and give them a lite sand with 220 grit sandpaper.
Step 12. Use paintable caulk to fill in all the cracks and joints where you attached the MDF boards
Step 13. Paint. I recommend using a paint sprayer for this job. We ended up painting with a roller and brush, but it would have been so much better and faster if we used a paint sprayer.
Step 14. (Optional) The last optional step is to build a mantel to put above the fireplace. If you want to see how to easily build a fireplace mantel you can check out this video here.
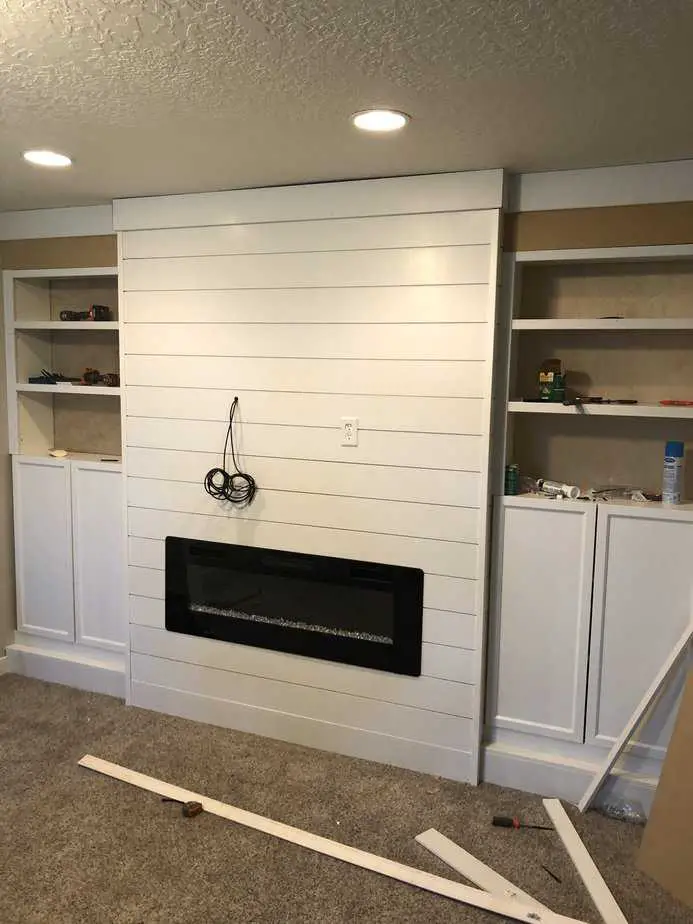
Now you have some beautiful IKEA billy bookcase built in shelves.