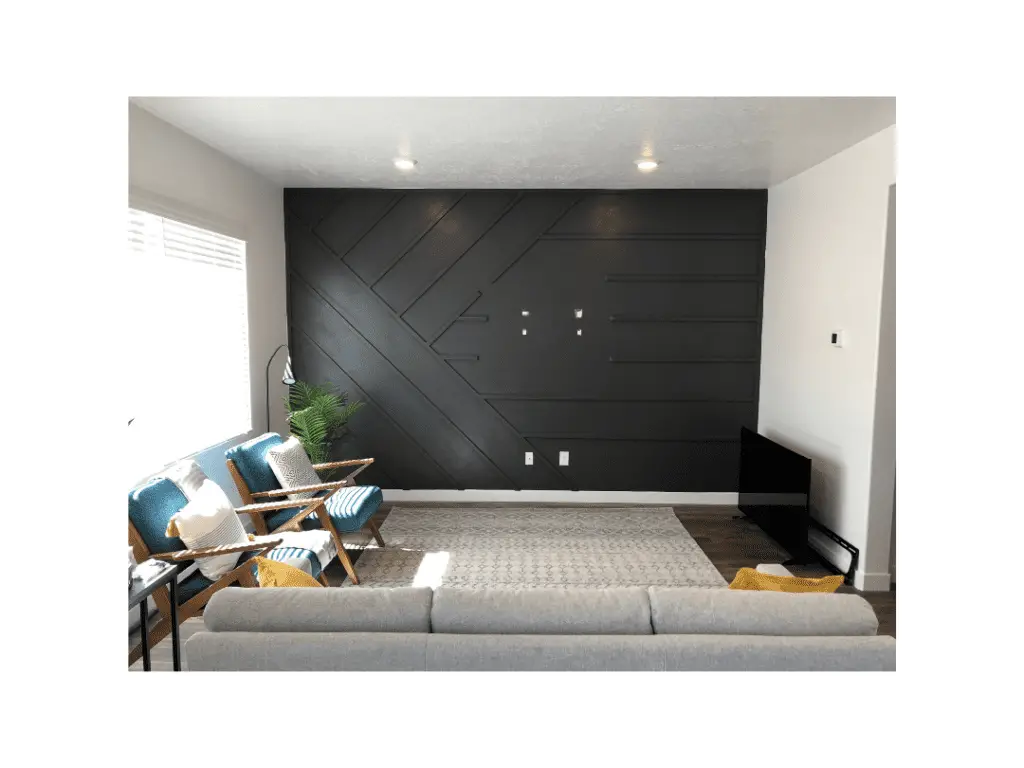
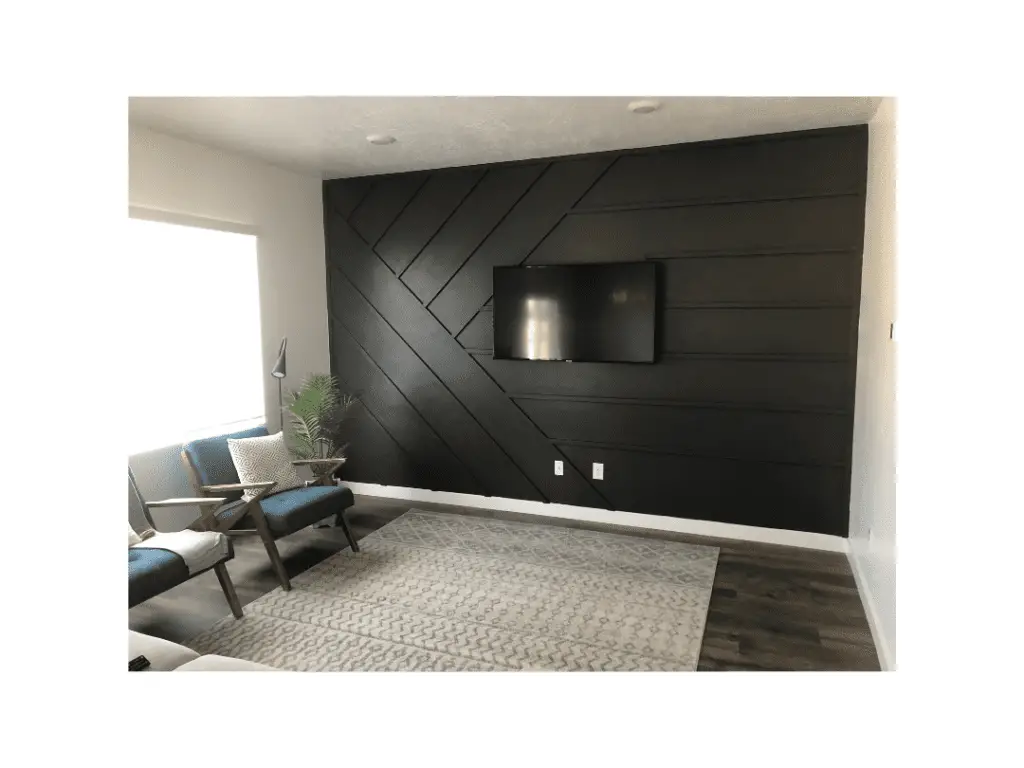
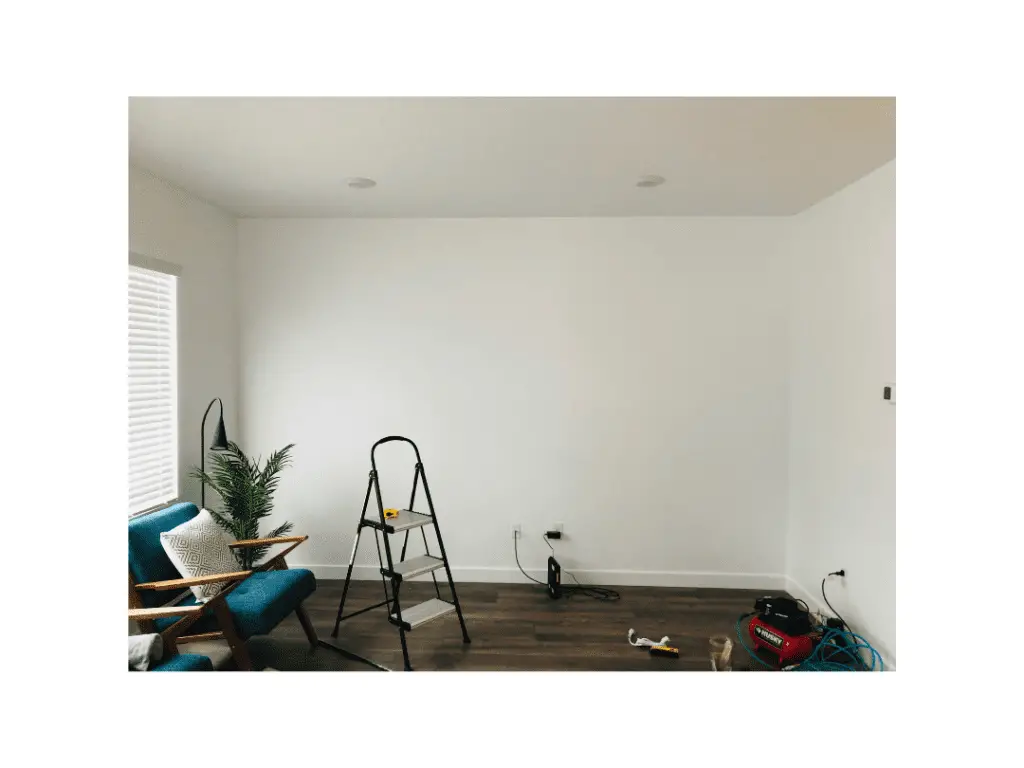
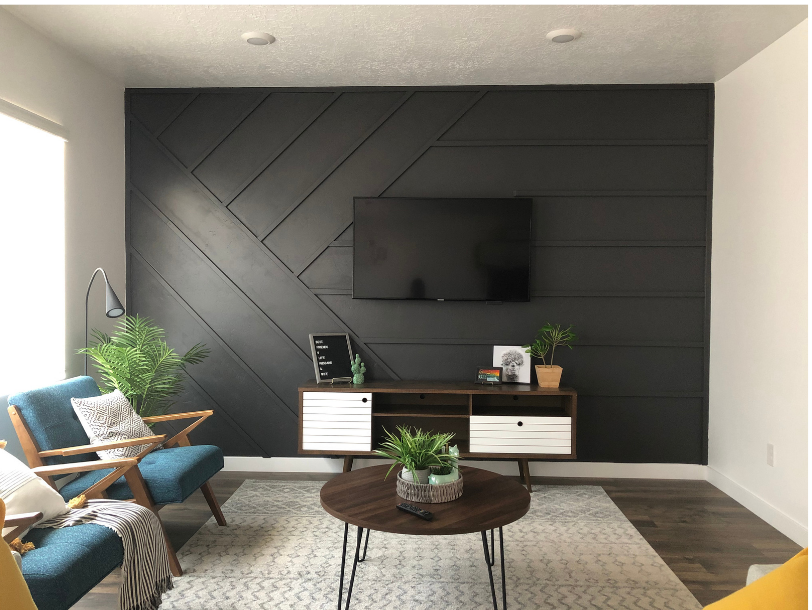
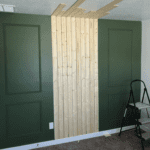
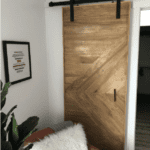
Do you have a wall that is just blah? One that you look at and think, “wow that wall is not living up to its potential”? Well, a board and batten wall is one easy and cheap way to add some pizzazz to your boring wall. We decided we wanted to go for a modern board and batten accent wall with mounted TV.
This project may look intimidating, but I promise it really isn’t too hard once you get things started. This blog will walk you through everything you need to know.
Modern Dark Board And Batten Accent Wall Tools and Supplies
Supplies
- MDF panels 1′ x2’x8″ (This is the size I used, you can you whatever size fits your style)
- Liquid nails
- Wood filler or spackle
- Paintable Caulk
- Paint ( I used shadow mountain from Behr)
- Paint roller
- Paintbrush
- 2 inch brad nails (if you are using a brad nailer)
Tools I used
- Brad Nailer
- Circular Saw or Miter Saw
- Level
- Caulk gun
- Nail set (I had to use them because I sucked at using the nail gun and had to push a few nails into the wood a little deeper)
- 220 Grit Sandblock or Orbital Sander
- Tape measurer
Common Question When Creating Board And Batten
What are my options if my wall is textured?
My walls are textured and while I was doing my research everybody who was building a board and batten wall seemed to have a smooth wall already. As a result, I thought that I couldn’t even do a board and batten wall because of my textured walls. That can not be further from the truth.
Here are the options you have
Option 1. Just put the boards over the textured wall. This is the easiest option. I know this sounds like an obvious answer, but for me, I was worried about how it would look and I didn’t want to put in all this work for something that was going to look ugly. I ended up going with this option in the end and took a risk, and I am so happy I did. The texture just gives the wall more depth and it saved me a ton of time.
Option 2. Hang panels across the entire wall to make the wall smooth. The most popular wood for this seems to be utility panel plywood. This is fairly cheap and is thin, but has a very smooth surface. If you want to go this route you will need to be prepared to cut around any outlets, vents, switches, etc with a jigsaw, so keep that in mind. Also depending on the size of your wall, you might need a table saw, or you could see if your local hardware store would be able to cut the pieces you need. The reason I decided not to go with this option is I didn’t have a jigsaw or a table saw, and honestly it sounded like a lot more work.
Option 3. Skim coat your wall. It is possible to skim-coat your wall to get rid of the texture on the drywall itself. There are many different ways to do this and I will not pretend to be an expert in this area. If this option sounds interesting to you I would encourage you to watch some videos on how to skim coat. I will say it does seem very technical and that is why I decided not to go this route.
What wood should I use?
I recommend using MDF boards whenever possible. This type of wood is a little more expensive, but it is already sanded and primed so it will save you a ton of time. If you have textured walls and want to buy wood panels to make them smooth the best wood for this is utility panel plywood as mentioned above.
What do I do about the baseboards?
This question is something that prevents a lot of people from doing a board and batten wall. Chances are your baseboards will be thinner than the wood you will be adding to the wall. As a result, some of the boards can hang over the baseboards. There are many options for dealing with the baseboards and honestly, it is just up to your personal preference.
Option 1 – If the board hanging over the baseboard is not super obvious then don’t worry about changing your baseboard. I purposely choose the wood that was a bit thinner so the amount my boards hung over my baseboards was small as possible.
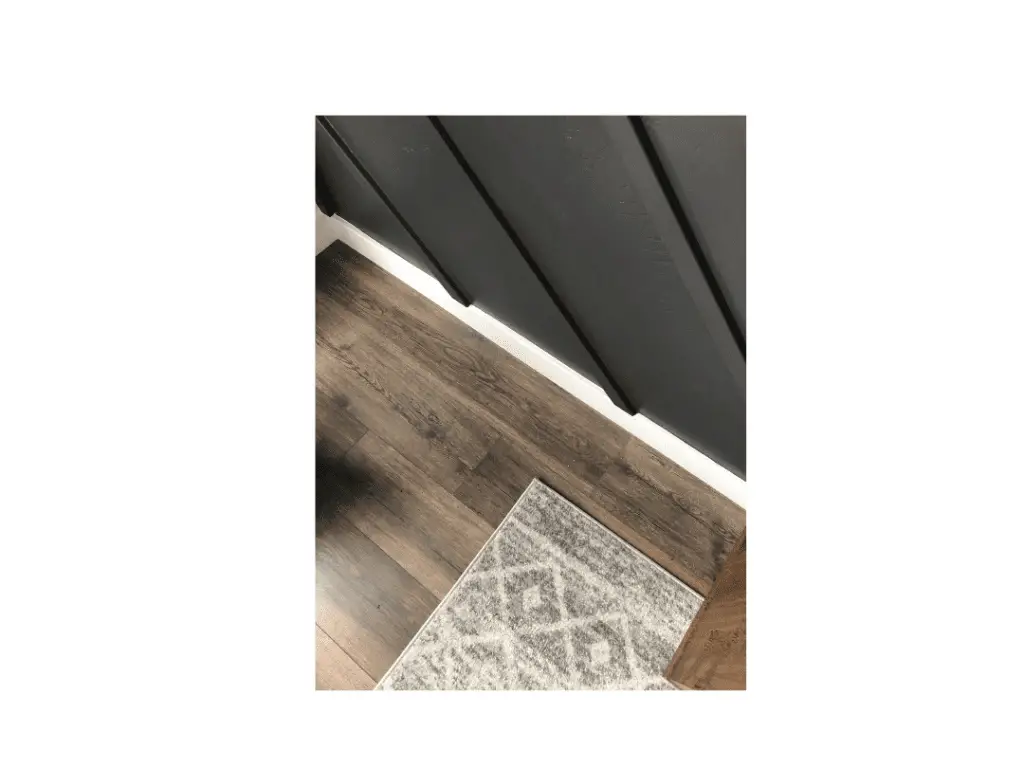
Option 2 – Remove the baseboard on the wall and replace it with a thicker baseboard.
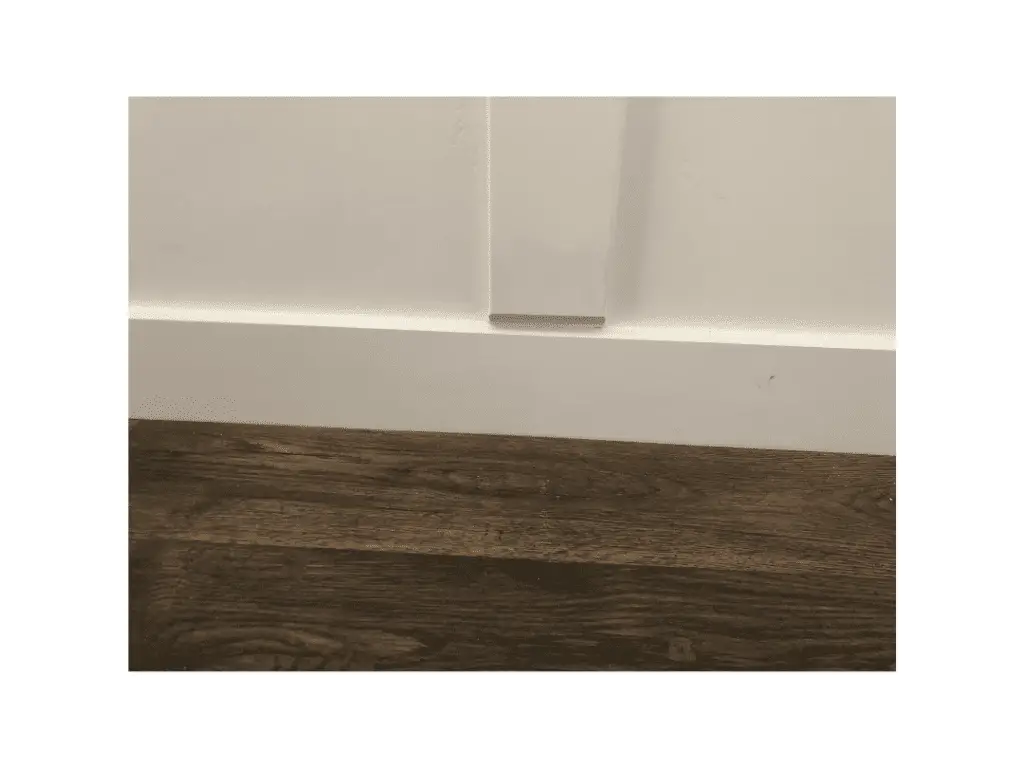
Option 3 – Cut the bottom of your boards at a 45-degree angle with a miter saw. I used this option for my entryway board and batten wall. Below is an example of what the 45-degree angle cut looks like.
Should I paint the wall and boards before or after they are hung?
When I was researching this question, the only answer I really ever got was,” both ways will work it is up to you”. While this answer is correct, they never explained why some people choose to paint before hanging the battens and why others choose to paint after. Personally, I choose to paint after hanging the boards for a few reasons.
First, I wasn’t sure if I was going to keep the wall white or change the color when I started the project. Second, I knew there were going to be looks of holes in the wood and I was going to be caulking and sanding anyway so I didn’t want to paint everything and then mess it all up with the holes, sanding, and caulking. I know a lot of people like to paint the wall before they start to avoid having to “cut” some much while painting, for me I don’t think it would have saved me that much time for it to be worth it.
Now that you have all of your questions answered (hopefully), it’s time to get to work! Here are the steps you will need to take
Steps to Building a Modern Board and Batten Accent Wall
Step 1
Choose what design you want for your wall, this step sounds simple but can often be the hardest part. If you are looking for inspiration you can check out this Pinterest board for some fun ideas. There are many ways to do a board and batten and the possibilities are just about limitless.
Step 2
Once you have an idea of the design you want it is time to take measurements. Measure the length and width of your wall and get a rough idea of where obstacles like outlets and vent covering will be. In my case, I knew we wanted to mount a tv on this wall so I made sure the tv would also work with the design. I ended up taking a piece of graph paper to sketch out my design with all the correct measurements. I would highly recommend this, I used this piece of paper as a reference and guide while building the wall throughout the entire process.

Step 3
Buy supplies. When I first started this project I was a little overwhelmed about getting the right supplies, here is a list of everything you will need.
Supplies
- MDF panels 1′ x2’x8″ (This is the size I used, you can you whatever size fits your style)
- Liquid nails
- Wood filler or spackle
- Paintable Caulk
- Paint ( I used shadow mountain from Behr)
- Paint roller
- Paintbrush
- 2 inch brad nails (if you are using a brad nailer)
Tools I used
- Brad Nailer
- Circular Saw or Miter Saw
- Level
- Caulk gun
- Nail set (I had to use them because I sucked at using the nail gun and had to push a few nails into the wood a little deeper)
- 220 Grit Sandblock or Orbital Sander
- Tape measurer
Step 4
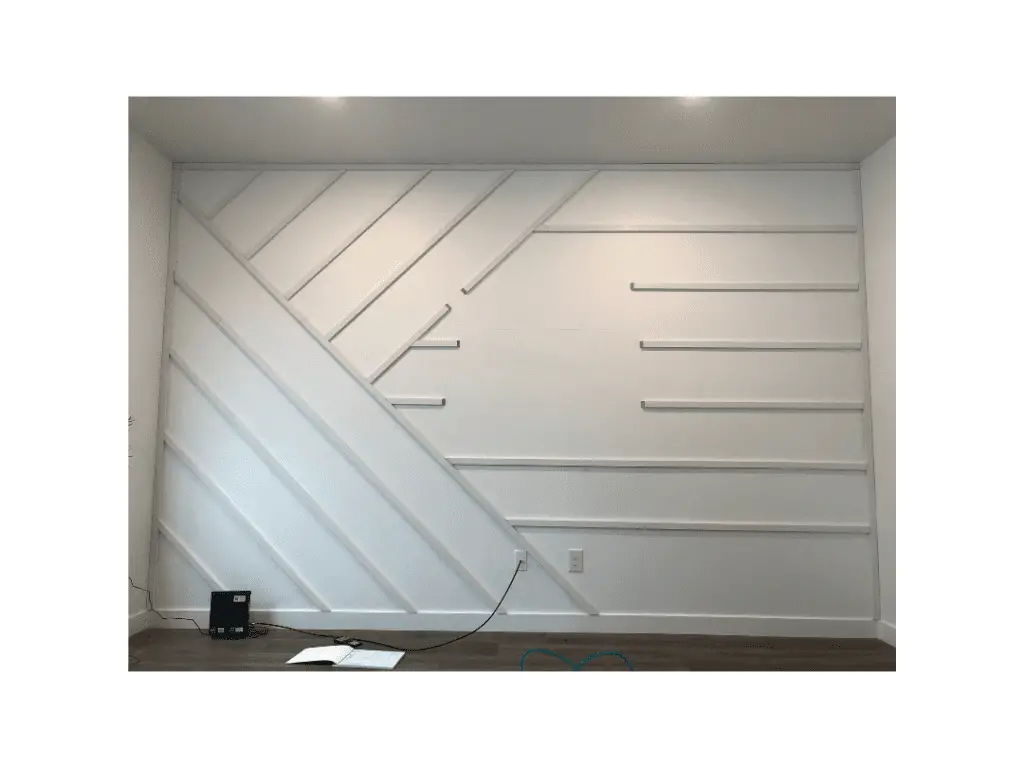
The fun part :). Nail those boards up on your wall. I started by framing the border of my wall. I used a 4-foot level to make sure everything looked straight then I would put a little bit of liquid nails on the back of the board, place it on the wall and drive 4-5 brad nails through the board.
After I had the border I would make one cut at a time and hang the board. I did it this way to make sure all my measurements were correct. Some people wonder if the nails need to hit a stud, in my experience with both the liquid nails and the brad nails those boards are going to be very secure – even if the nails are not in studs. If you are going to mount a tv on any of the boards then you will want those to be in studs. In my case, I knew where I wanted my tv to be, so I actually ended up leaving that section on the wall empty to make mounting my tv easier.
Step 5
Fill holes and caulk. Do not skip this step! It can be tempting to overlook the nail holes and think you can just paint over them, but this is never a good idea. Grab a putty knife and some wood filler and go over all the nail holes with a thin layer. If you used the brad nailer there may be a few nails you need to pound in with the nail set. Once you have all the holes filled, caulk all the joints. This will give it a professional and clean look.
Step 6
Sand. Yeah, it sucks, but make sure to sand all the holes you just filled so they don’t show through the paint.
Step 7
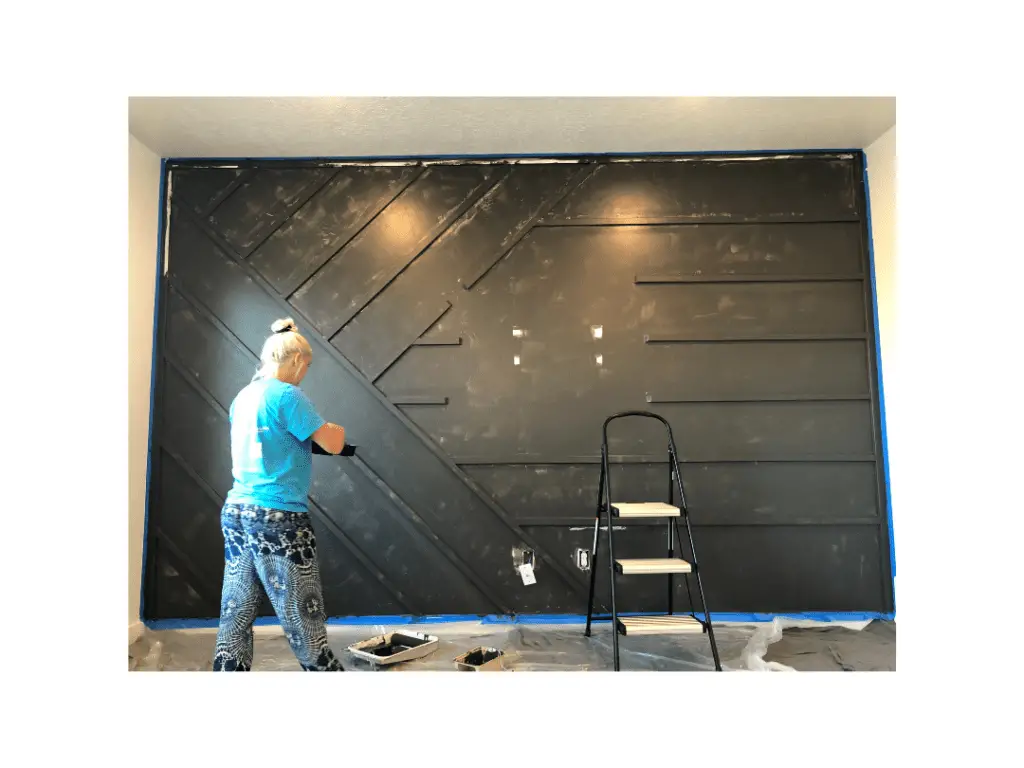
Paint. We started first with a brush and went along all the edges. Once all the edges were done we took a 4-inch roller to paint the boards and used a 9-inch roller for behind the wall. We ended up doing two coats and we love how our modern board and batten accent wall turned out. 🙂
